Friends, stop what you’re doing, get in the car and drive to your nearest donut shop. It’s National Donut Day!
Got your donut? Ok, let’s continue on with today’s post while you enjoy your treat.
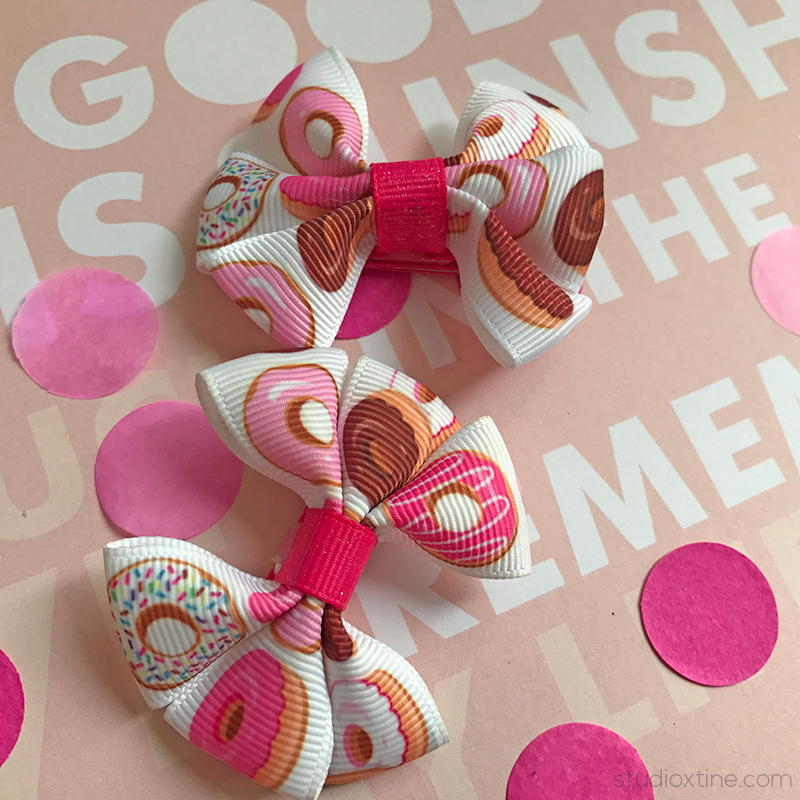
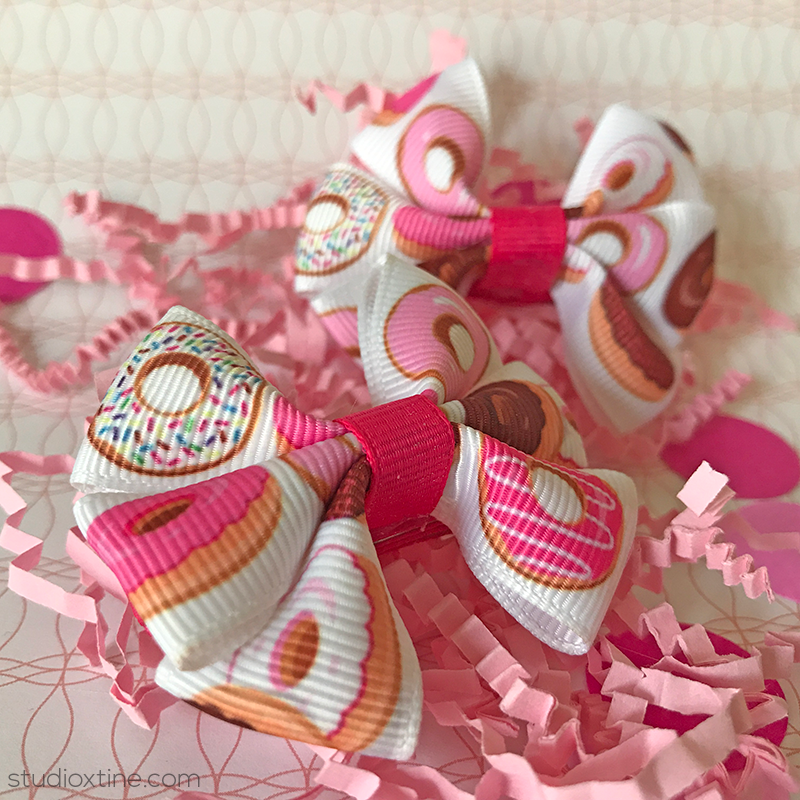
No, I did not make a donut hair bow for the delicious holiday. I actually made this cute hair bow half a year ago for my daughter’s first birthday party. Sure, there are lots of cute hair bows out there but of course #creativepeopleproblems I didn’t like anything I saw online. This hair bow was super easy to make. I think the harder part is picking the ribbon design.
Here’s what you need to make your own hair bows:
- Hot temperature glue gun and corresponding sticks
- 1-3/4″ Double Prong Clips. These are the ones I purchased.
- 3/8″ Ribbon (for clip part). I recommend grosgrain ribbon type because it’s a little thicker.
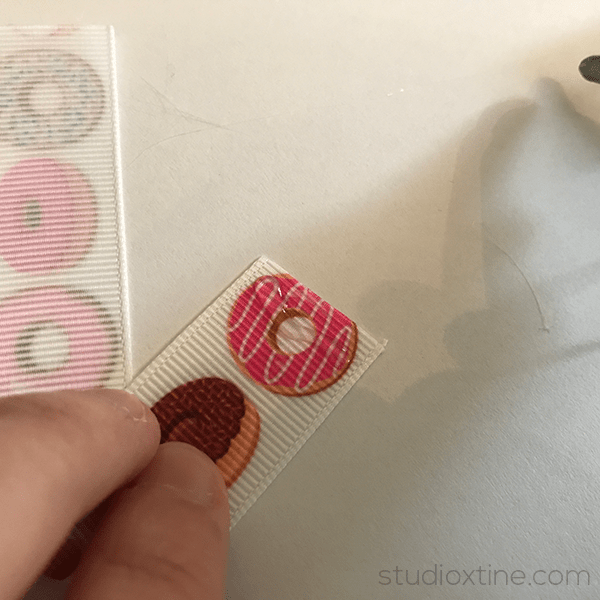
- Ribbon (for hair bow). I recommend anything between 1/2″ to 7/8″. The donut ribbon I used was 7/8″
- Baker’s Twine (any color)
Follow these steps and you’ll have a cute bow in less than 15 minutes!
Prep the ribbon pieces:
- Cut 7.125″ of the 3/8″ ribbon. This is to cover the entire clip surface. Note: this length is for a 1-3/4″ clip. For other clip sizes, cut ribbon’s length accordingly.
- Cut 0.75″ of the 3/8″ ribbon again. This is to hold the hair bows together.
- Cut three 5″ pieces of the hair bow ribbon.
Assemble clip part:
- Turn on hot glue gun to heat glue stick. First, we will glue the 3/8″ ribbon to the double prong clip starting on the inside bottom.
- Starting on one edge of the ribbon, squeeze a wiggly line (about 2 inches long) of hot glue.
- Open clip and quickly press it down on the inside bottom of the clip until ribbon adheres to the clip. See picture below.

- Continue to squeeze wiggly lines of hot glue and wrap ribbon around the entire surface of the clip.


Create and assemble hair bows:
- Take one of the pre-cut hair bow ribbons and overlap the ends a tad. Glue the overlap. See picture below
- Repeat Step 1 for the remaining two pre-cut hair bow ribbon pieces.
- Pinch in the middle of each “loop” in half (hot dog style!) to create a crease.
- Stack the three halved loops on top of each other and tightly wrap a small piece of baker’s twine to hold the stacked bows together. See picture below.

- Cut off any excess thread.

Bind hair bows together:
- Take the other 3/8″ piece of ribbon and wrap it around the stacked hairbows from bottom up. See picture below.

- Squeeze a small drop of hot glue on the top end as shown in the picture above
- Quickly and carefully wrap over the other end tightly and press down.

Assemble how bows to clip:
- Place a small drop of hot glue on the bottom of the band and quickly press down onto hair clip so that the banded hair bows are pretty centered over the clip.
- Hold for 10 seconds or until bows are secured.
Annnd voila! You now have a super cute hair bow for that adorable little girl in your life! 🙂