This blog post contains affiliate links. By purchasing through a link, Studio Xtine may receive a small commission that will help keep the blog running but more importantly, keep you crafting with me. 😊

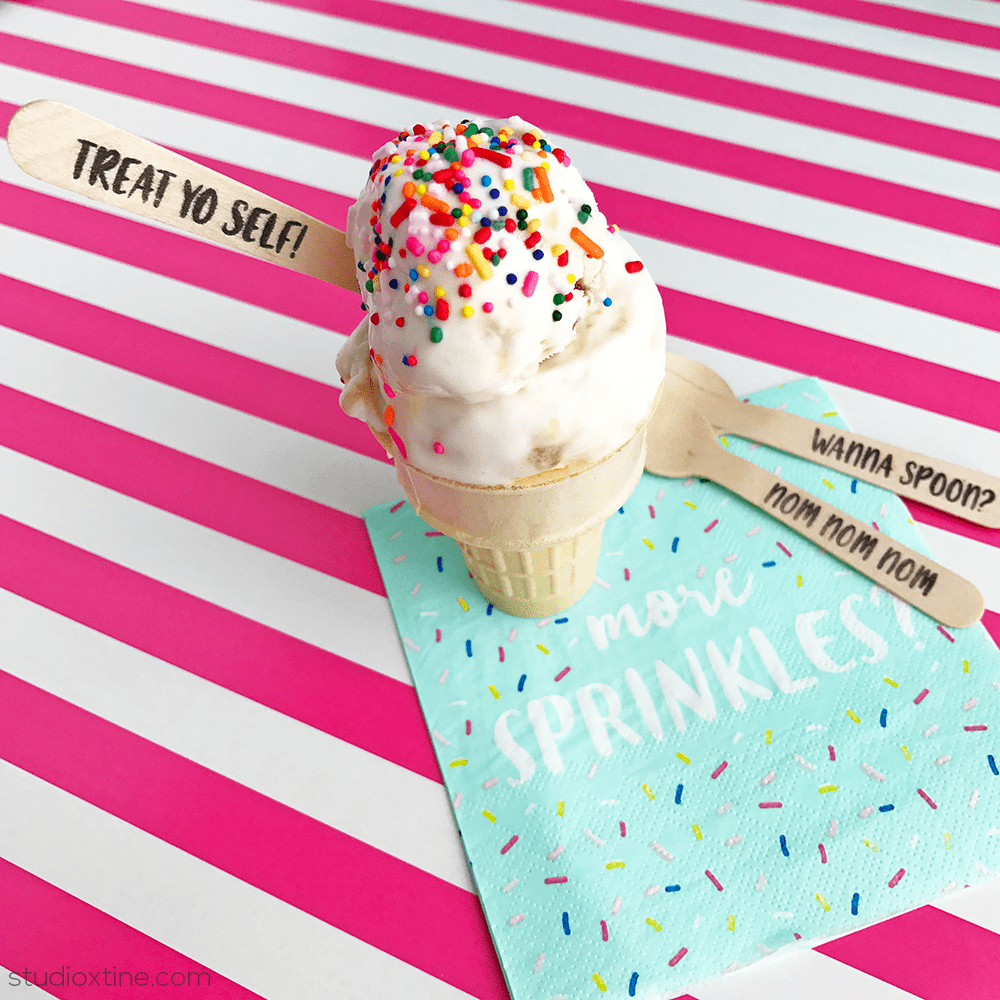
Is it me or is there something magical about wooden dessert spoons? All I can think of are those little individual ice cream cups with wooden spoons that we got back in the day…I can’t even remember if it was elementary school or later. I just remember, as a kid, those ice cream cups were heavenly.
So since I am making National Ice Cream Day a week-long celebration, let’s fancify our ice cream eating experience with DIY stamped dessert spoons! This project features the use of a different Silhouette machine…a custom stamp maker called The Mint.
Supplies needed:
- Silhouette Mint
- Lori Whitlock’s Grateful Font (of course you are more than welcome to use any other fonts!)
- 60mm x 30mm Mint Stamp Kit (use promo code 10OFF)
- Mint Ink in black (or whatever color you want)
- Wooden dessert spoons (got mine on Amazon)
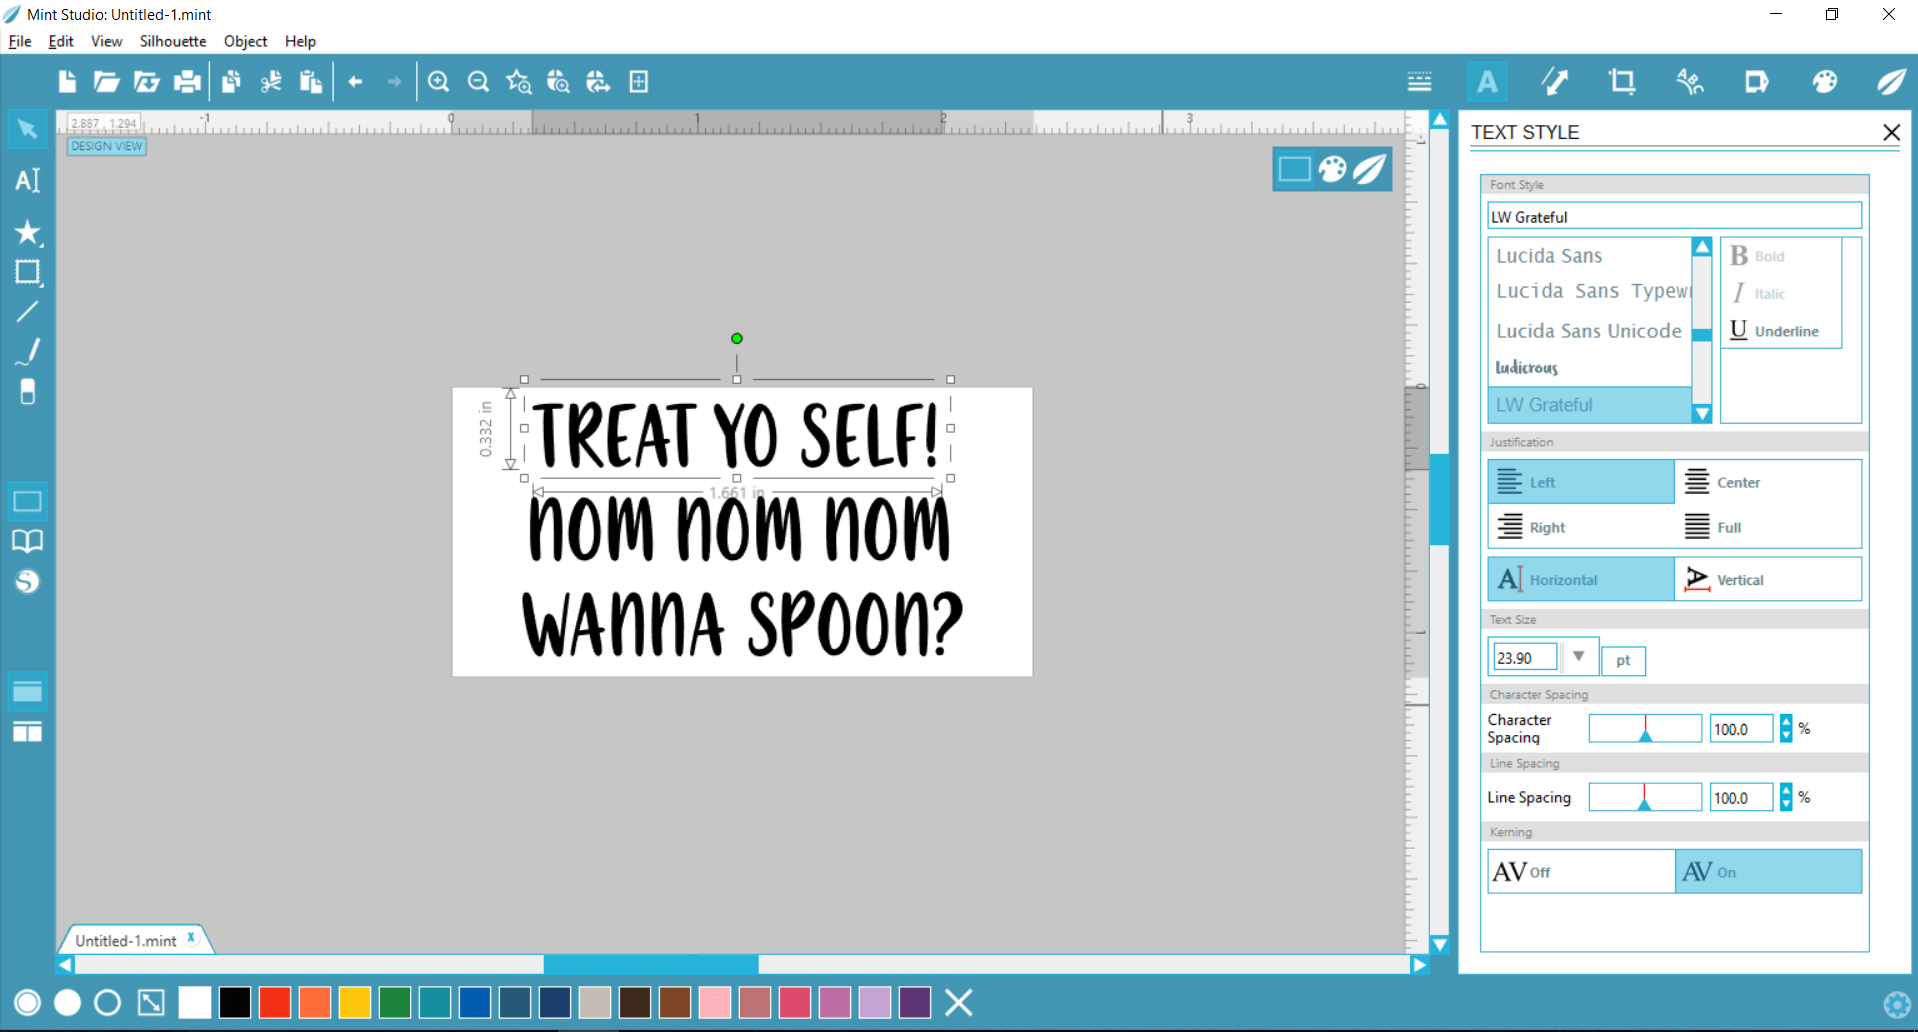
Step One: Create design in Mint Studio
- In the Stamp Settings window, select stamp size 60mm x 30mm.
- With Text tool selected, I typed up various fun phrases for my wooden spoons, such as “Treat Yo Self” and “Nom nom nom” and “Wanna Spoon?” (You know me, I love my puns)
- Next, I resized them to all fit the 60mm x 30mm stamp space while making sure each phrase would fit nicely within the space on the spoon’s handle. Now your stamp is ready to “print” via Mint!

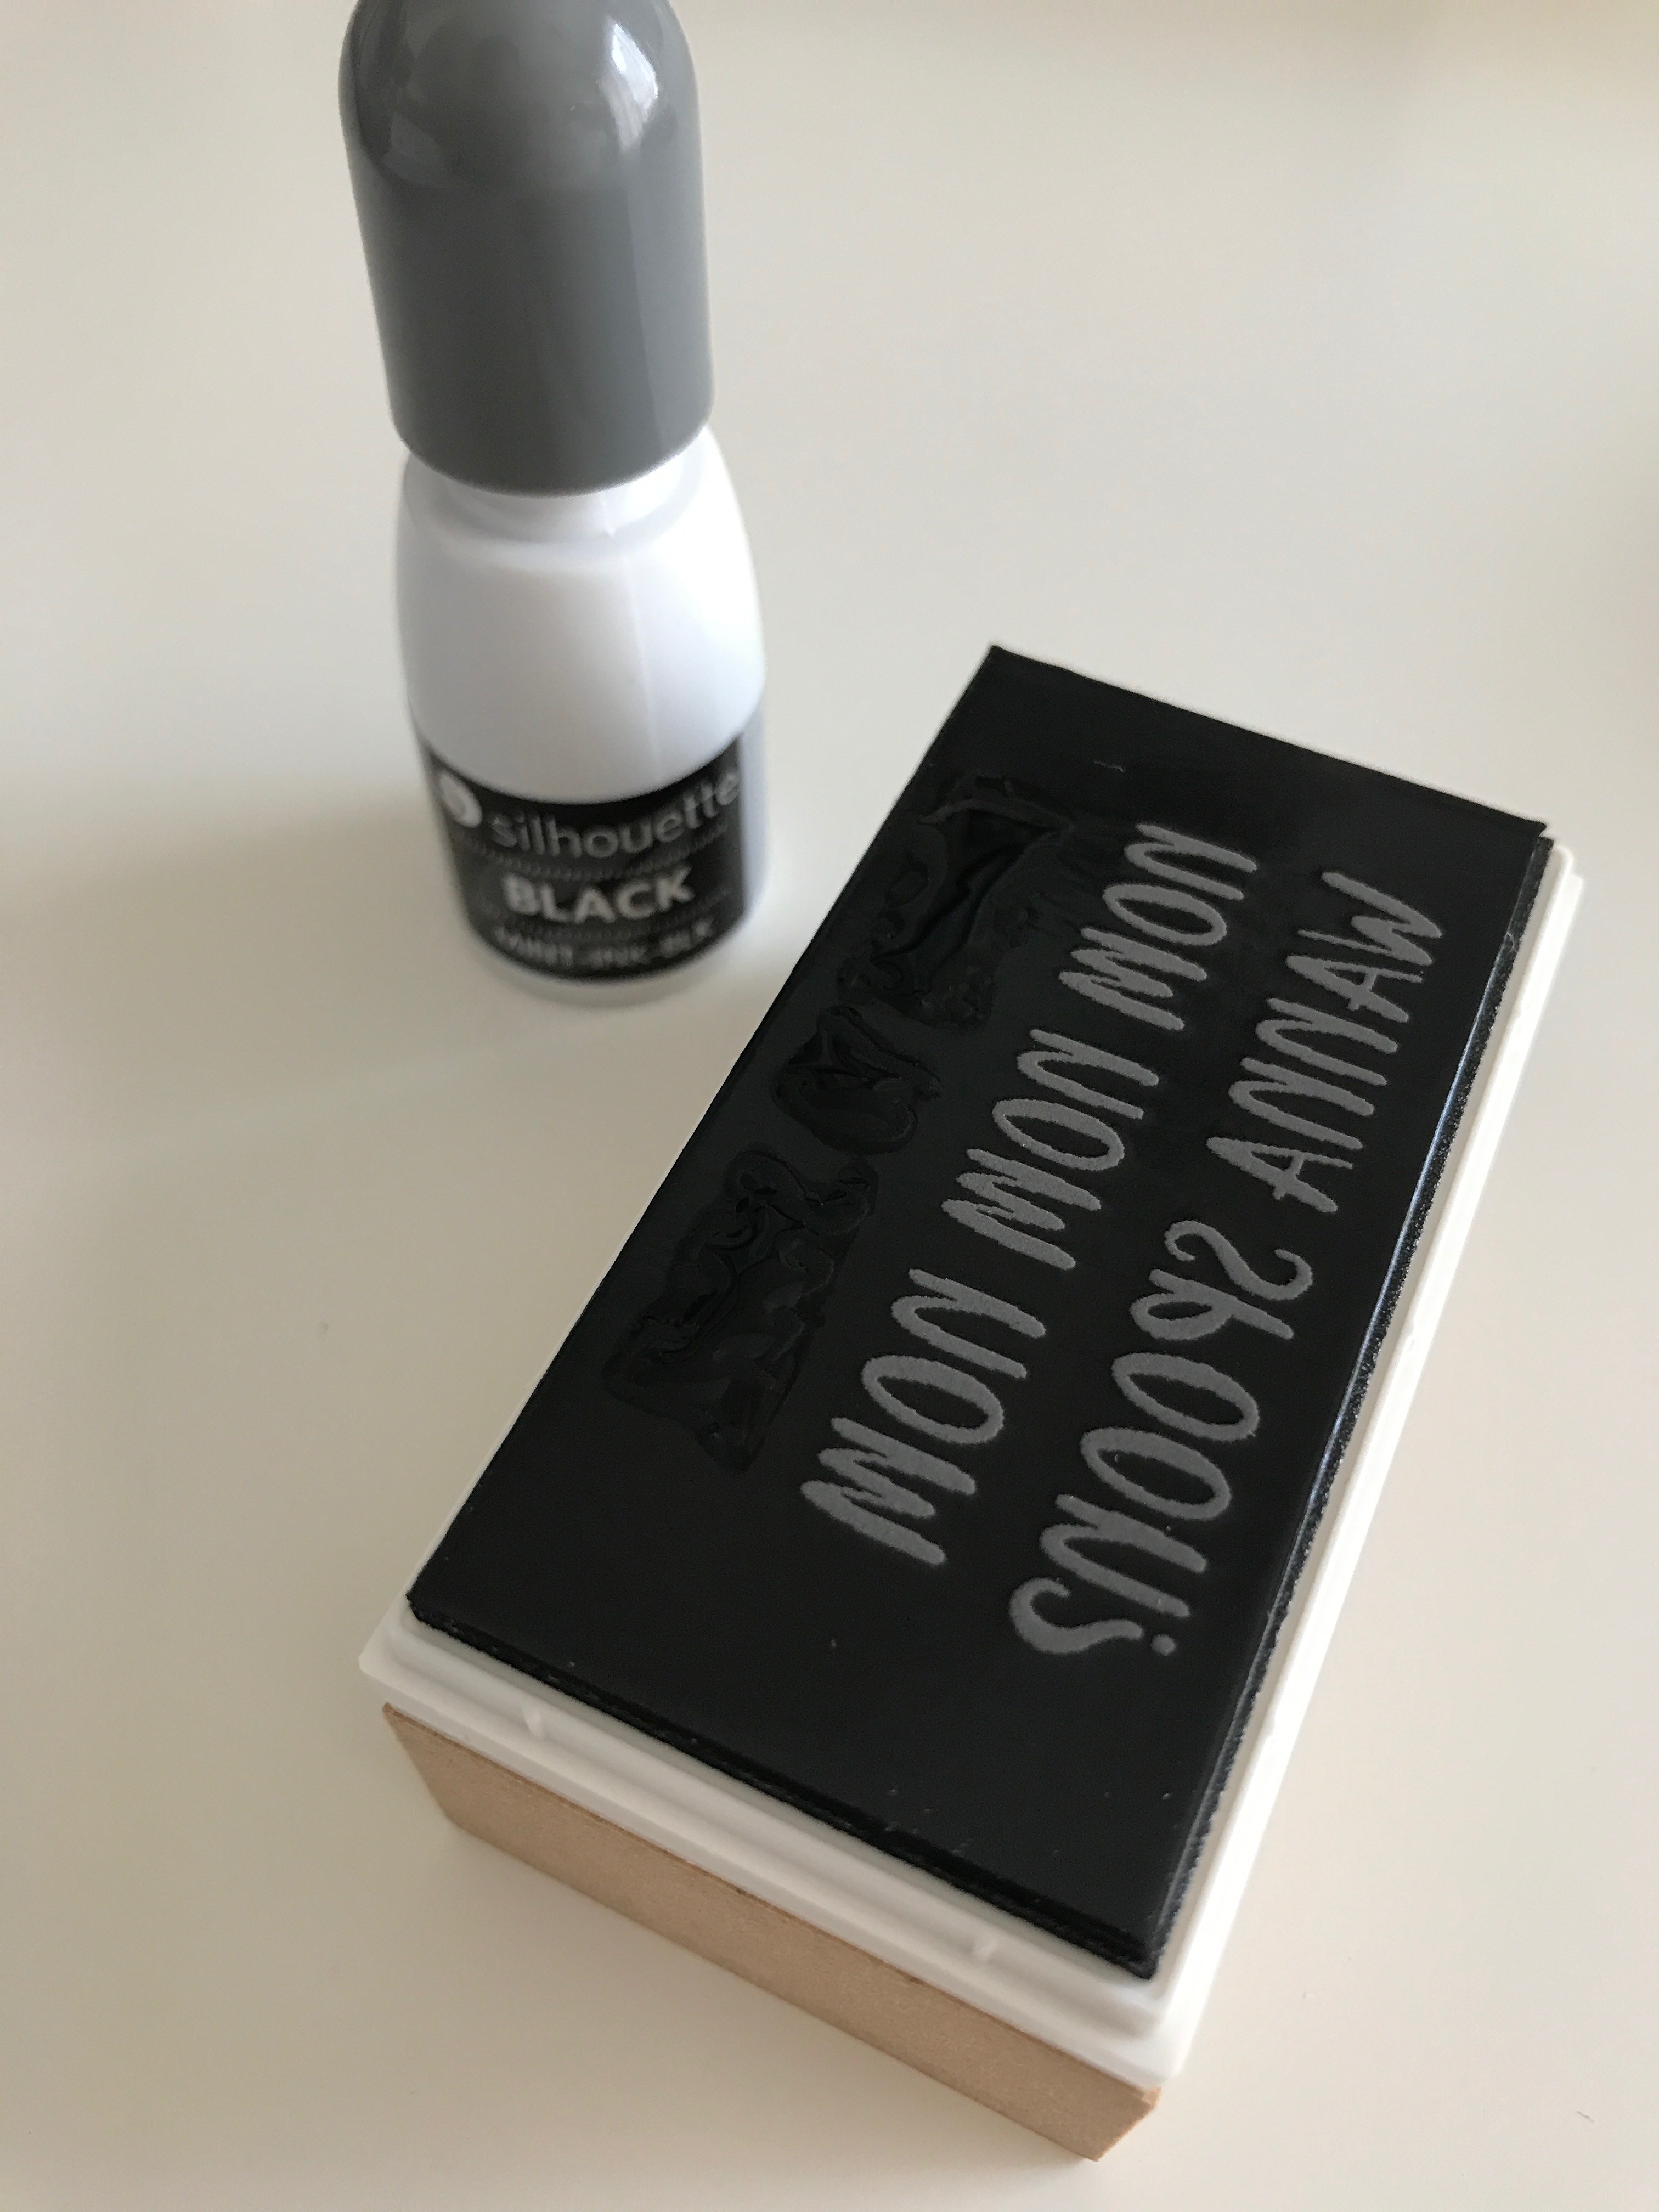
Step Two: Send to Mint
- Send your stamp to Mint and follow prompts in the program.
- Once printed, pull the cardboard piece out and fold along the perforated line.
- Remove the black square stamp from the cardboard casing as well as the plastic layer on top.
- Then, remove the lid of your stamp base, remove the protective layer, and apply your stamp to the stamp base.
- Apply the black (or whatever color you picked) ink and set it aside for about 10 mins to let the ink soak in.

Step Three: Stamp Spoons
- Stamp off the excess ink on a scrap piece of paper. TIP: As long as you let the ink penetrate for 10 minutes, don’t hesitate to keep practice stamping until you are getting a clean quality of your stamp image.
- Because my wooden spoons had some curvature, I let the spoon part hang off the edge of the table and laid the handle part flat on the table. Then, I stamped onto the handle part with even pressure. There are different ways to stamp plus your spoons may be made slightly different from mine so have fun and play around to see what works best for you!