Guess what today is??? National Ice Cream Day! 🙂
I mean, do I really need a day to remind me to enjoy one of the world’s greatest invention? Heck no!
So, I’m going to go a step further and make it an ice cream week here on the blog! I’ll “sprinkle” (har har, I love cheesy puns) in some tutorials and even a FREEBIE! Be sure to swing back in a couple days to see how to make your ice cream eating experience extra special.
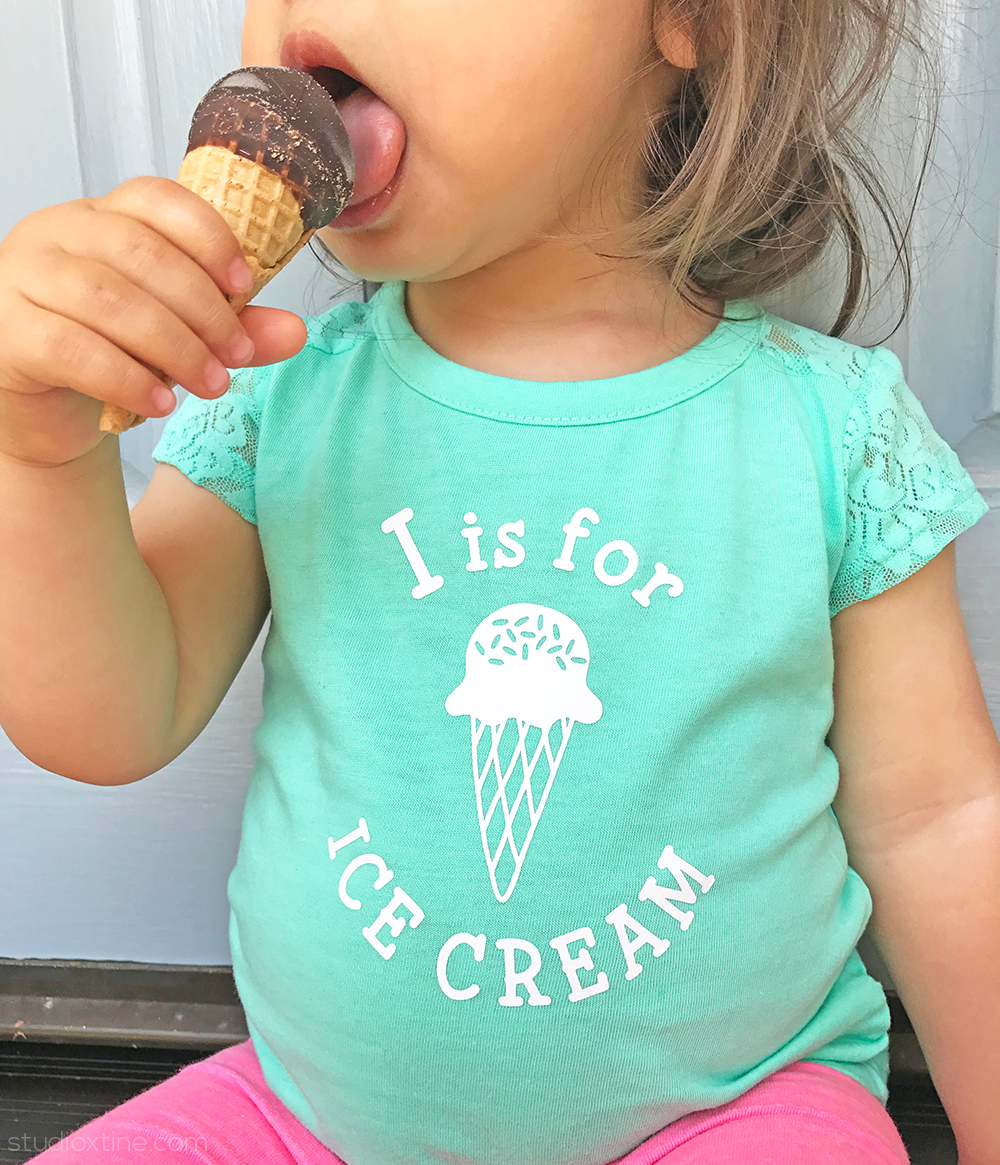
Today’s tutorial showcases a simple DIY shirt made with heat transfer vinyl (HTV) for my littlest. Every time we walk into an ice cream or froyo shop, she makes a mad dash towards the sample cups and then another mad dash towards one particular flavor which she points at with all her might. My favorite part is watching her hold the sample cup with her tiny pudgy fingers while enjoying the sweet treat. It’s got Vitamin D and Calcium right? #secondchild
Want to make this shirt for your kiddo…or yourself?!
Supplies needed:
- Shirt (I recommend washing your shirt first beforehand)
- Heat transfer vinyl (remember to use promo code 10OFF. FYI, I used smooth/matte material in white)
- Hook tool (promo code 10OFF)
- Amy Robison’s Ice Cream Cone Design ID#133499
- Thin fabric (like a plain dinner linen napkin)
- Iron
Let’s begin!
I love modifying designs purchased from Silhouette’s Design Store to make them work for my project needs. The Ice Cream Cone design by Amy Robison is so dang cute and I would totally use it as-is for any paper project. Side note: how awesome is it that when you open the file in Silhouette Studio, there is a little mockup in the top left corner?!?! SO incredibly helpful, am I right??
Here’s how I slightly modified the design for my daughter’s shirt:
- After you open the file in Silhouette Studio, right-click and ungroup.
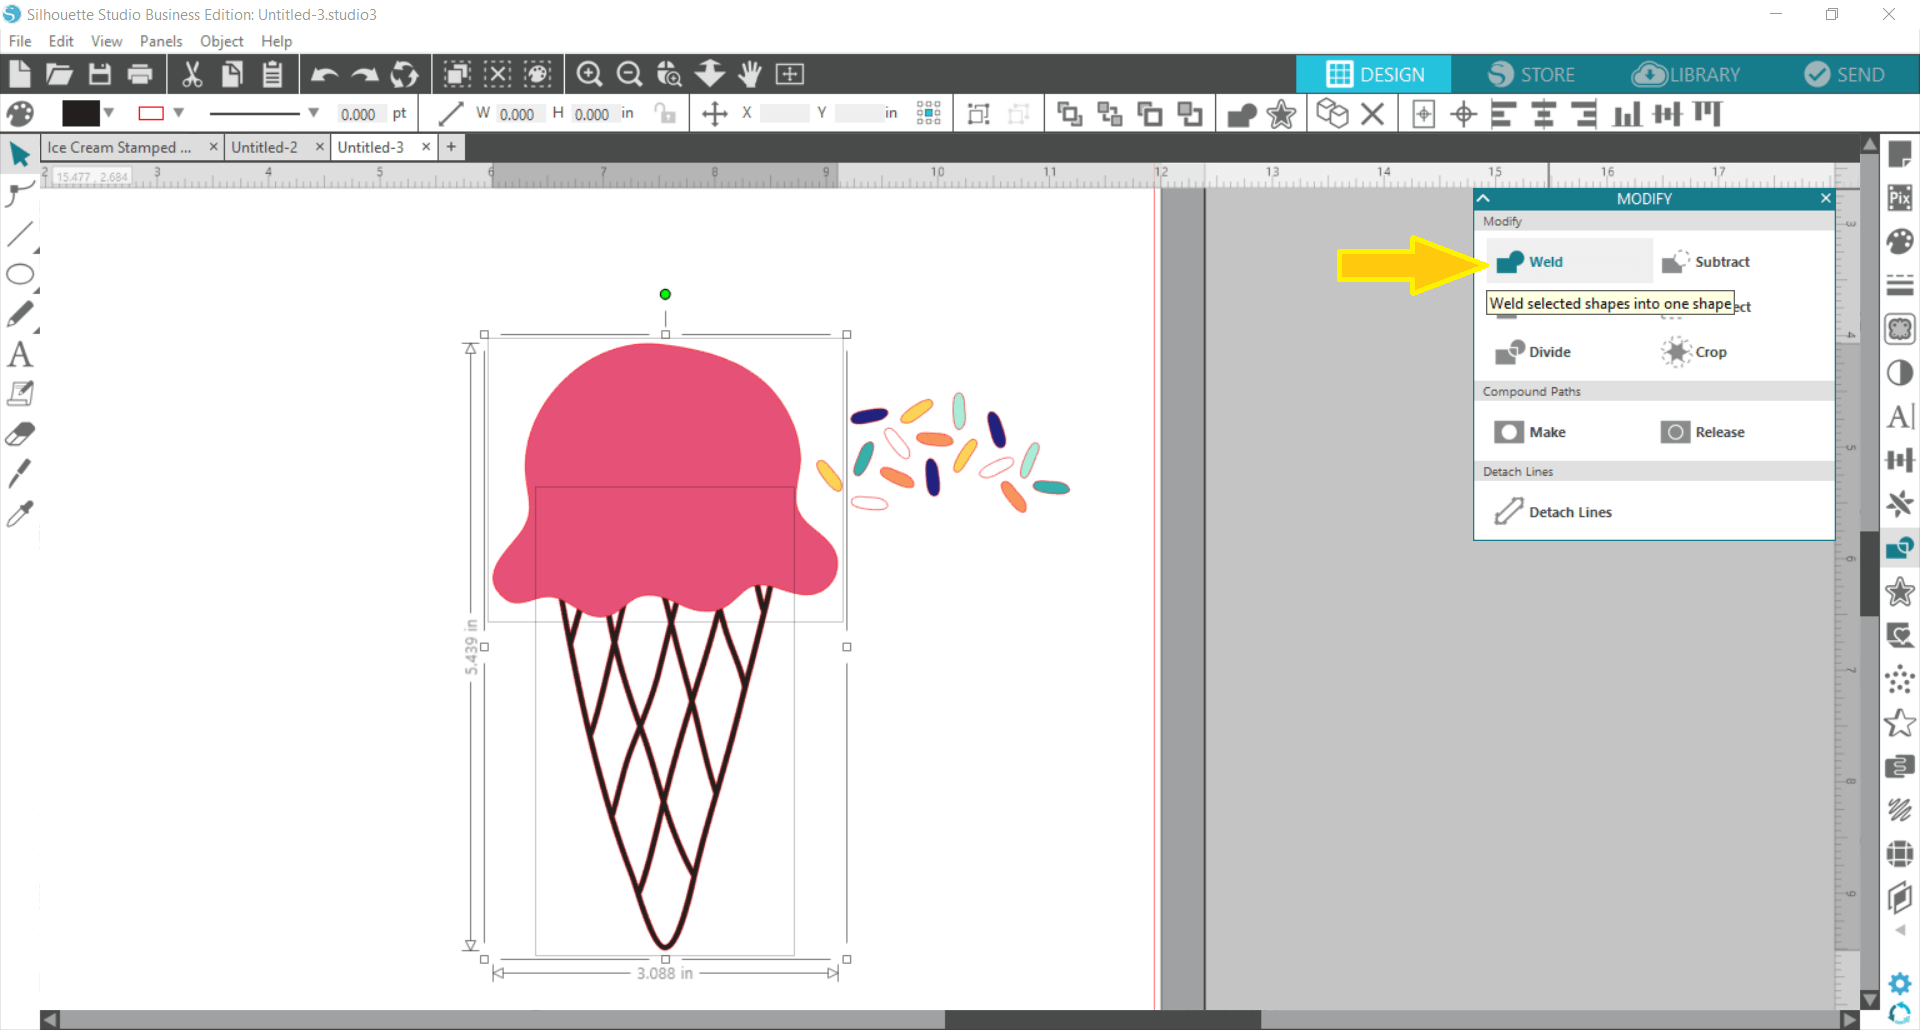
- Delete everything but three pieces (pink ice cream scoop, black cross-hatched cone, and colorful sprinkles). Also, do not resize the remaining shapes. NOTE: No need to change the fill color of the remaining pieces since we are not printing.
- Drag the cross-hatched cone to fit under the pink ice cream scoop. Make sure there is some overlap between the two pieces.
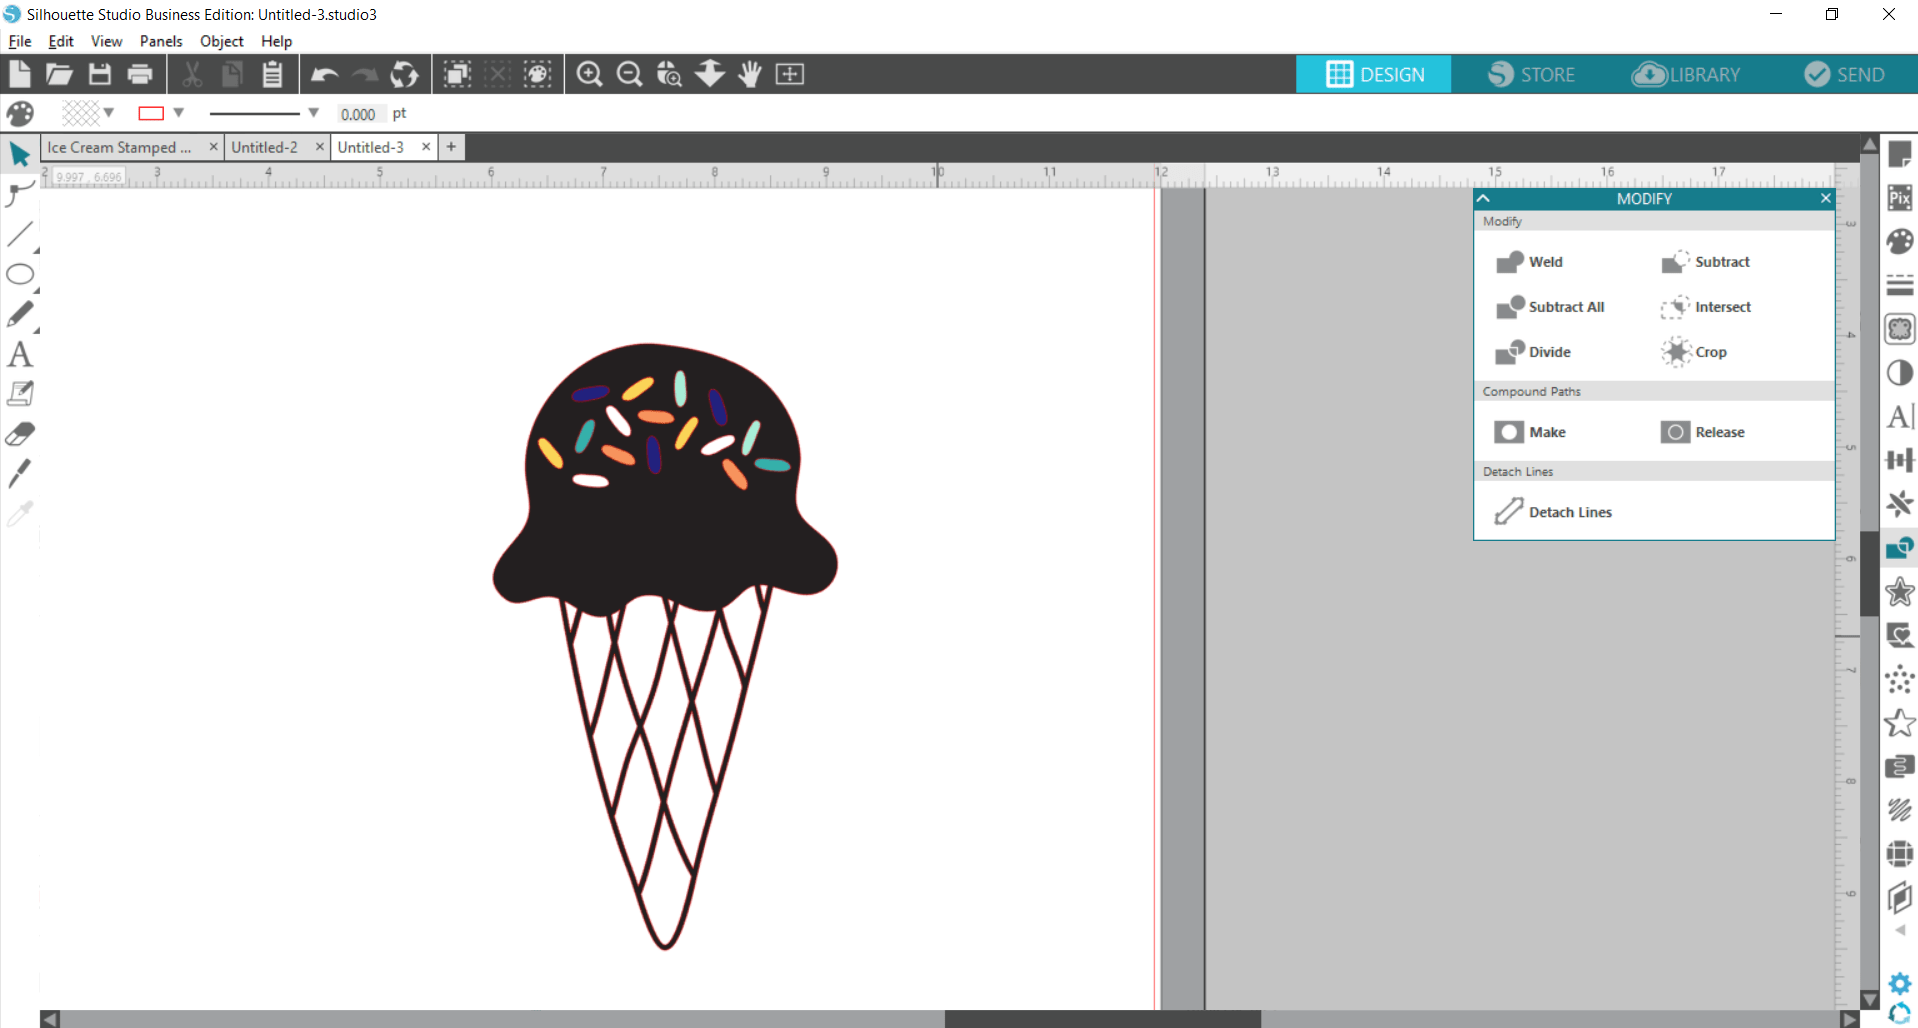
- With both cone and scoop selected, choose Weld under the Modify Window. NOTE: Don’t worry if your welded shape fill color changes to black. Again, fill color doesn’t matter when it comes to HTV projects. We are only concerned with cut lines.

- Next, move the sprinkles piece on top of the ice cream scoop.
- Great! We have our ice cream design and now we can add text.
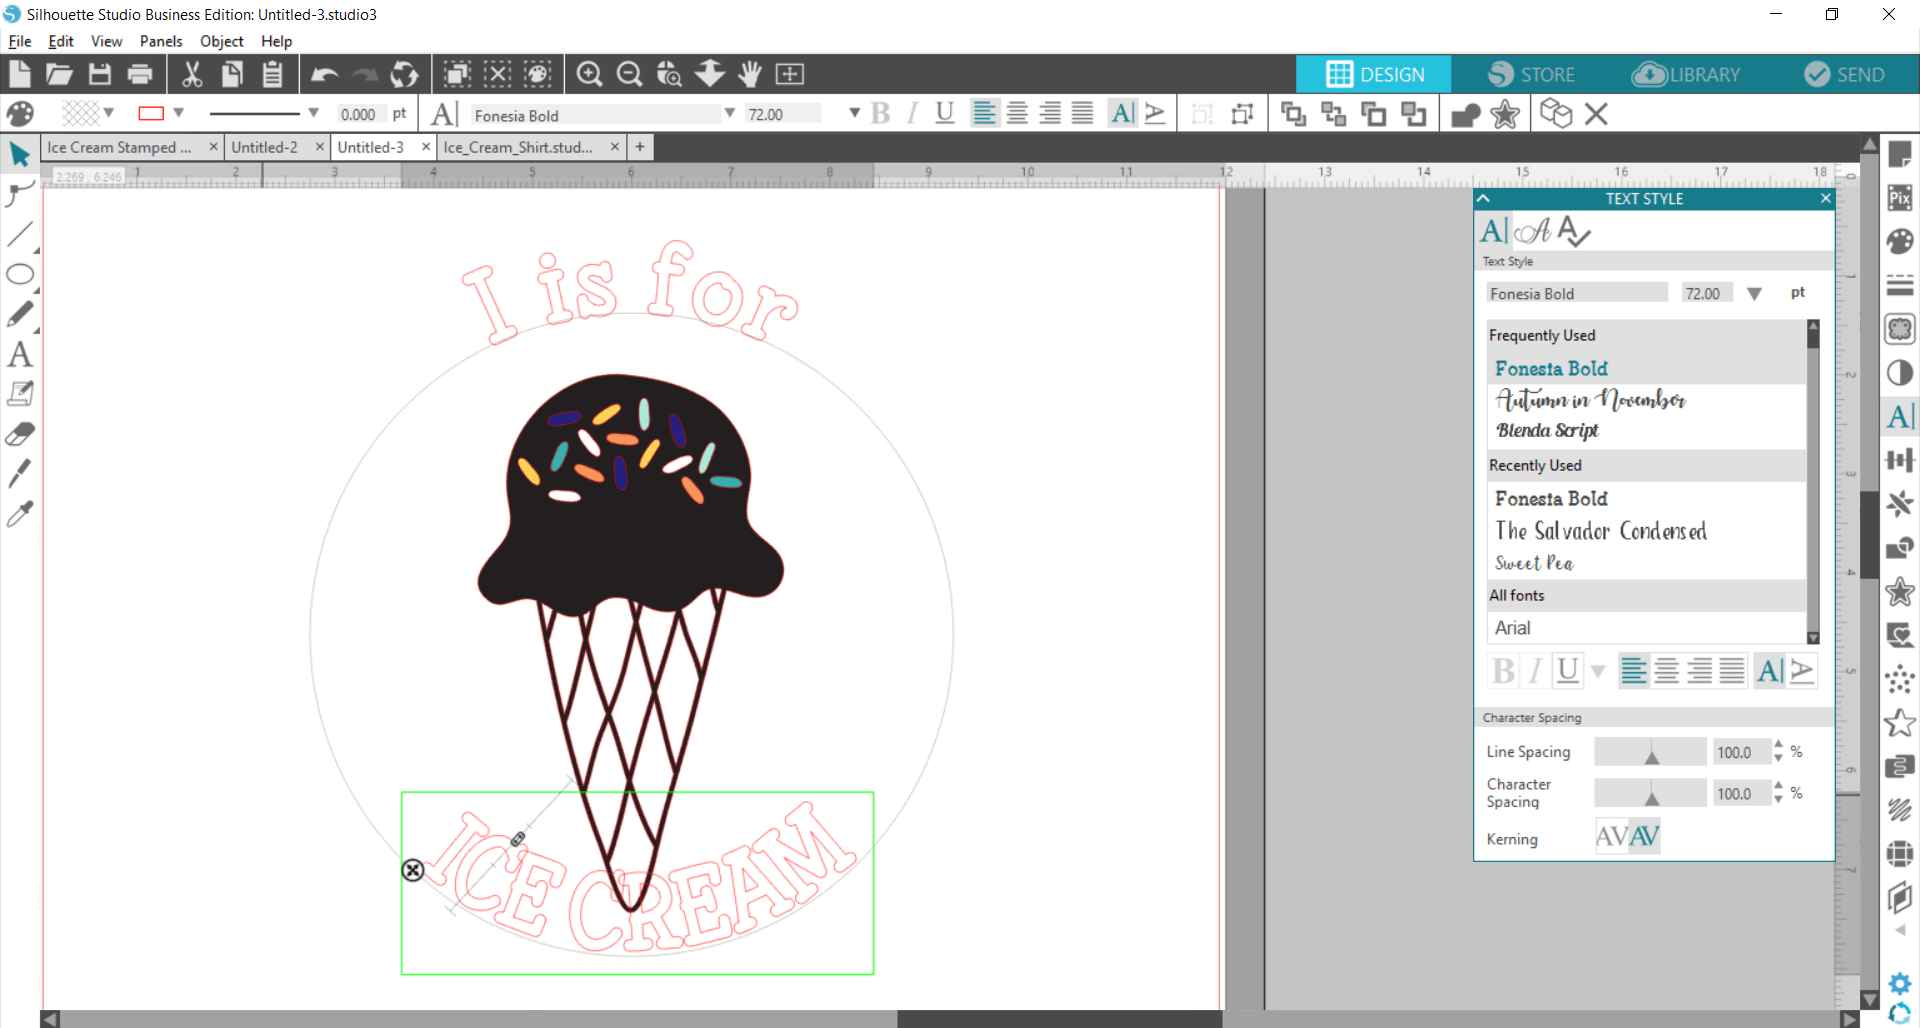
- Then, simply create one circle shape with a 6.50in diameter.
- Click on Text tool and type “I is for” in a space somewhere above the ice cream cone shape with whatever font you like.
- Click on the four-arrow symbol on the bottom left of your text box and drag it down the top of the circle so that the words are on top of your circle and centered by eye. NOTE: If your text box was below your ice cream cone design and you dragged up the text box to the top of your circle, your words would probably be upside down. For more information about the Text to Path technique, visit this post.

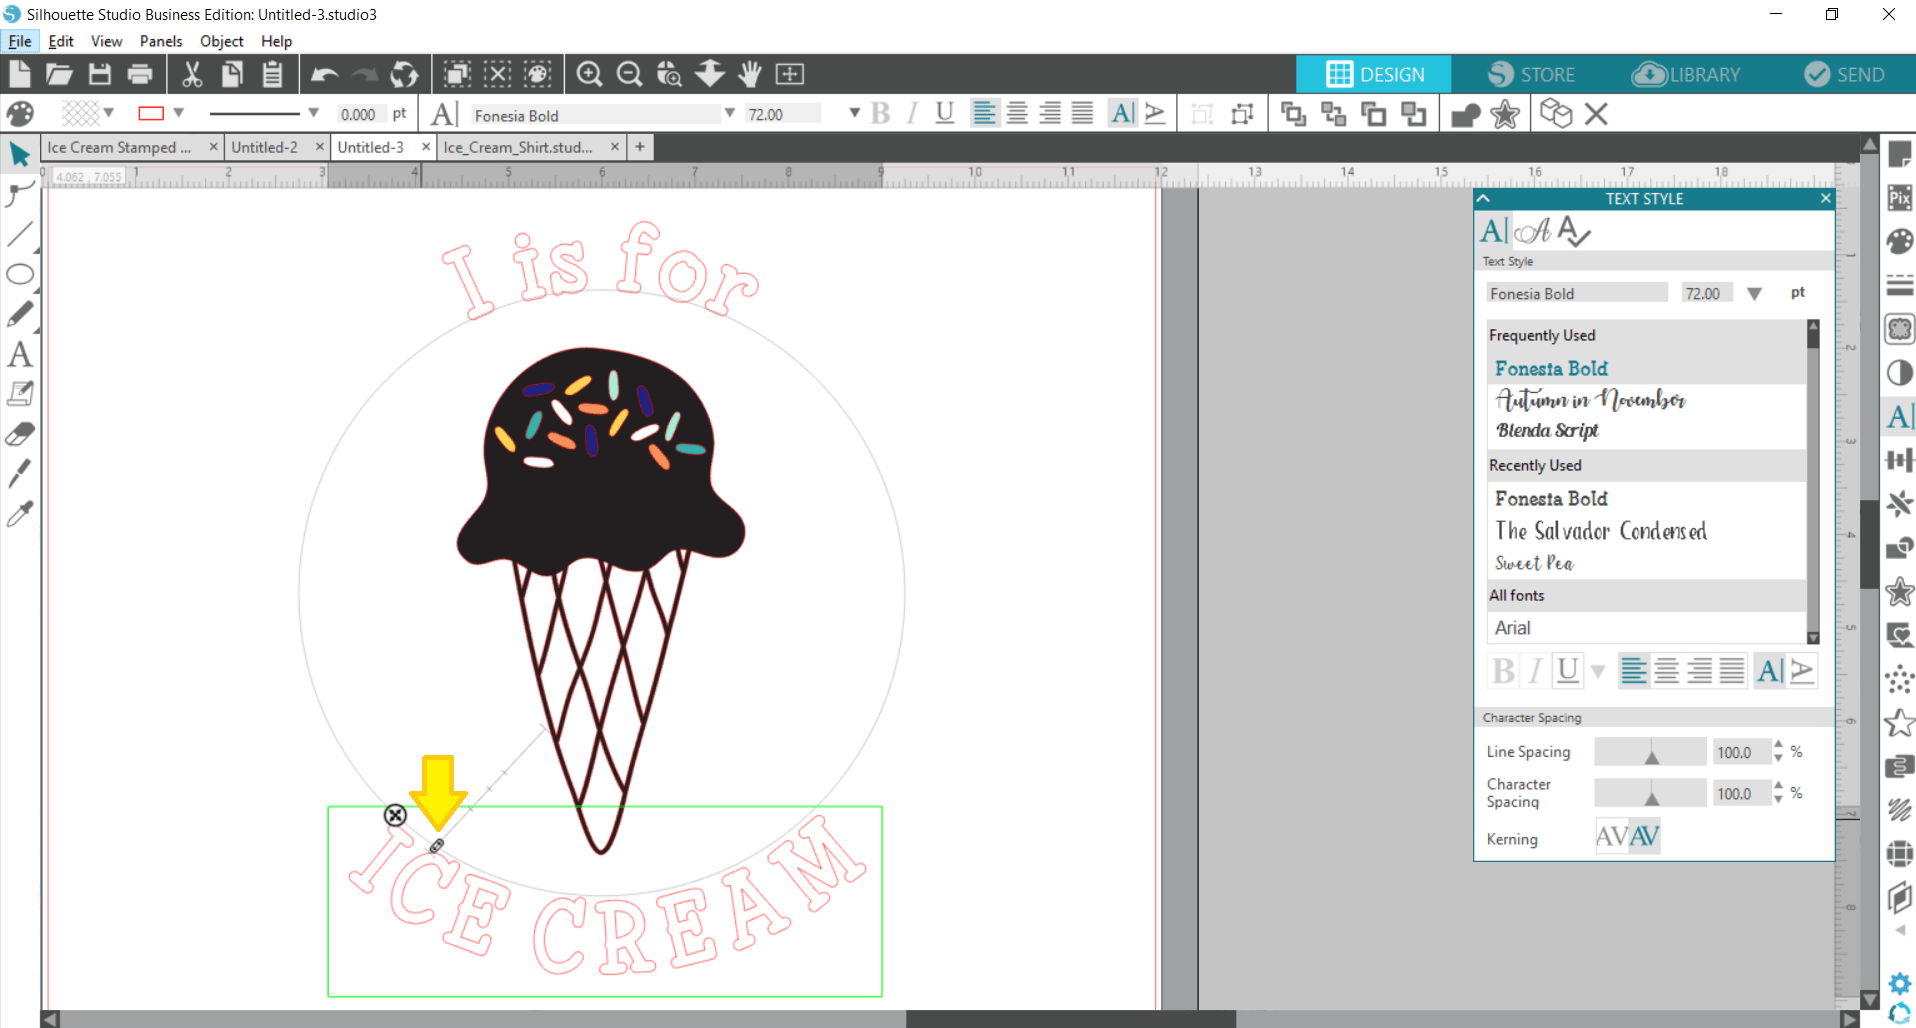
- Next, copy/paste the “I is for” text box, drag it down to the “inside” of the circle, and revise text to read “ICE CREAM” in caps with the same font that you chose earlier.

- We obviously don’t want the words to overlap the cone so we will use the vertical slider to “slide” the text outwardly. Slide as far as you can.
- Lastly, for both text boxes, right-click and choose “Convert to Path,” which will “unlink” its “Text to Path” relationship to the circle. The circle is now back to being a regular cut circle, which you can now delete.
- Adjust the text as needed until you are satisfied with your design.
- Group everything so that it’s one piece.
- Resize your design accordingly to fit your shirt.
Once you have your finished design, the last step is ironing it onto your shirt which is super easy to do. Just click this link and follow steps 3-14.
Now all that is left is to sport your new awesome shirt, grab a pint of your favorite ice cream, and ENJOY! 🙂
