One of my first friends in college who also was my lab partner in one of the hardest engineering classes everrrrr is having a baby! Hooray! 🙂 While I may not have aced that engineering class, I know I can get an A in creating some pretty cute baby shower decor.
She and her hubby love to travel so it was no brainer that lil Baby Hank’s nursery will be travel/adventure-themed. And because the party organizers and I are practical people, we carried that theme into the baby shower as well so that any fun decor can be reused to decorate the nursery. Making it as easy peasy for the parents-to-be!
In my experience, the best way to plan decor for an event is pretend you are a guest and do a mental walkthrough (or a physical one if it’s at your own home) of your party spaces.
So, come with me! Let’s attend Baby Hank’s baby shower virtually!
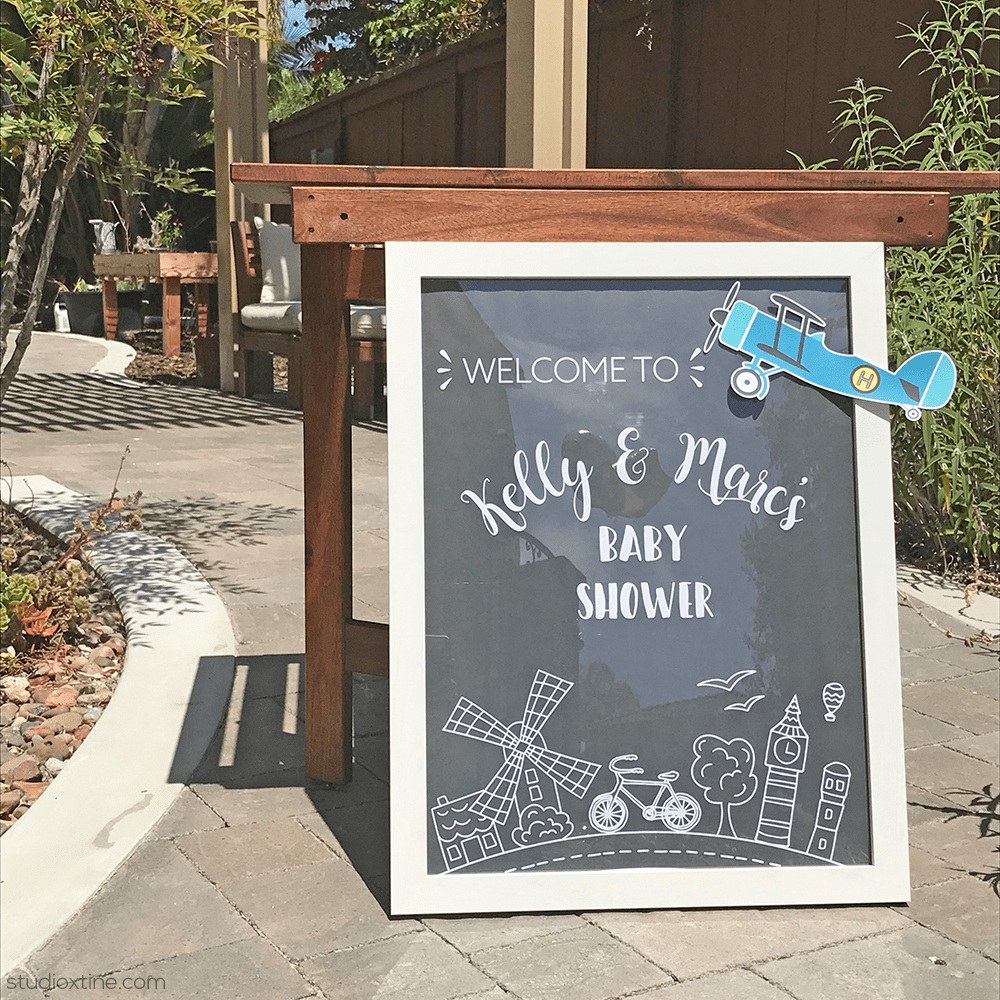
Next, a pseudo-chalkboard sign was placed near the front door so guests knew to enter the party through the front door versus the side yard which is the first thing you see after walking through the gates. You ready to learn about my secret weapon when it comes to large signs? Two words…engineering prints! This 18in x 24in “chalkboard” sign was created in Adobe InDesign and printed at Staples as a black and white “engineering print” and it cost just $2! You can print up to 36in x 48in and in color (although I was told by the guy at Staples that the color can only be about 25-30% of your design to be considered “engineering print”).
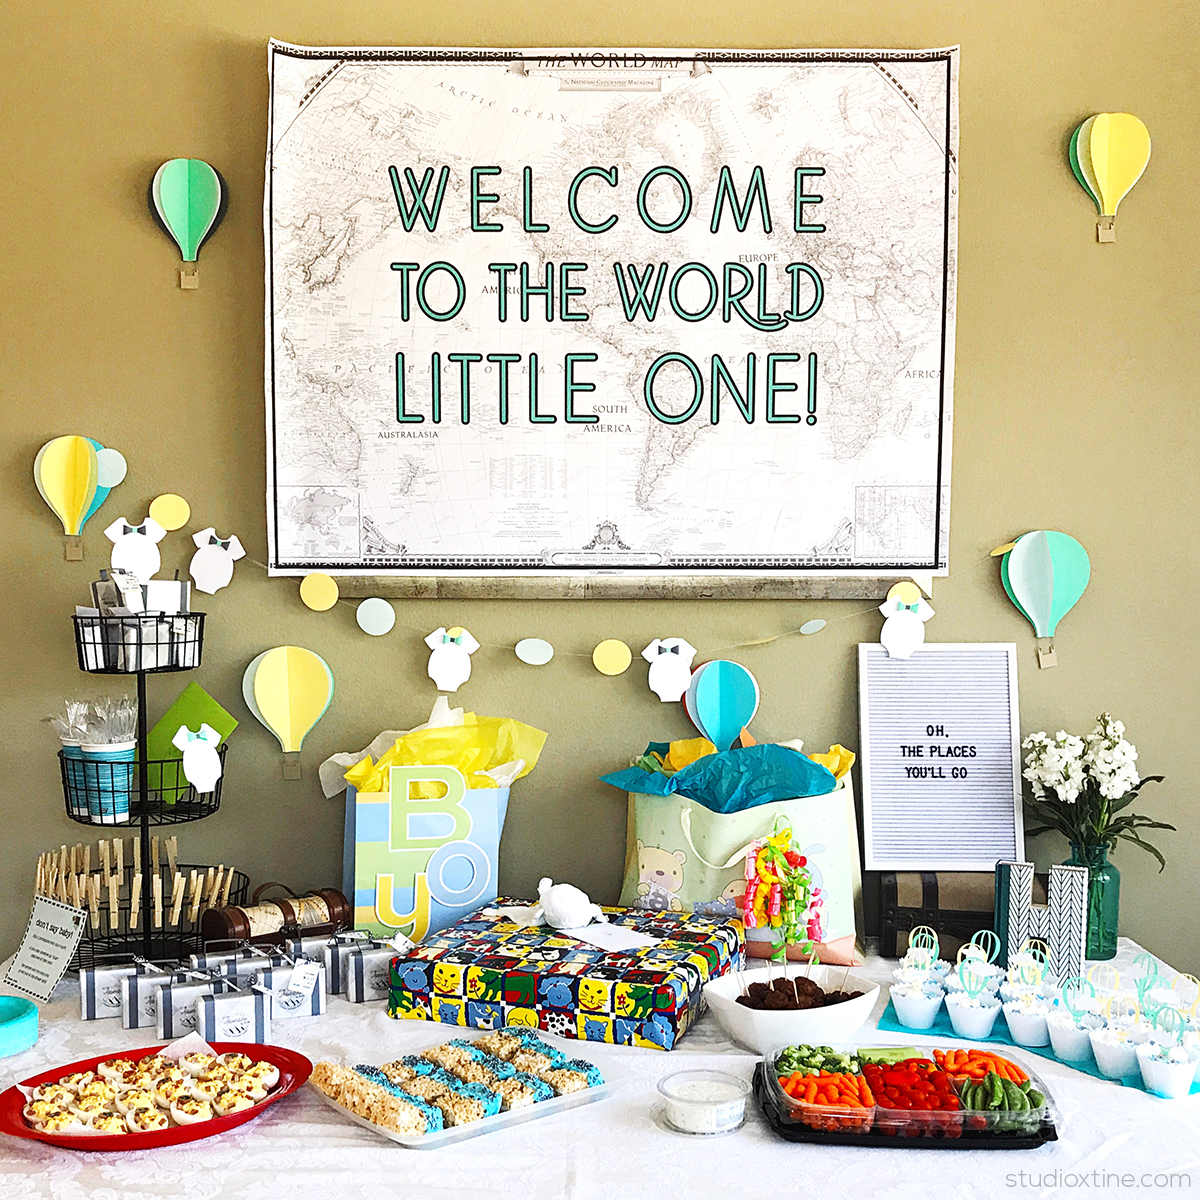
I think social parties like baby showers need a focal point so that’s where I spend the rest of my attention. The dining table was pushed against the wall and a 36in x 48in backdrop was hung to create the focal point. And yuuuup, that backdrop is also an engineering print and in color!! Next, I added dimension to the space with 3D hot air balloons that brought pops of color against the backdrop. An adorable hand-sewn circle+onesie garland also draped below the backdrop for some visual interest.
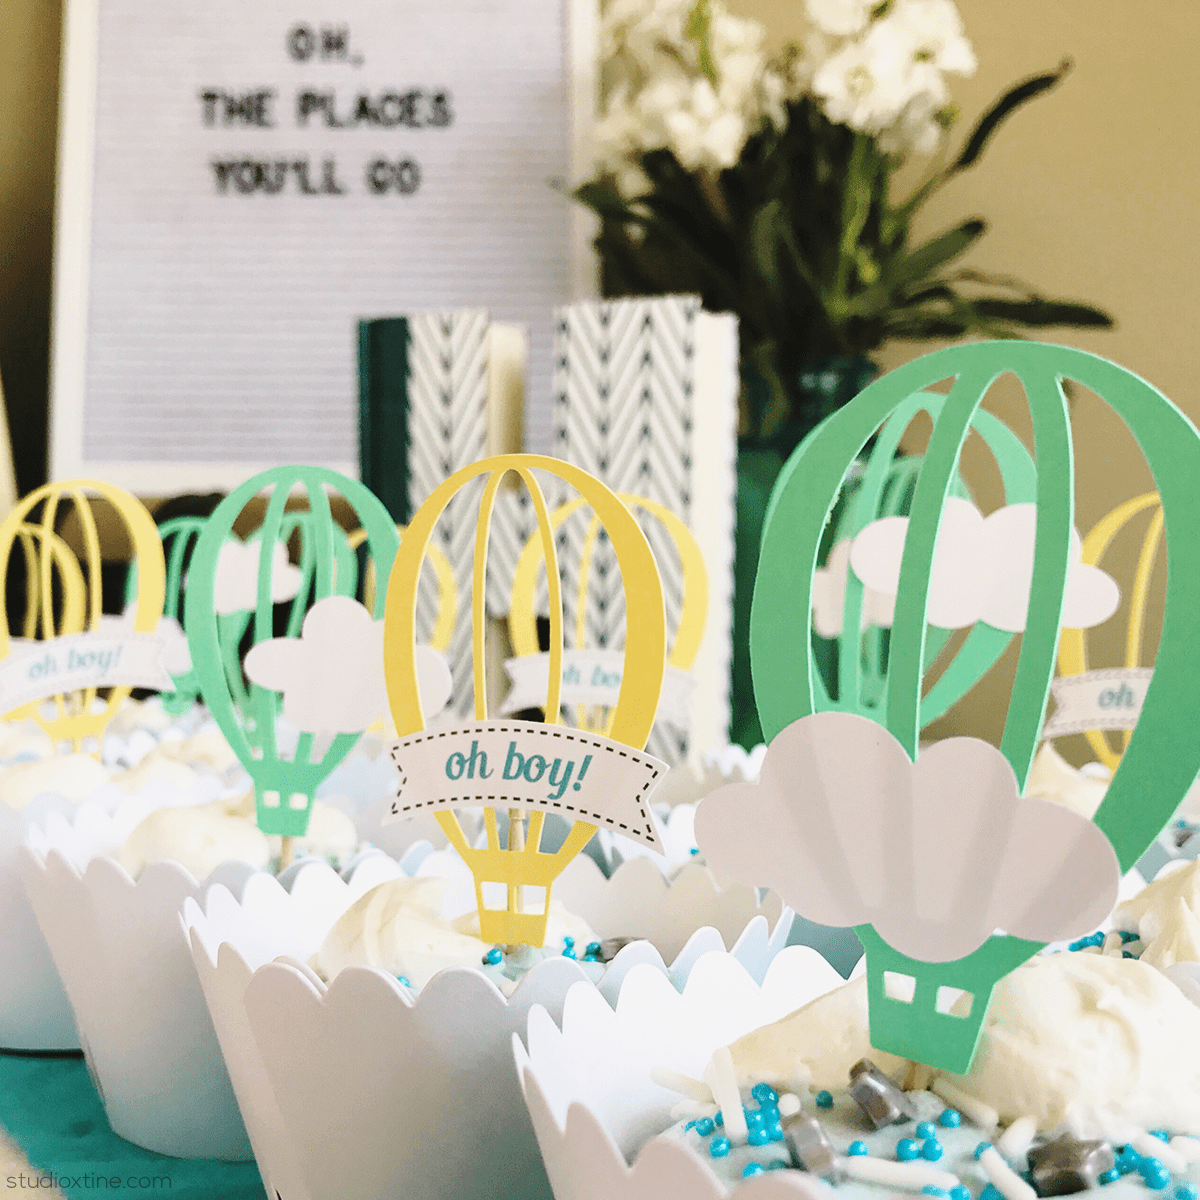
The hot air balloon icon can be seen again here on the cupcakes toppers. Personally, I like to repeat icons/patterns/colors/shapes throughout in the decor because it not only makes the entire event feel cohesive but it also reiterates the theme. These cupcake toppers were customized by using several different designs from the Silhouette Design Store. I tweaked Lori Whitlock’s Design ID#36441 to create the hot air balloon piece. The clouds are from Snapdragon Snippets’ Design ID#44219. The “oh boy” banner was created layering my own text on the banner shape in this design by Kolette Hall.

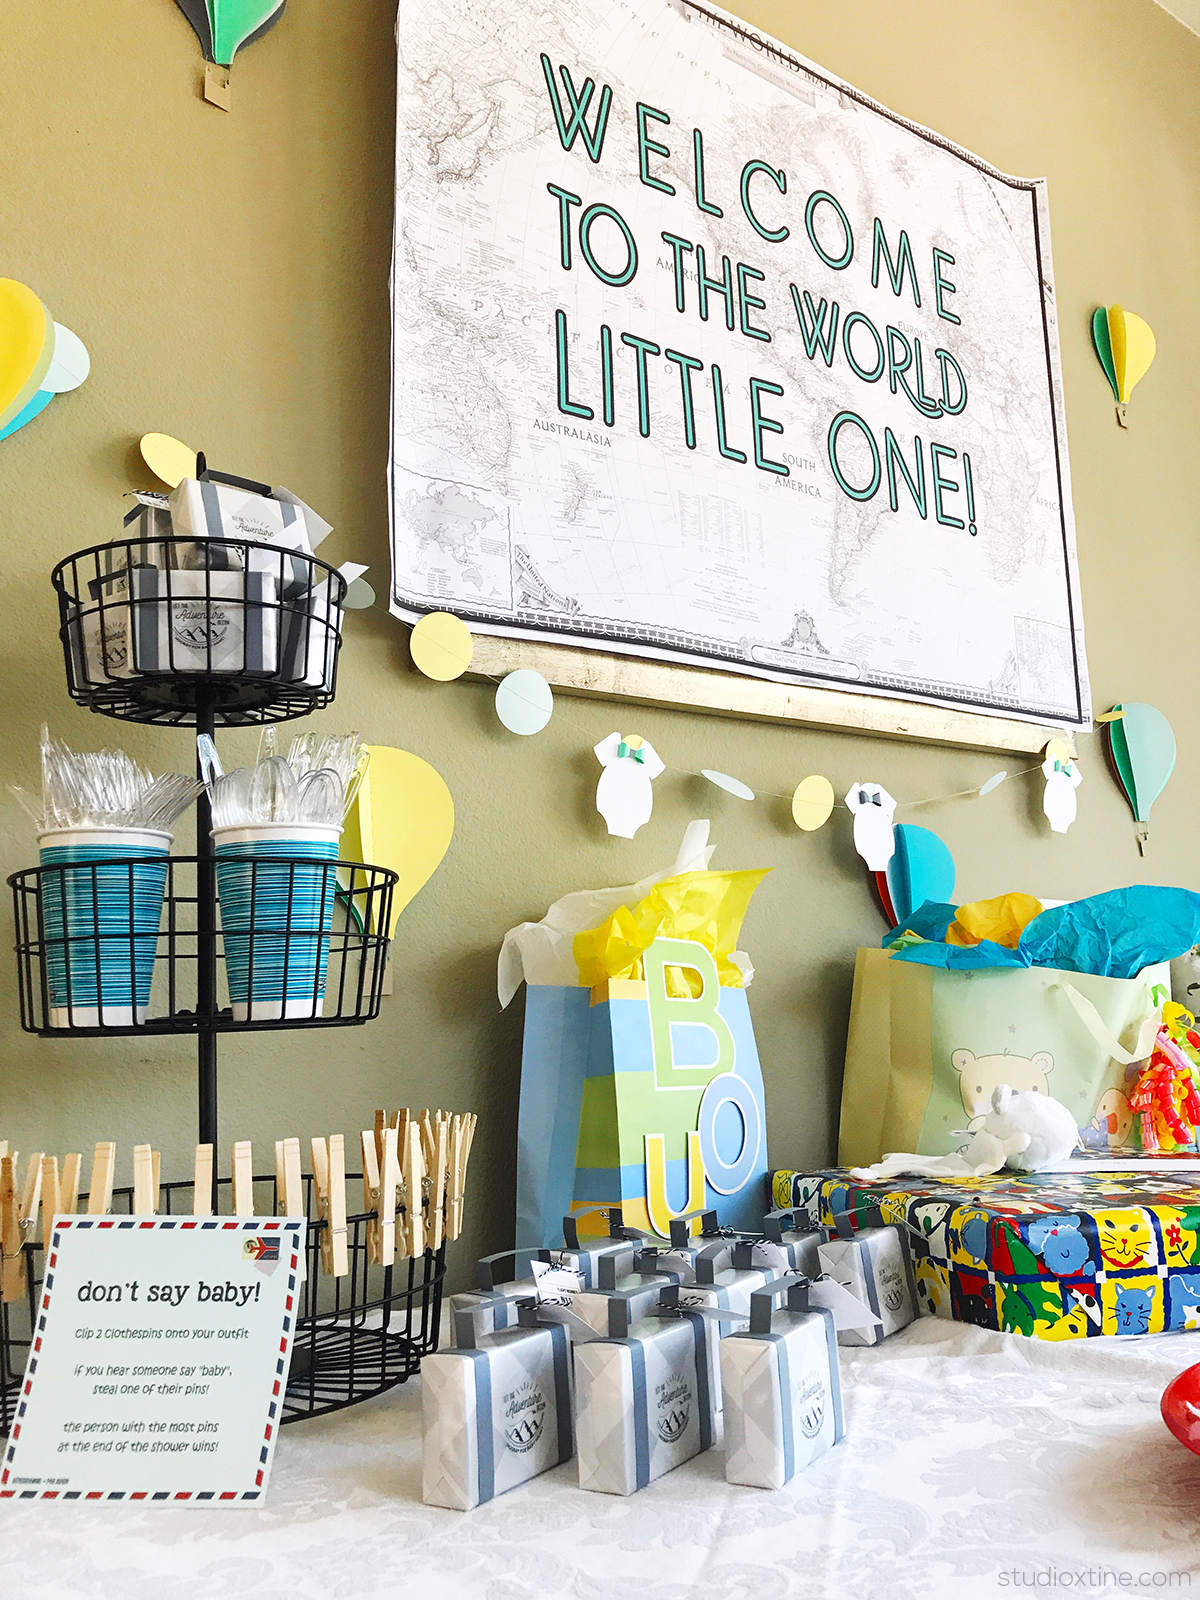
My favorite piece of this baby shower was the luggage favors. M&M fun size bags filled each kraft soap box, which was then wrapped with light grey/silver wrapping paper. To create the look of a suitcase, thin strips of dark grey cardstock were added on the sides and one on top to create a handle. I felt the front of the luggage looked bare so decided to add a little travel flair with a cute graphic printed on Silhouette’s clear labels. It was also an opportunity to acknowledge the favor is from Baby Hank’s baby shower. The finishing piece was the luggage tag that I created in Adobe Illustrator. The luggage tag listed some special numbers and letters. The numbers represented the baby’s due month and year. The 3-letter “airport code” is actually the baby’s initials. So fun sneaking in little things like that! Anyways, I imported this graphic into Silhouette Studio so that the tags could be individually cut by my Silhouette CAMEO. I love incorporating my graphic designs into Silhouette projects!
Welcome to the world Baby Hank!! 🙂