As I mentioned in an earlier post, June was a busy month for me and it was totally unrelated to this blog or my gig with Silhouette. I was blessed with the opportunity to work on two special events with Switchfoot’s BRO-AM Foundation. Their music was on repeat in my college days so this experience was also sentimental. If you have a few minutes, take a moment to learn more about their awesome non-profit that was founded on the band members’ desire to give back to the San Diego community and youth initiatives. As a mother, I am thankful the less fortunate kids out there are getting love, hope, and support every child unconditionally deserves!
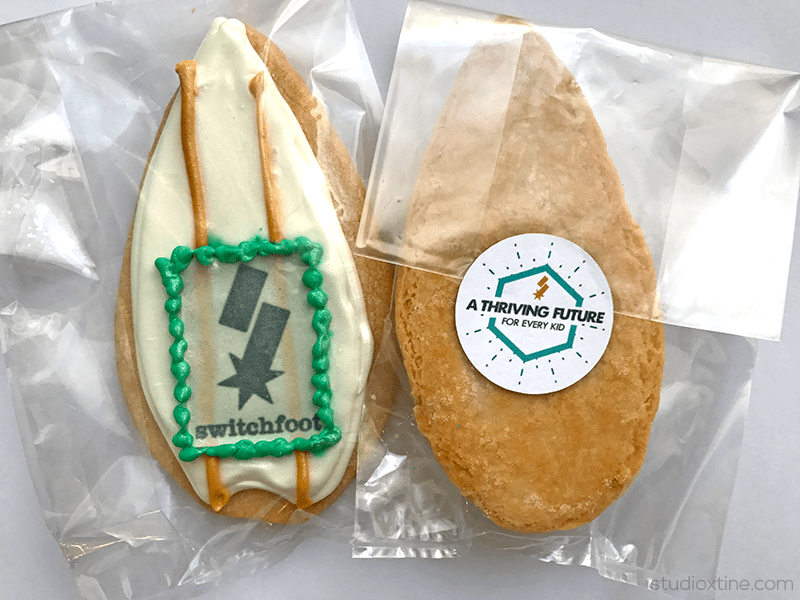
One of our events was a Benefit Party where we placed custom sugar cookies in each VIP gift bag. We wanted to carry through the branding as well as the mission statement wherever possible. So why not on the packaging label that seals each cookie bag?
This method is pretty much making your own Print and Cut design. And the beauty of this method is that the process behind it can be applied to any special event, from birthday parties to weddings. Let me show you how!
- To start, I created my cookie label design in Adobe InDesign. You can use any graphic software program that allows you to save your design in common image file types (JPG, PNG, BMP, GIF, and TIF files). For more info, click here for more details.
- For this event, I needed 1.50in diameter cookie labels so in InDesign, I made a wider circular design perimeter (1.55in) so that I knew to keep my design within it.
- While designing, I also kept in mind the location of Silhouette’s Registration Marks, which is necessary for Print and Cut function to work. Basically, leave some space on the top as well as the bottom left area.
- When the design was complete, I simply exported the file as a PNG and imported it into my Silhouette’s library.
- Within the Scale Window, I resized it to fit a letter-size cardstock sheet (8.50in x 11.00in).
- Next, I placed 1.50in diameter circles over each cookie label while making sure they were nicely centered. These 1.50in circles’ cut lines fell within the 1.55in design lines.
- And finally, I sent it to Silhouette to first print the image with my home color printer and then transferred it onto a cutting mat and sent it again to Silhouette to cut with the cut settings.
That’s it! How easy is that?! Knowing this technique will really personalize your event and make your event styling look and feel cohesive!