Hello 2018! I don’t know about you but I personally am excited for the next 365 days!
At the start of every new year, I feel a weight lifted off my shoulders. Not that any of my troubles have suddenly disappeared but I feel like life hit the reset button, which is especially needed after the hustle and bustle of the holidays. Last year was an incredible journey of self-discovery and self-trust. This year, I’m ready to hone in on the parts that matter most. The stuff that makes me smile from within and feel light and free.
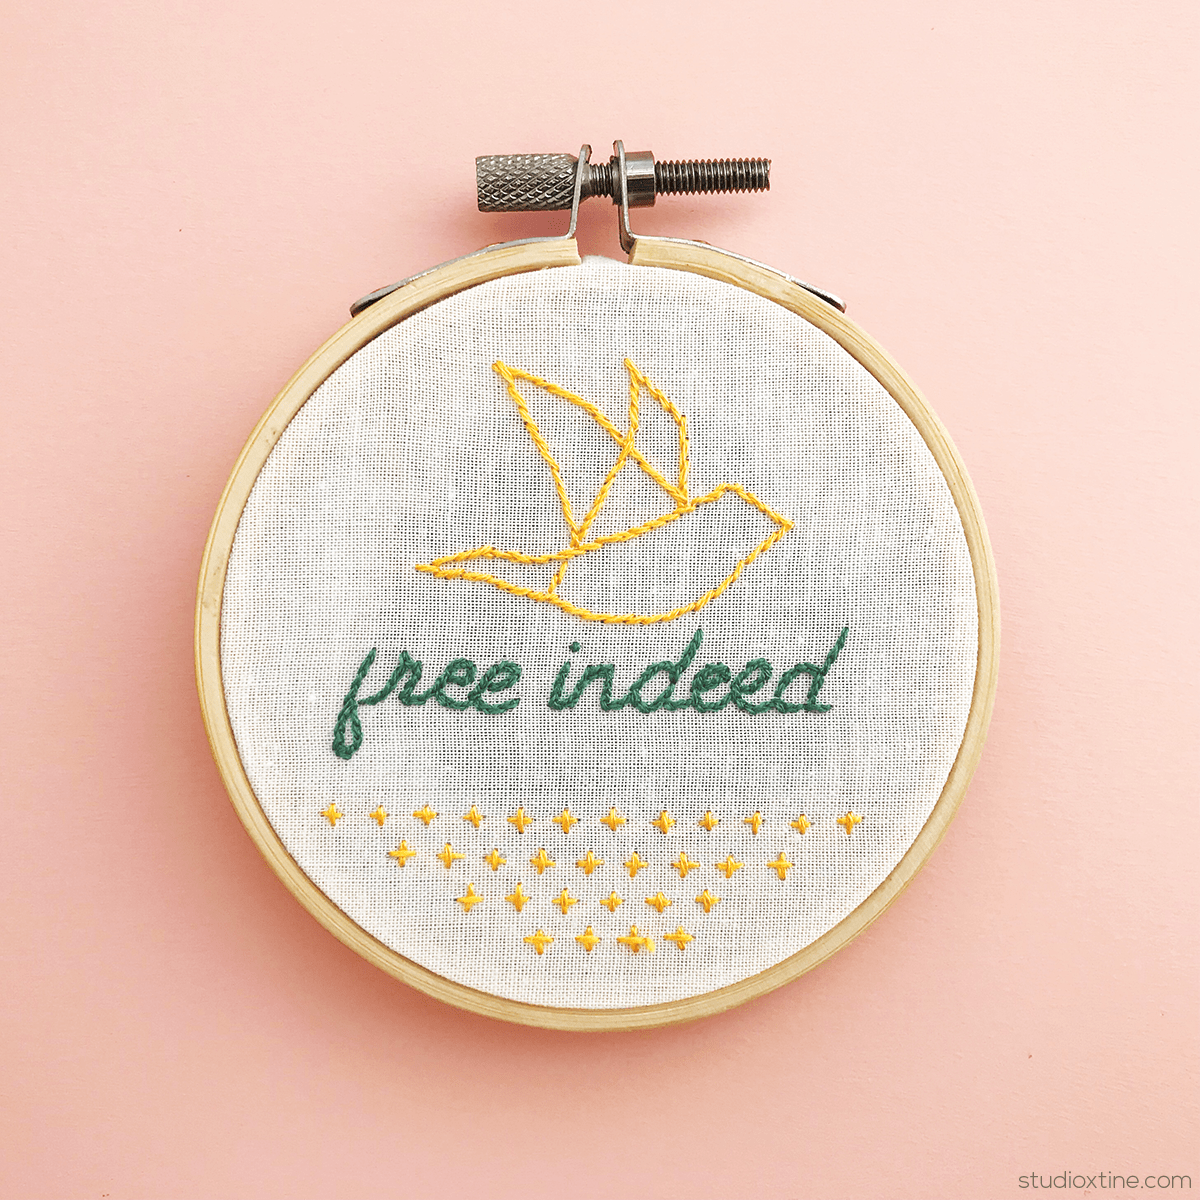
Fittingly, the theme this year at MOPS International is Free Indeed. While I thought I had a lot of “free” time last year given my “sabbatical,” my time still became filled with obligations, to-do’s, etc. It took me awhile to realize that I am in charge of my freedom and saying “no” to certain things wasn’t enough. I needed to do specific things my heart longed for so that my soul could be physically/mentally/spiritually/emotionally nourished thus making me feel free.
Over the holidays, I had some down time (thanks to getting a head start with Christmas gifts!) and tried something new, something on my crafting bucket list if you will. It was originally supposed to be an ornament but I think I’ll keep it on my craft space’s vision wall. It will be a good reminder of how to live free indeed.
If you’re interested in making this, you totally should because it’s super easy and can be done while watching a movie.
Supplies Needed:
- Embroidery Hoop
- Embroidery Floss. I used DMC #3820 (gold) and #561 (seagreen). Colors chosen to match the MOPS’ Free Indeed theme colors.
- White Fabric (cut a circular piece that is about 4in wider than the inner hoop’s diameter)
- Needle
- Scissors
- Craft Felt. Any color you would like. It is used for the backside of the hoop for a clean look (aka to help hide all the messy threads). Cut a circular piece that is the same size as the inner embroidery hoop’s diameter
- Glue Gun
- Pencil
- Embroidery Pattern. I created mine in Illustrator (set to same size as the inner embroidery hoop).
Here are the basic steps:
- Print out your embroidery pattern on regular copy paper.
- Place it under the fabric (centered) and lightly trace design onto fabric with a pencil.
- Center traced pattern fabric over inner embroidery hoop and secure outer embroider hoop around it.
- As you tighten the embroidery hoop screws, pull the fabric taut as necessary while ensuring design is still centered.
- Once tightened, you can begin sewing. For this project, I separated the embroidery floss and used one strand at a time.
- Once embroidery is complete, flip over the hoop and sew the excess fabric together. See this great blog post with pictures for clarification, specifically the 2nd and 3rd pictures.
- For the last step, I simply hot glue gun the circular felt piece over the cinched fabric. And that’s it!
What are you going to do this year to help you be free indeed? Whatever it is, it will be well worth it! You won’t regret it!