For years (heck, maybe even a decade!), I have wanted to take a cookie decorating class. What can I say? I’m a crafting nomad, always desiring to learn new crafts and techniques. And if it involves food, yes please!
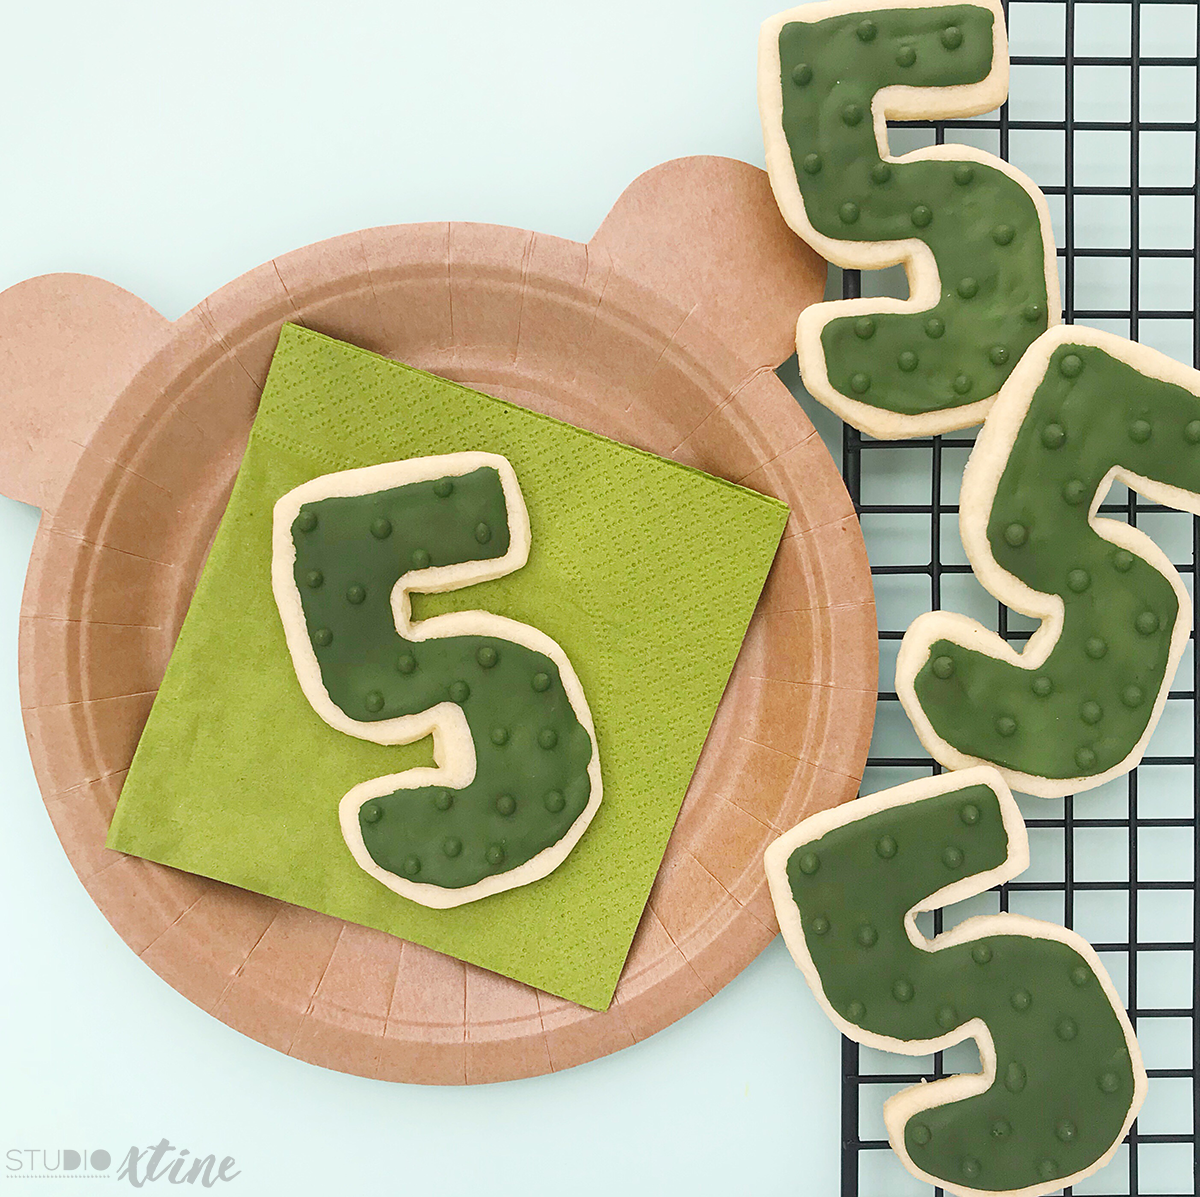
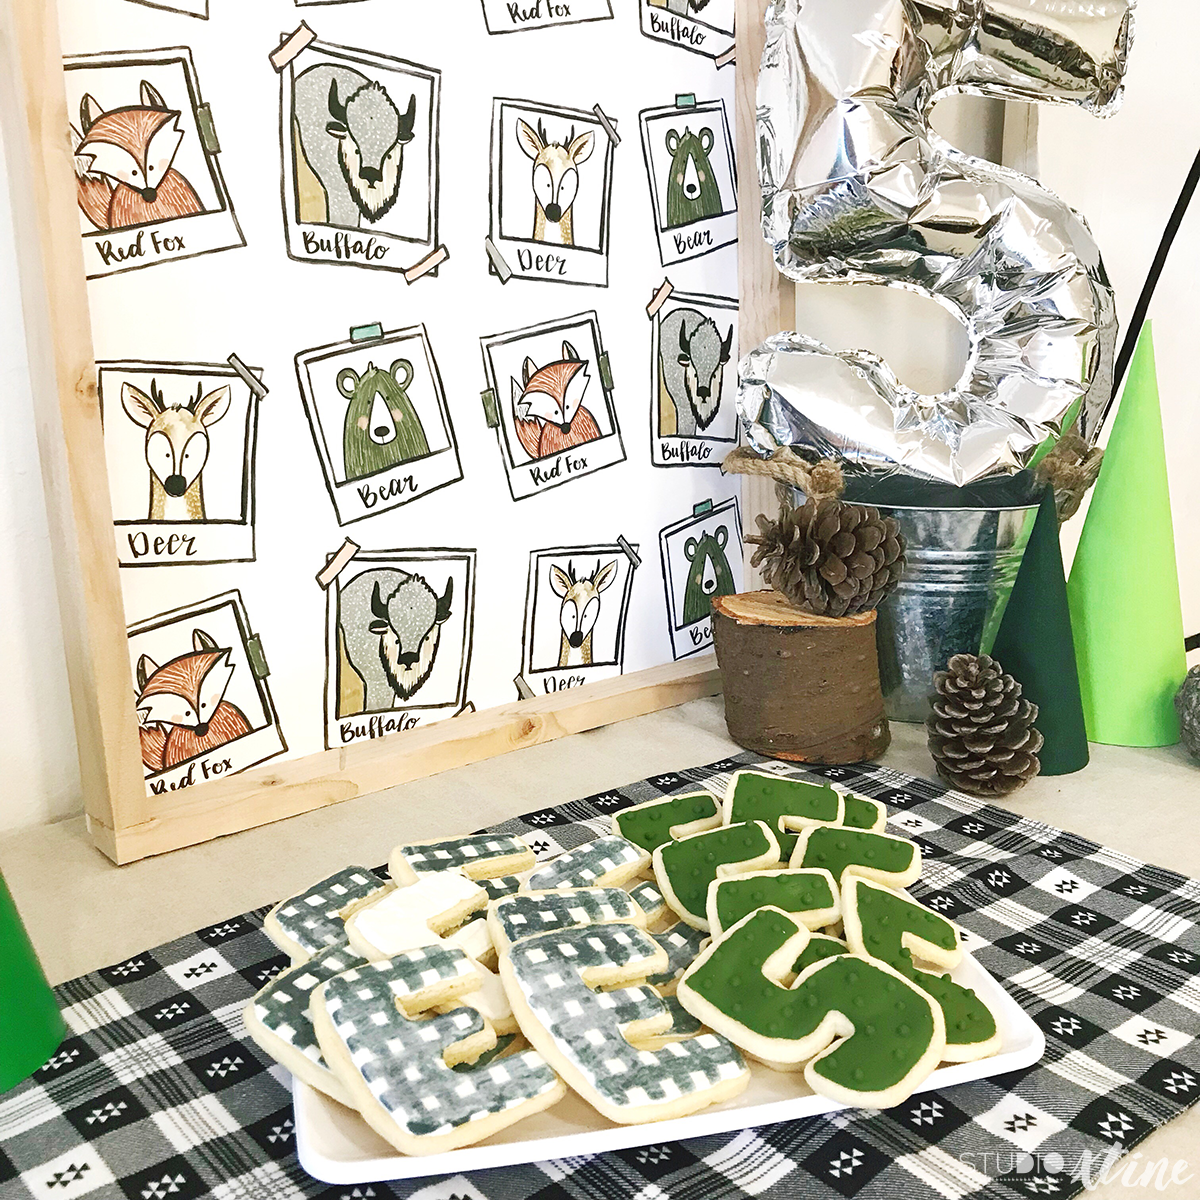
Ethan’s 5th birthday party was the perfect reason to make some royal icing cookies! I already bought an “E” cookie cutter from his 3rd birthday party and recently picked up a “5” cookie cutter. The ones from Sur La Table are a good size (about 5in.) and are only $1.50 each!
Wanna know a secret? While I would love to make cookies from scratch, sometimes it’s just too much work, especially when you can buy cookie mix that taste pretty darn good! My go-to mix is Betty Crocker’s Sugar Cookie Mix. All you need to add is butter, egg, and flour (for cutout cookies), all of which is always stocked in my fridge/pantry. After you make the mix, I do recommend taking two extra steps:
- Chill the dough in the fridge for about 30 mins.
- When rolling out the dough, sprinkle flour on your flat surface and rolling pin. This cookie mix dough can be sticky.
I waited a day to decorate the sugar cookies so that I wasn’t spending half the day in the kitchen. Mama’s got to be strategic with her time (read: no way my kids would play nicely and quietly for that long)! If you are using the Betty Crocker Sugar Cookie Mix, I recommend using this royal icing recipe as it was the perfect amount for the number of cookies made. NOTE: I didn’t use the Domino’s brand of confectioners sugar, just whatever I had in my pantry.
When it came to decorating, the following supplies were purchased from my local craft store, Michaels:
- Wilton disposable decorating bag
- Wilton decorating coupler set
- Wilton No. 3 tip
- Wilton gel food coloring (I recommend this over the watery kind. I used two colors: Moss Green and Black)
- Brand new soft bristle flat paintbrush (for the buffalo check pattern on the letter E cookies)
Other supplies I used:
- Spray bottle (the best way to control the viscosity of the icing)
- Toothpick (to mix the icing after using the flooding technique. Here’s a youtube video tutorial in case you’re a visual person like me!)
I was quite pleased how the cookies turned out! It was easier than I had imagined. And I had a lot of fun making them AND eating them!! 🙂