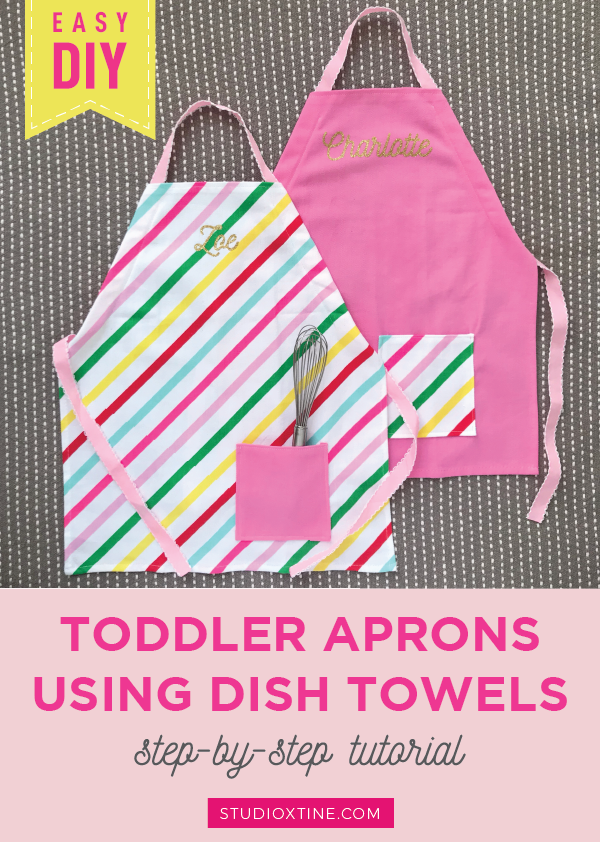
Like I did with Ethan’s 5th birthday party, I spent a little extra time making special party favors (personalized aprons) that the girls can keep and hopefully play with at home. With the help of my dear friend Amy Robison’s Instagram Story (find the “DIY Apron” story in her highlights!), I transformed dish towels into little aprons with adjustable ties. Yes, these originally were holiday dish towels FROM THE DOLLAR SECTION AT TARGET! I fell in love with the colorful stripes and it reminded me of Candyland, which I thought was totally fitting for the gingerbread house making activity part of the shingdig.
I pretty much followed Amy’s suggestions to a T but in case you want to know exactly how I made mine, here’s the step-by-step:
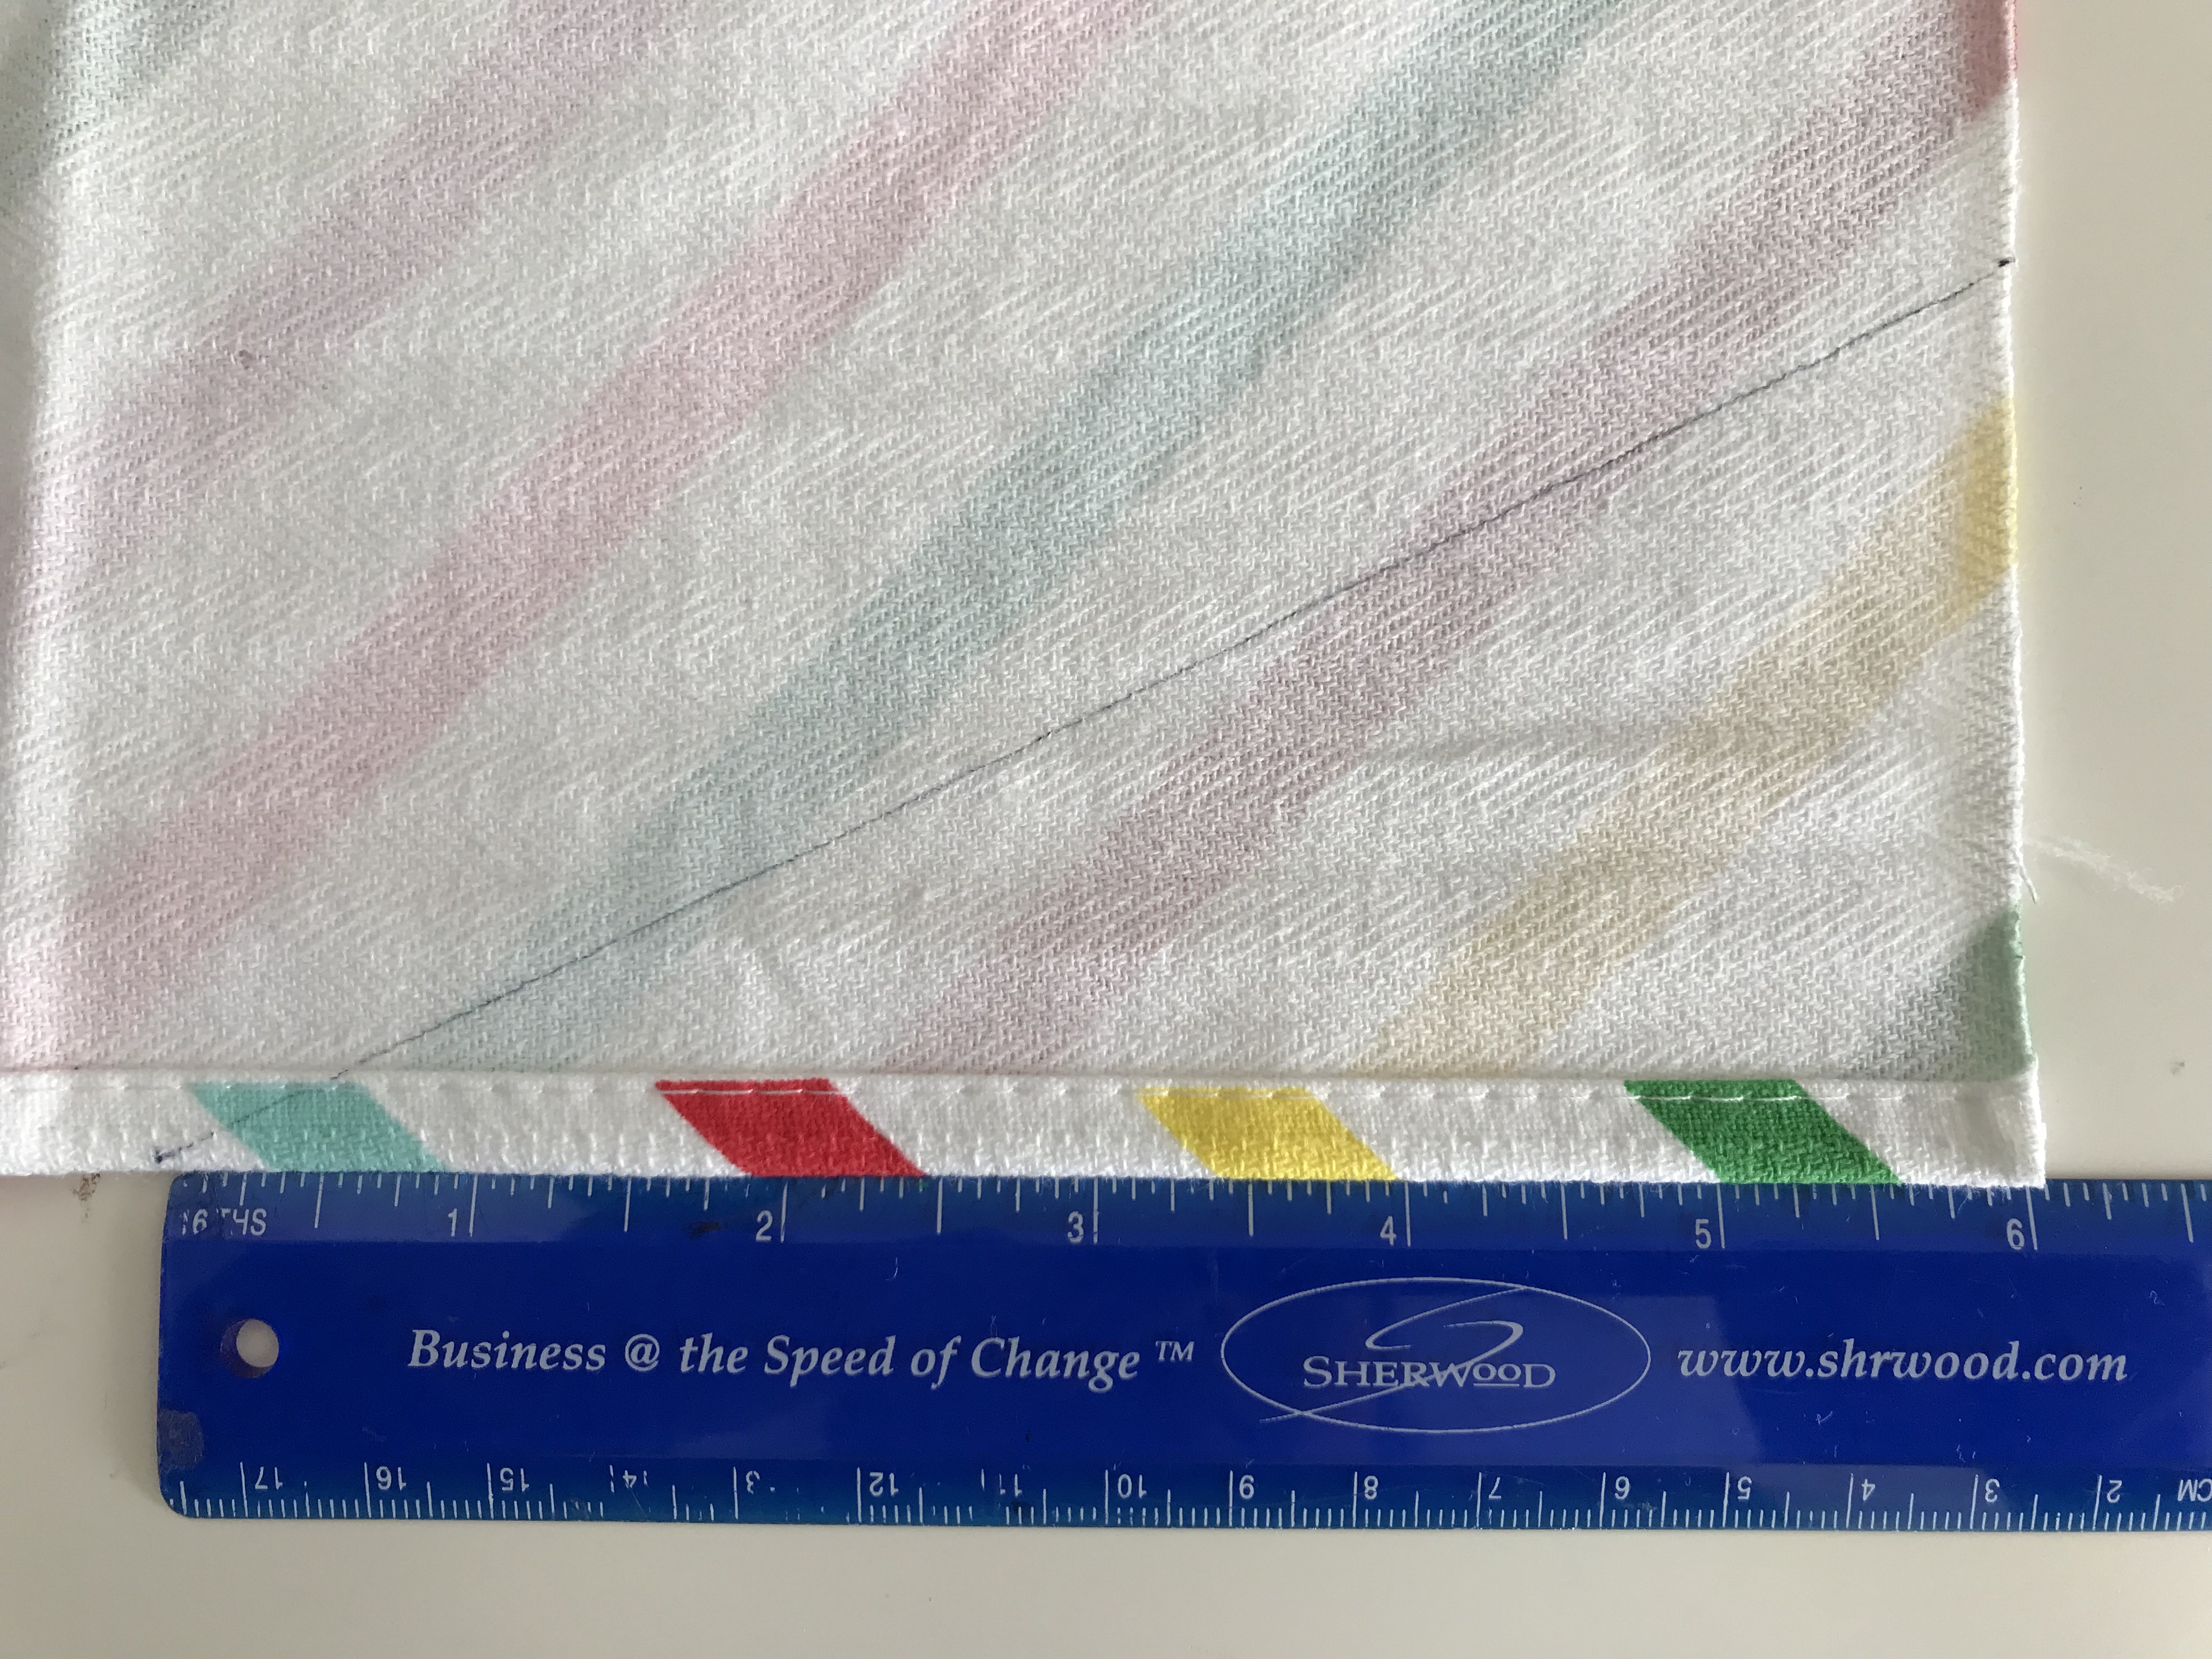
- I cut off about a 5in wide strip from one end (the end with the washing tag/instructions because that looks tacky) to make these better fit 2-3 year olds lengthwise. If you left the dish towel as-is, I imagine it would be perfect for 4-6 year-olds.
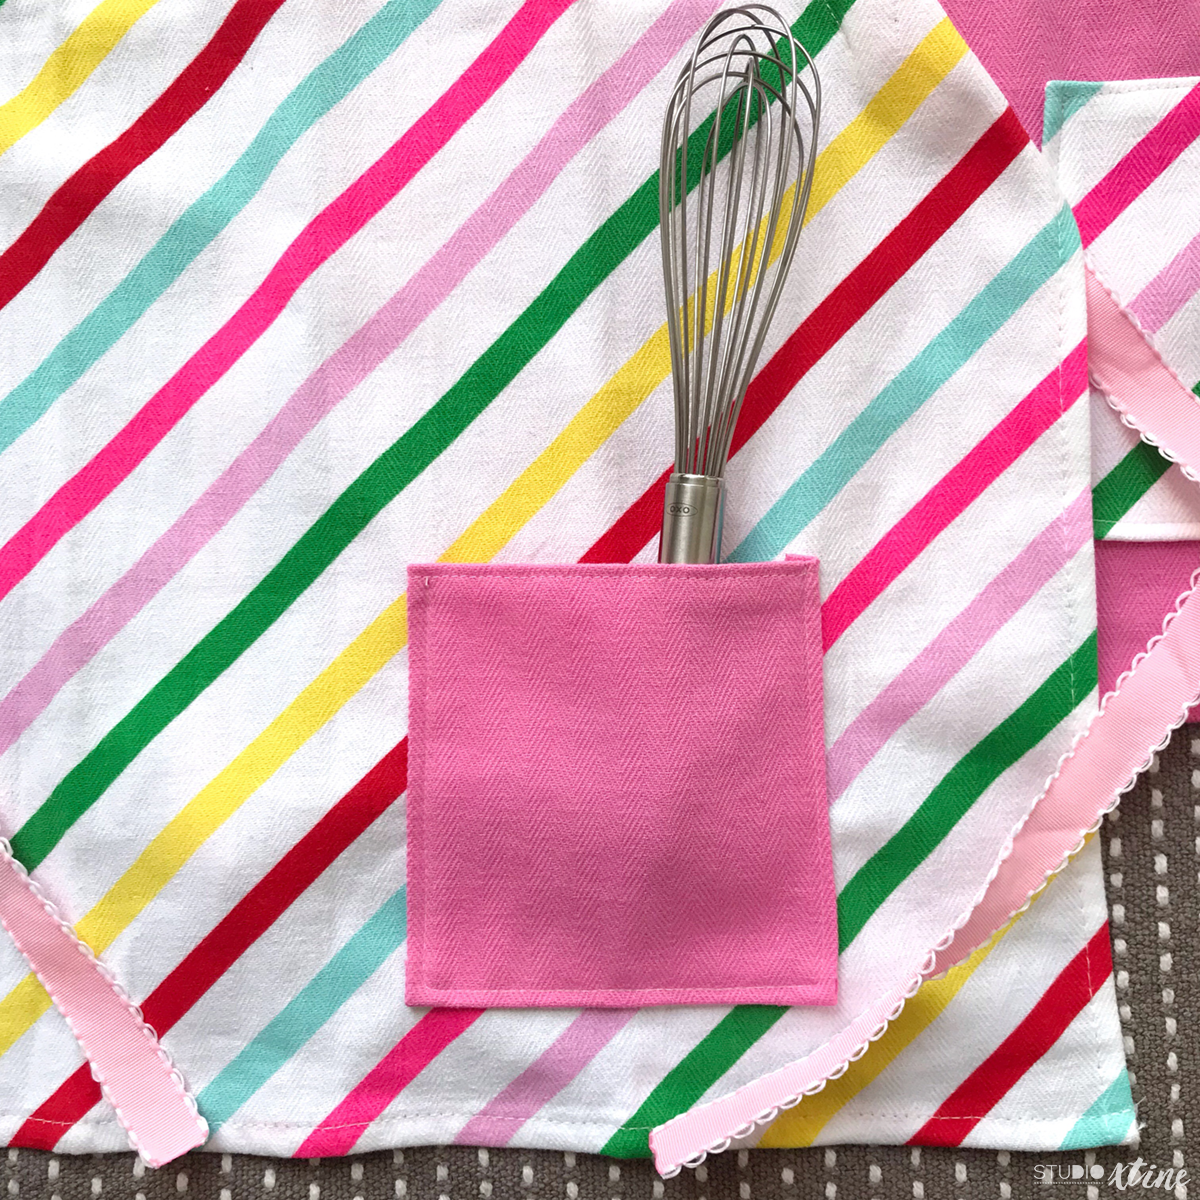
- I set aside the excess strips to be used for pockets #craftsmarternotharder
- I marked off and cut out a 3in x 6in triangle from each corner of the newly cut edge. You can toss these triangle pieces.
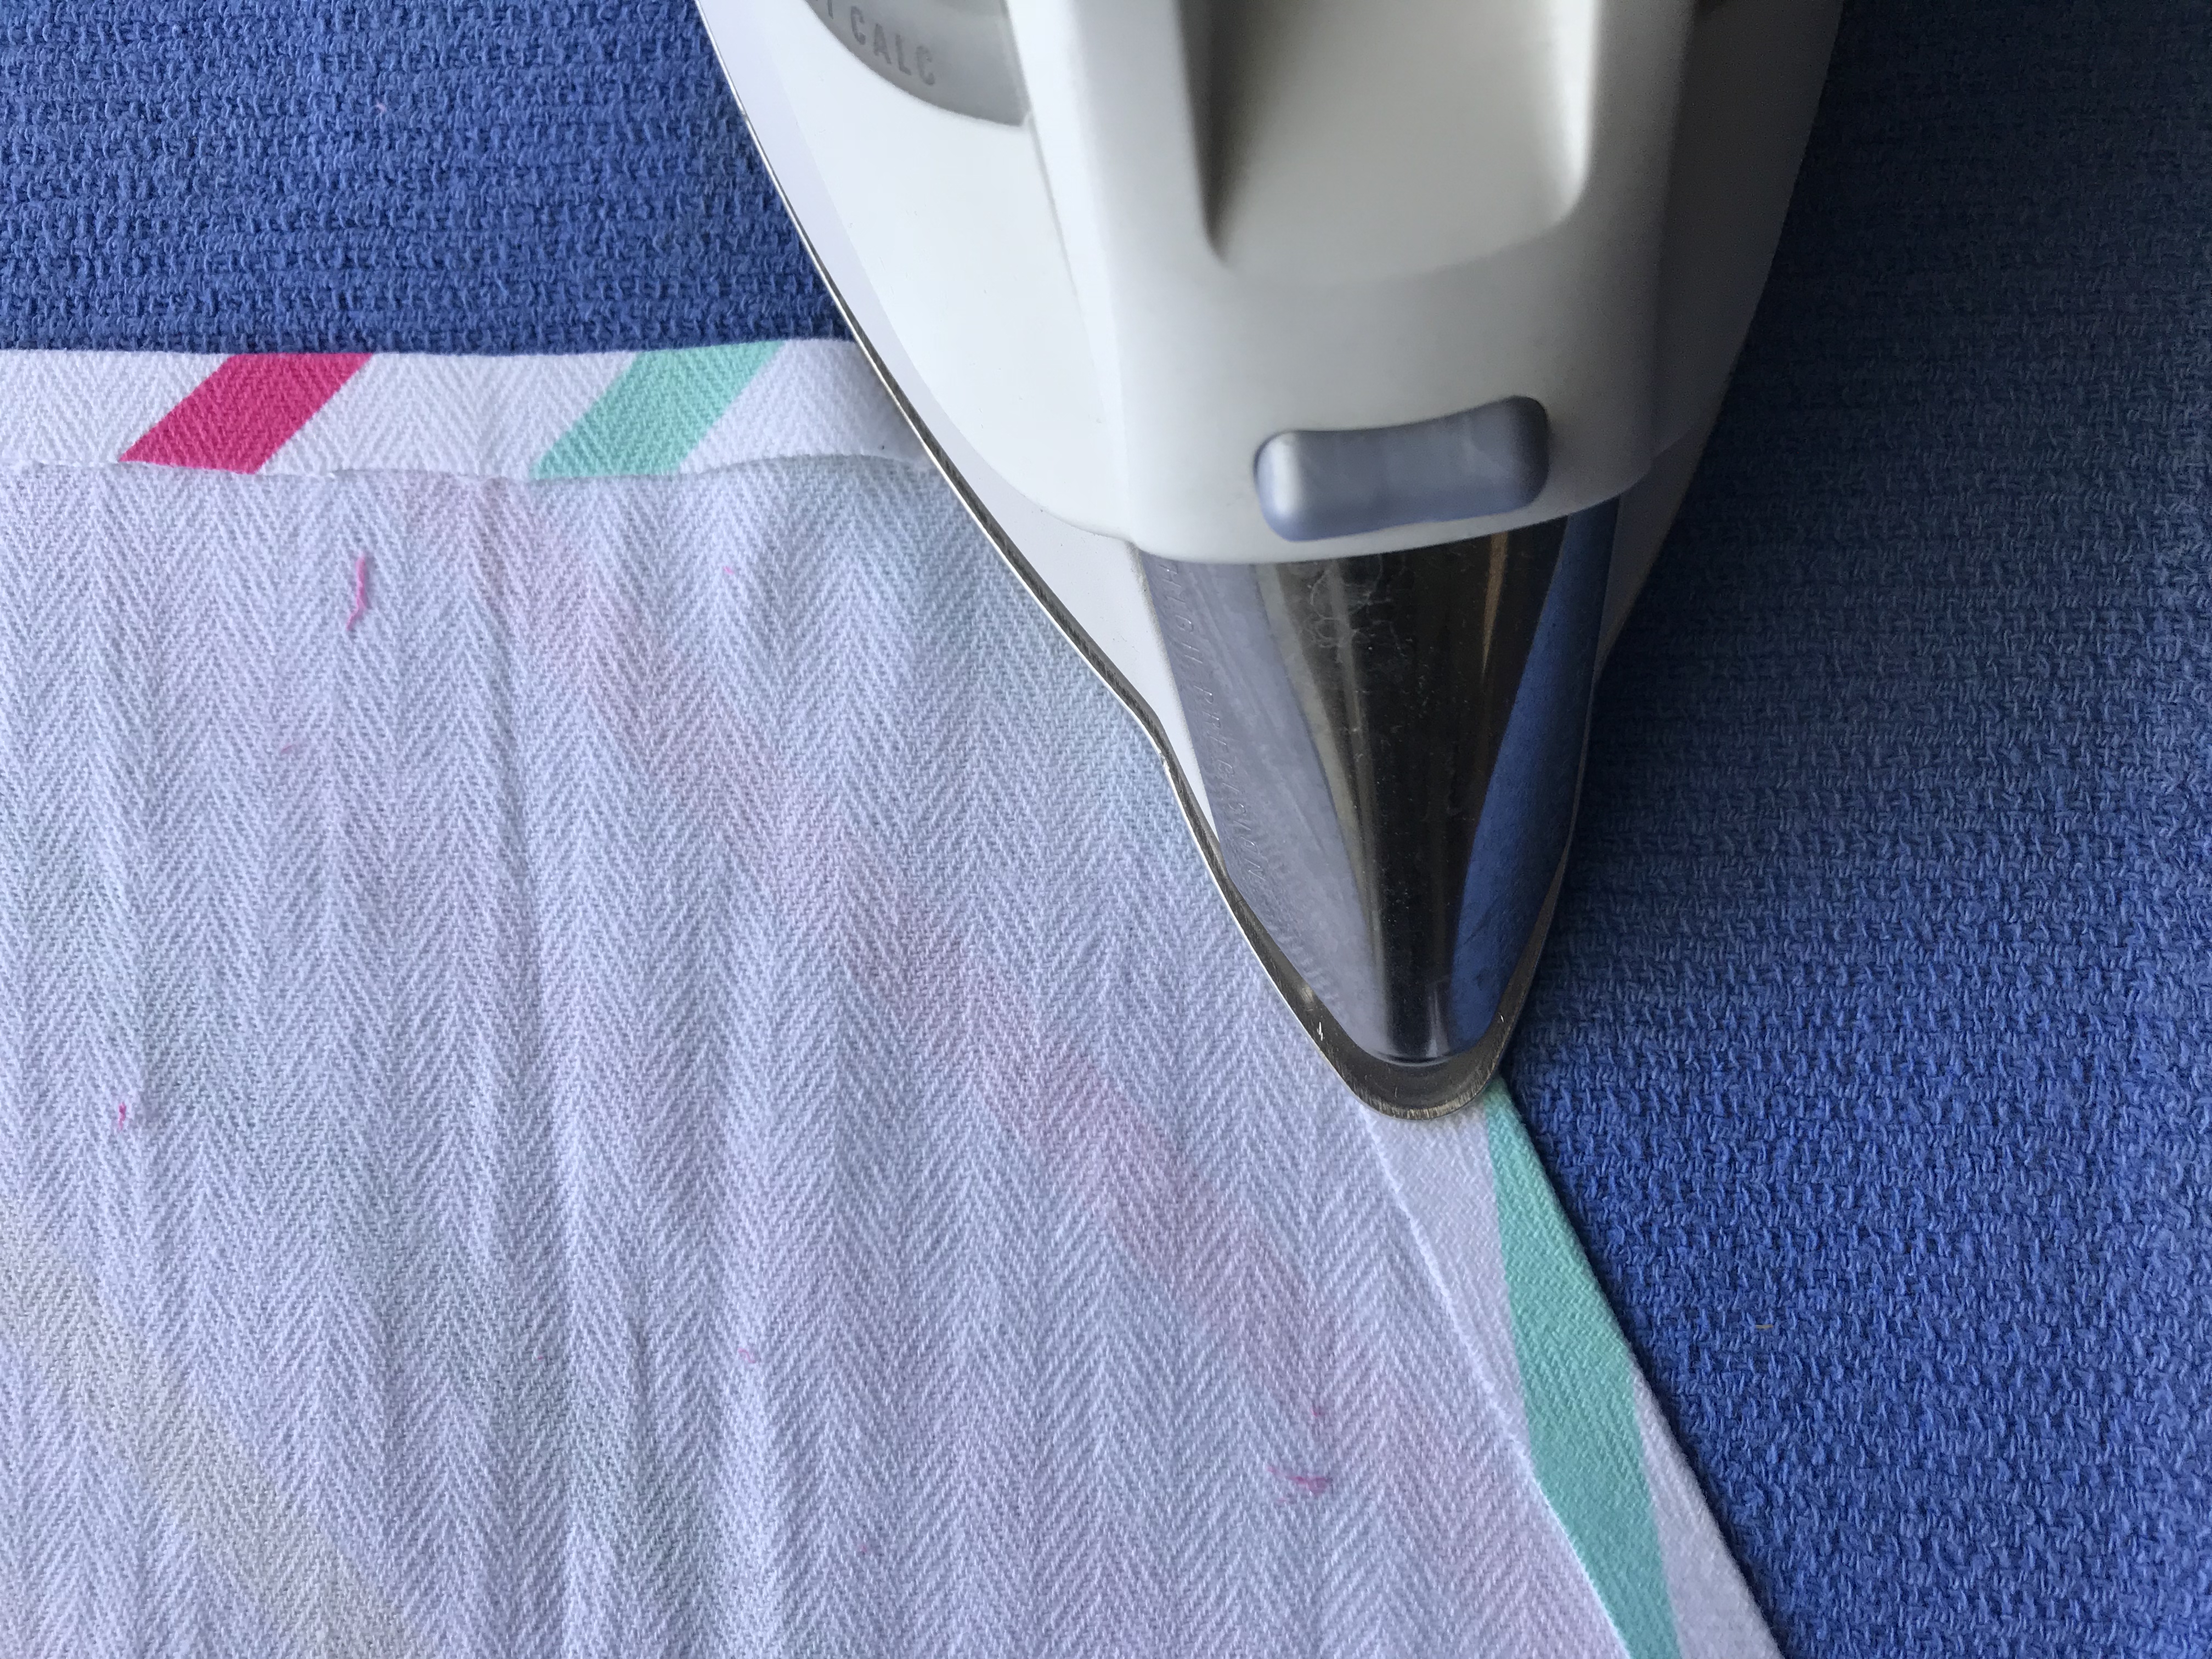
- Next, I folded over ~0.25in from the cut edges (the two angled edges and the top edge), sprayed Professional Spray Starch on those folded edges, and ironed over to create a clean crease.
- Using my basic craft sewing machine, I sewed the top edge with a standard stitch.
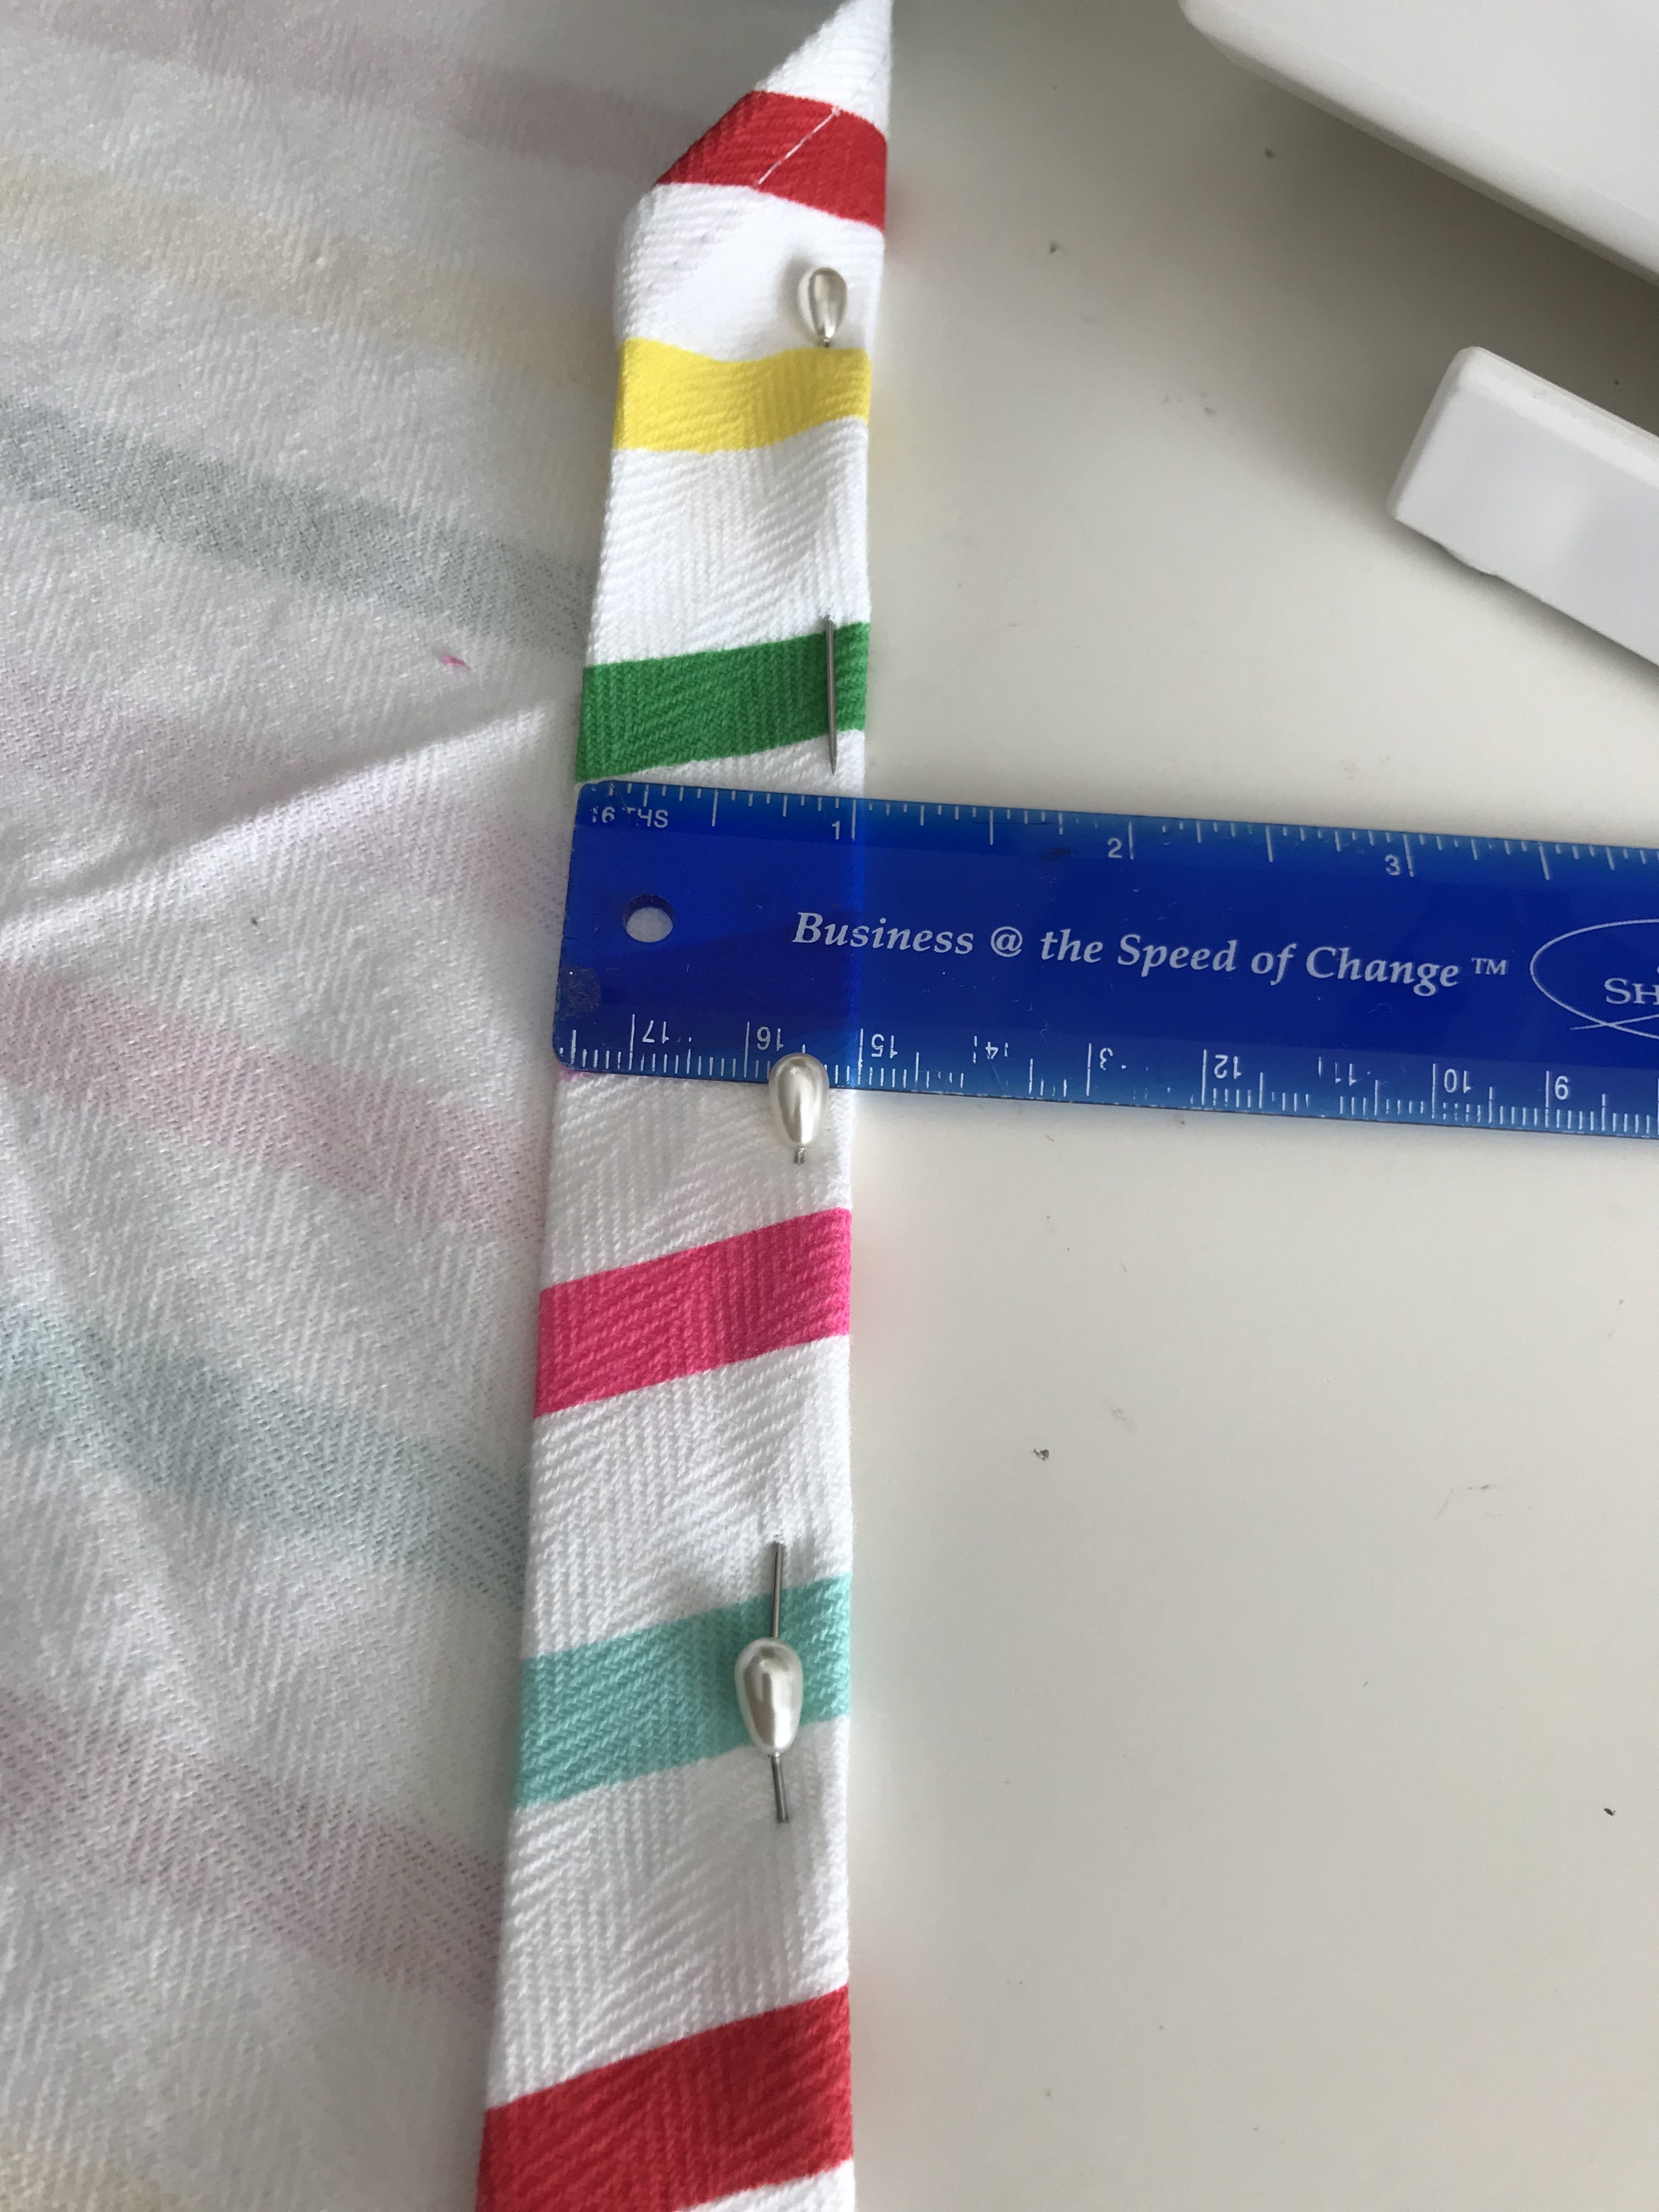
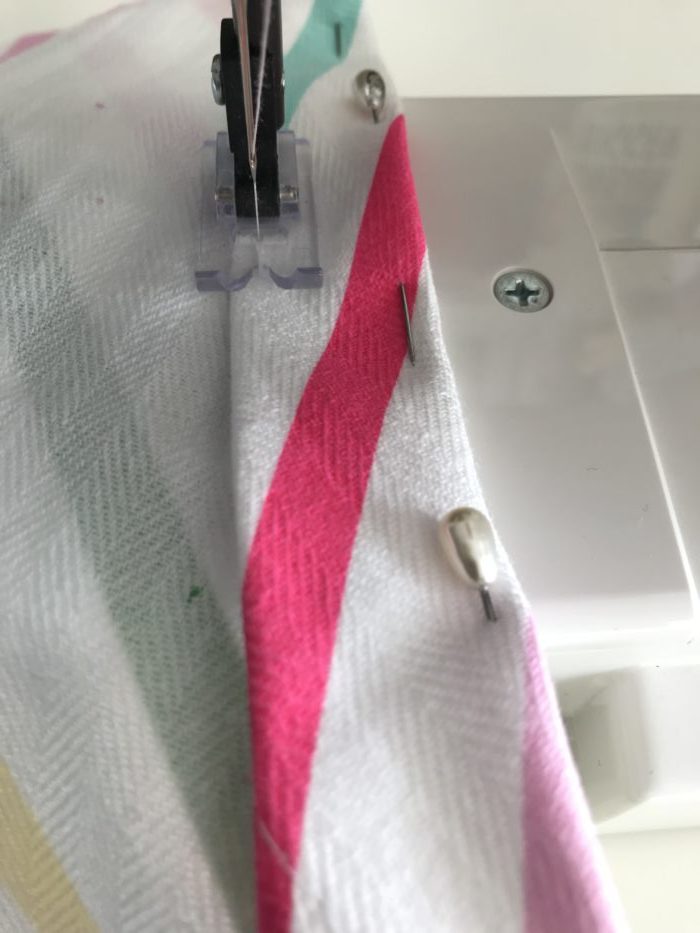
- Then, I folded over ~1in on the two angled sides. This creates a “tunnel” where your ribbon will go through so keep in mind the foldover width actually depends on how wide your ribbon is. My ribbon is 5/8in so I rounded up to 1in for some buffer. I used pins to secure the foldover before sewing it to the apron.
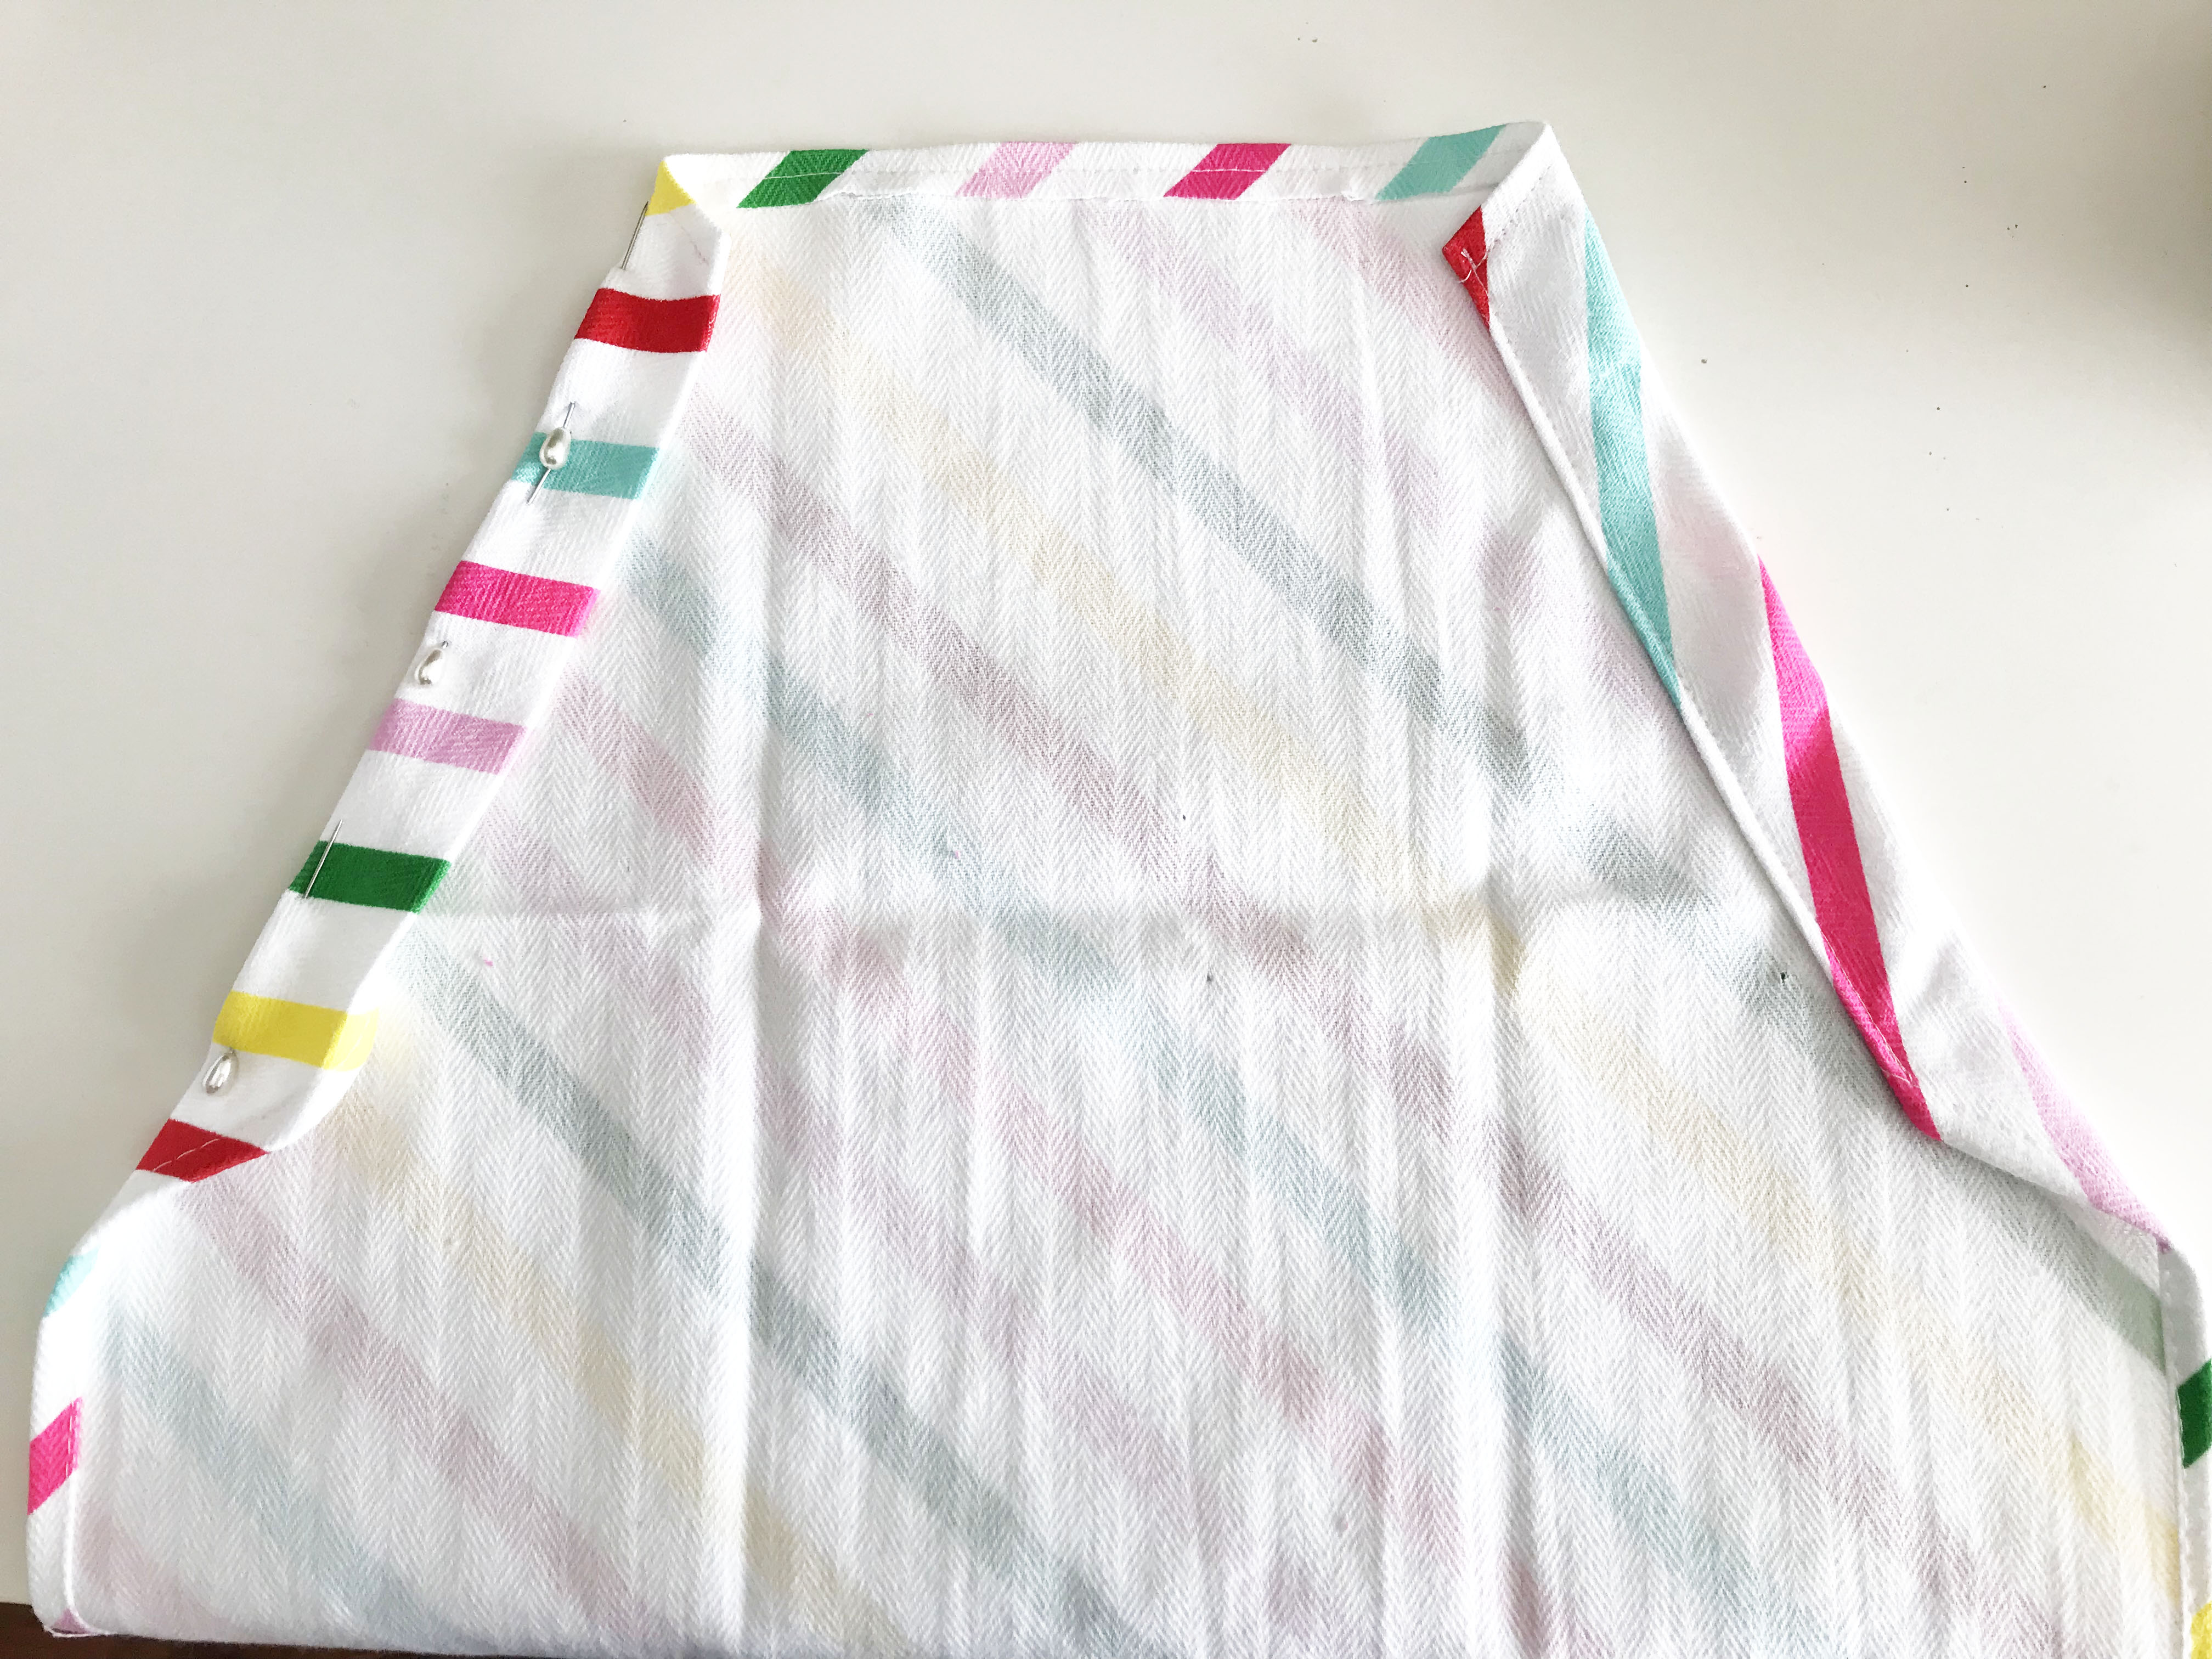
Left side “ribbon tunnel” is prepped and ready to be sewn next.
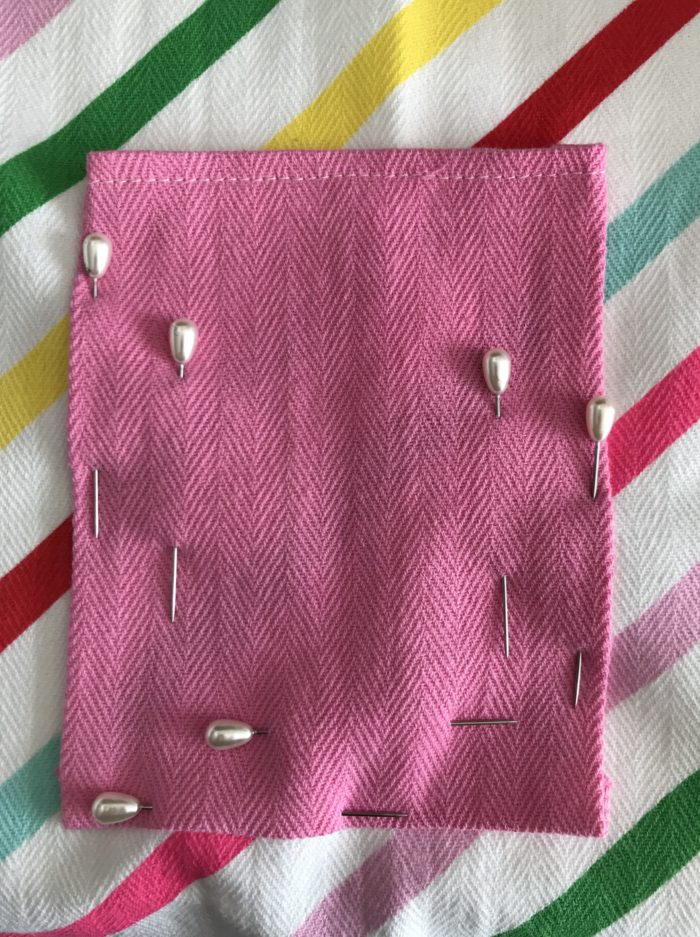
- The last sewing part of this craft was making the front pocket using the excess strips of the alternate fabric for fun contrast. I cut out a 5in square and folded over about 0.25in on all four sides. I bet you know what’s next…yup, premium spray starch the edges and iron to make clean creases.
- I sewed the top folded edge of the pocket onto itself but sewed the three other folded sides directly onto the apron. This way there is only one thread line when you look at the apron pocket. Again, I used pins to help keep the pocket in place. I would remove the perimeter pins as I was sewing along the edges.

- The apron is complete! Now, onto the ribbon adjust tie piece!
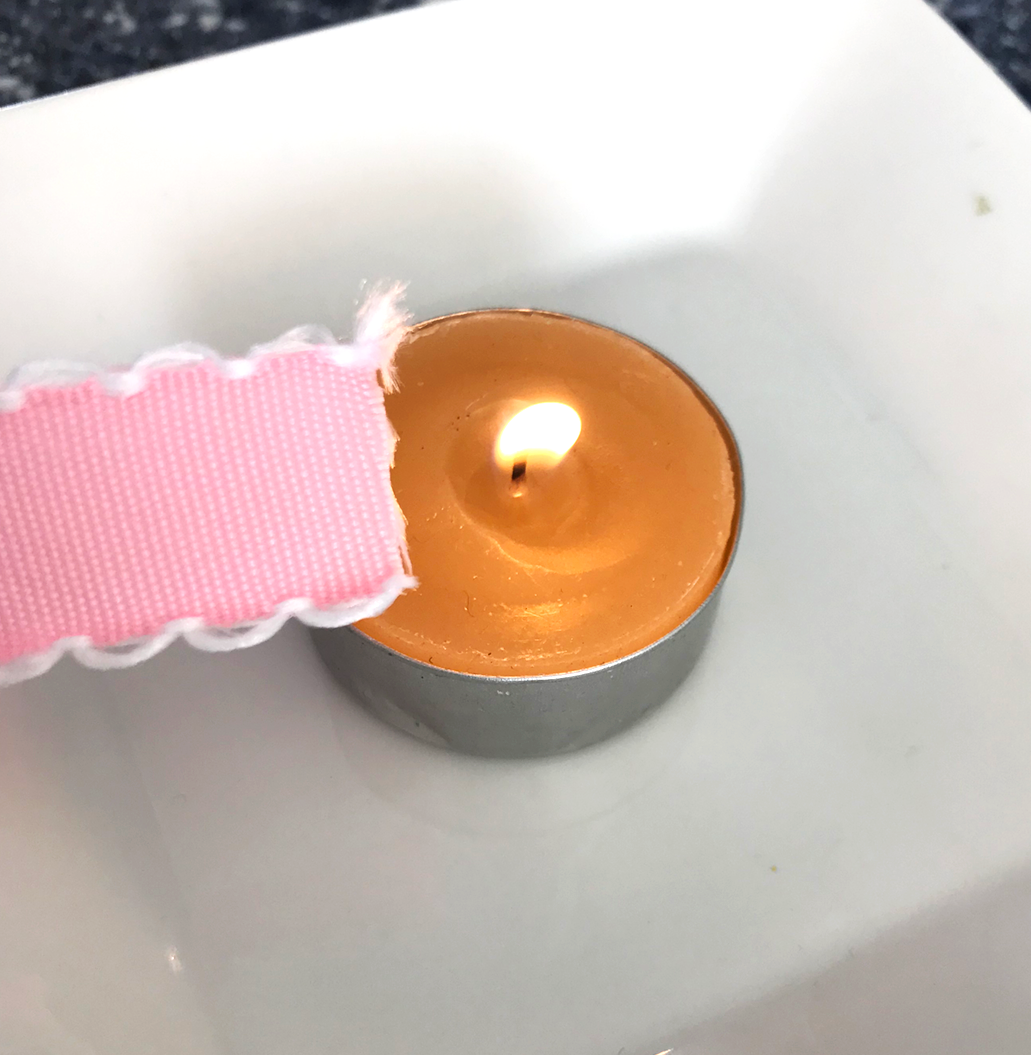
- For each apron, I needed about 55″ piece of ribbon. Before threading it through the “ribbon tunnel,” I burned the ends of the ribbon to prevent fraying. I simply lit a tealight candle and carefully burned the ends of my ribbon.
- So I found using the end of a long paintbrush to push my ribbon through the “ribbon tunnels” was the easiest and fastest way. Simply fold over one end of the ribbon so that it “sandwiches” the end of the paintbrush and then push into the “ribbon tunnel” until you see it come out the other end.
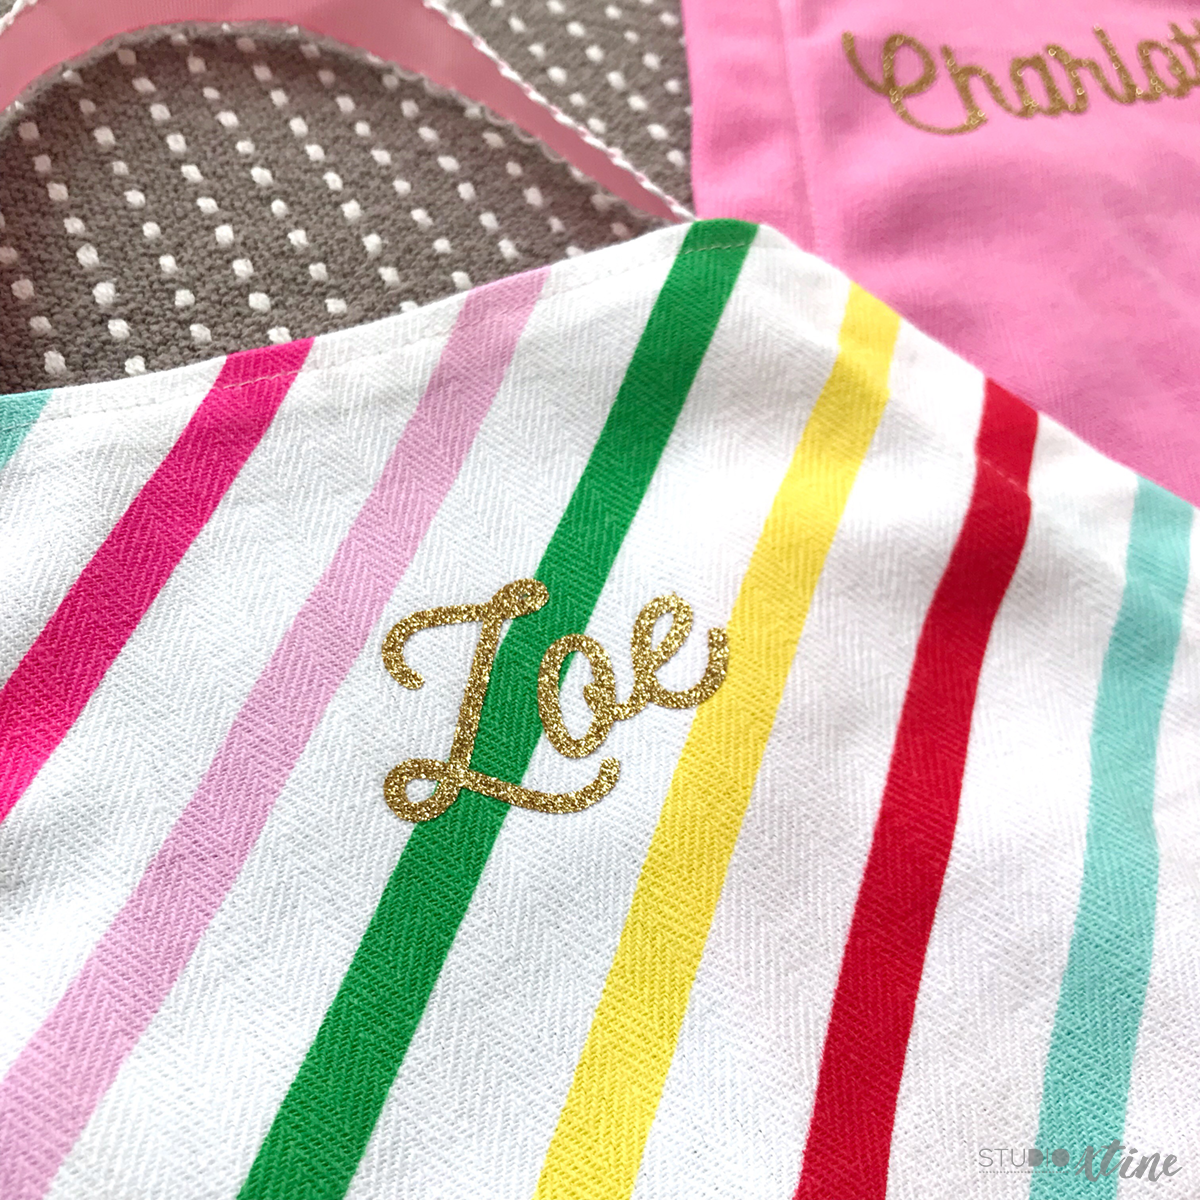
- The last thing I did to make these aprons extra cute was to personalize them with gold glitter heat transfer vinyl. The font I used is Nickainley, one of my favorite fonts at the moment!
The last thing I did was iron out any wrinkles. Totally optional step but I like the look of a crisp apron! I think I use my iron more for my crafts than for my wardrobe! #crafterslife
Super cute and colorful right? I hope the girls love them and use their apron all the time during pretend play or when helping around in the kitchen. Future Top Chef!! 🙂