It’s graduation season! While it’s still two months away, my 5yo will be a preschool graduate!
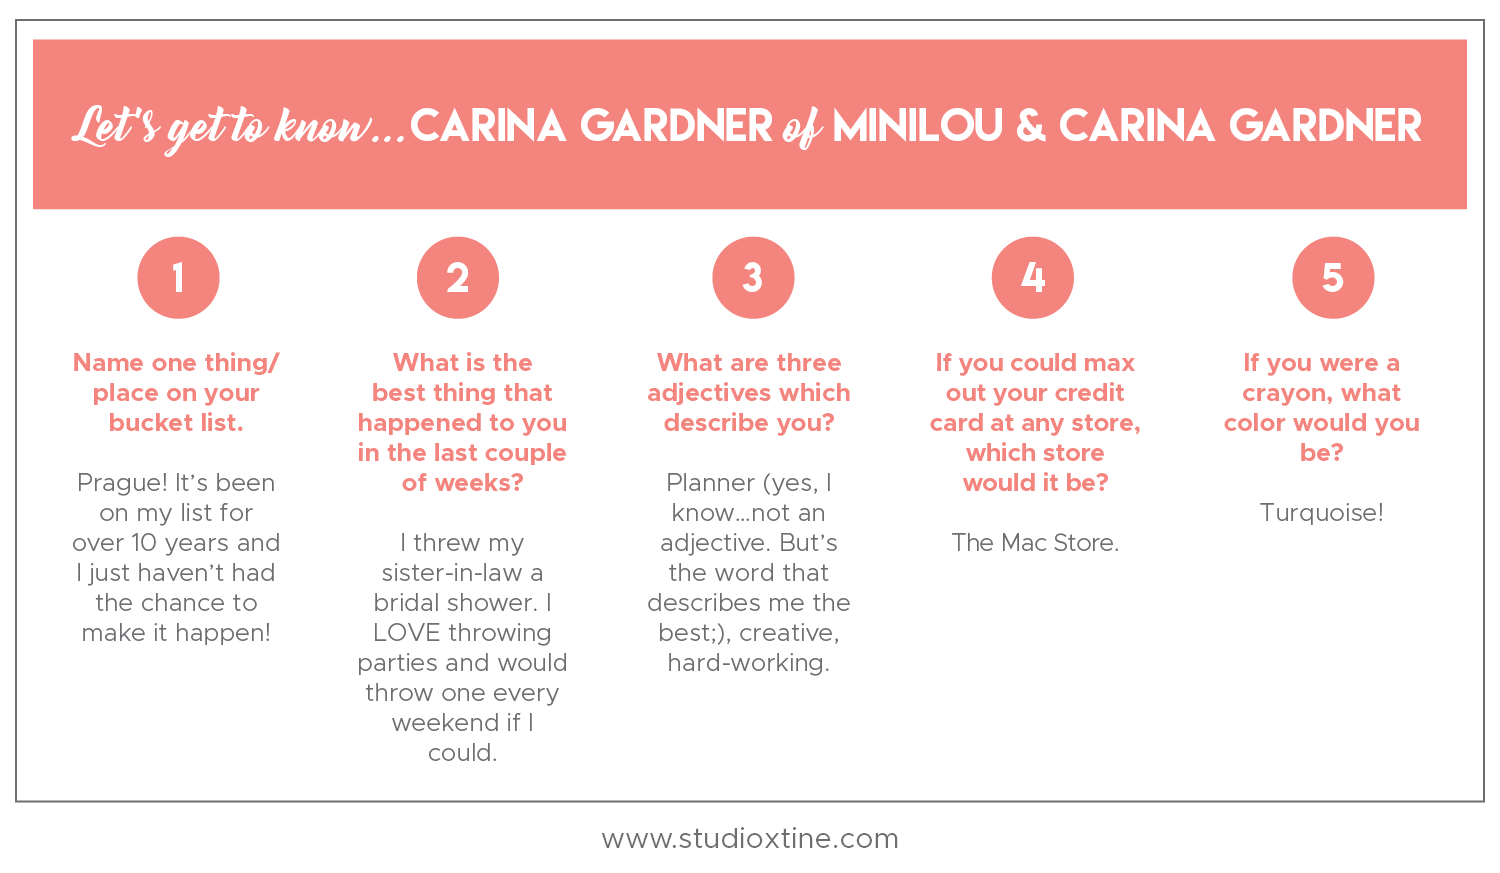
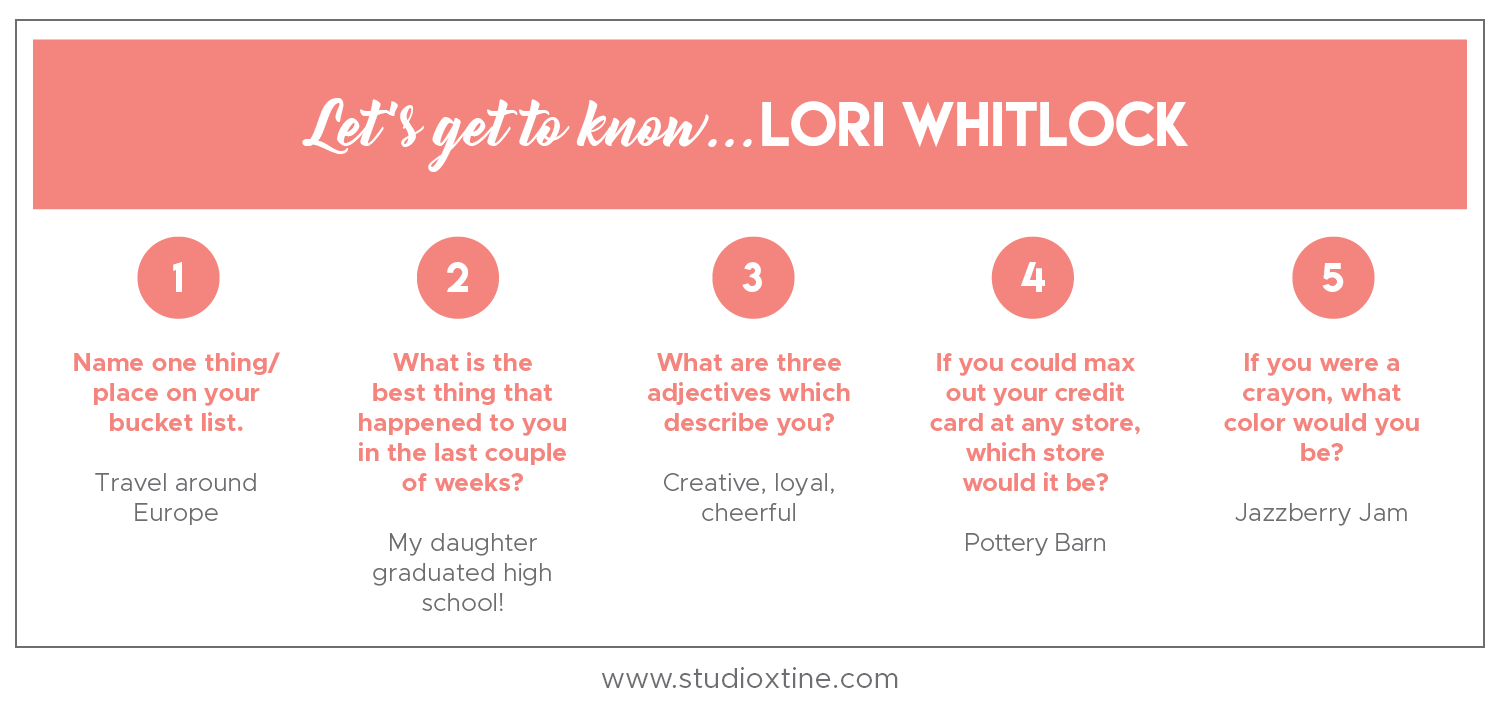
I was so fortunate to have met several Silhouette Artists at the Silhouette Summit last year, two of whom I used their designs on this card. Carina Gardner is the creative mastermind behind Carina Gardner and MiniLou. Her designs are fun and interactive, especially the MiniLou ones that are created specifically with children in mind. Lori Whitlock’s designs dominate the Silhouette Design Store…she has over 7,400 designs so you will always be able to find something just right for your project! Below is our little Q&A to get a little peek into what else they like!
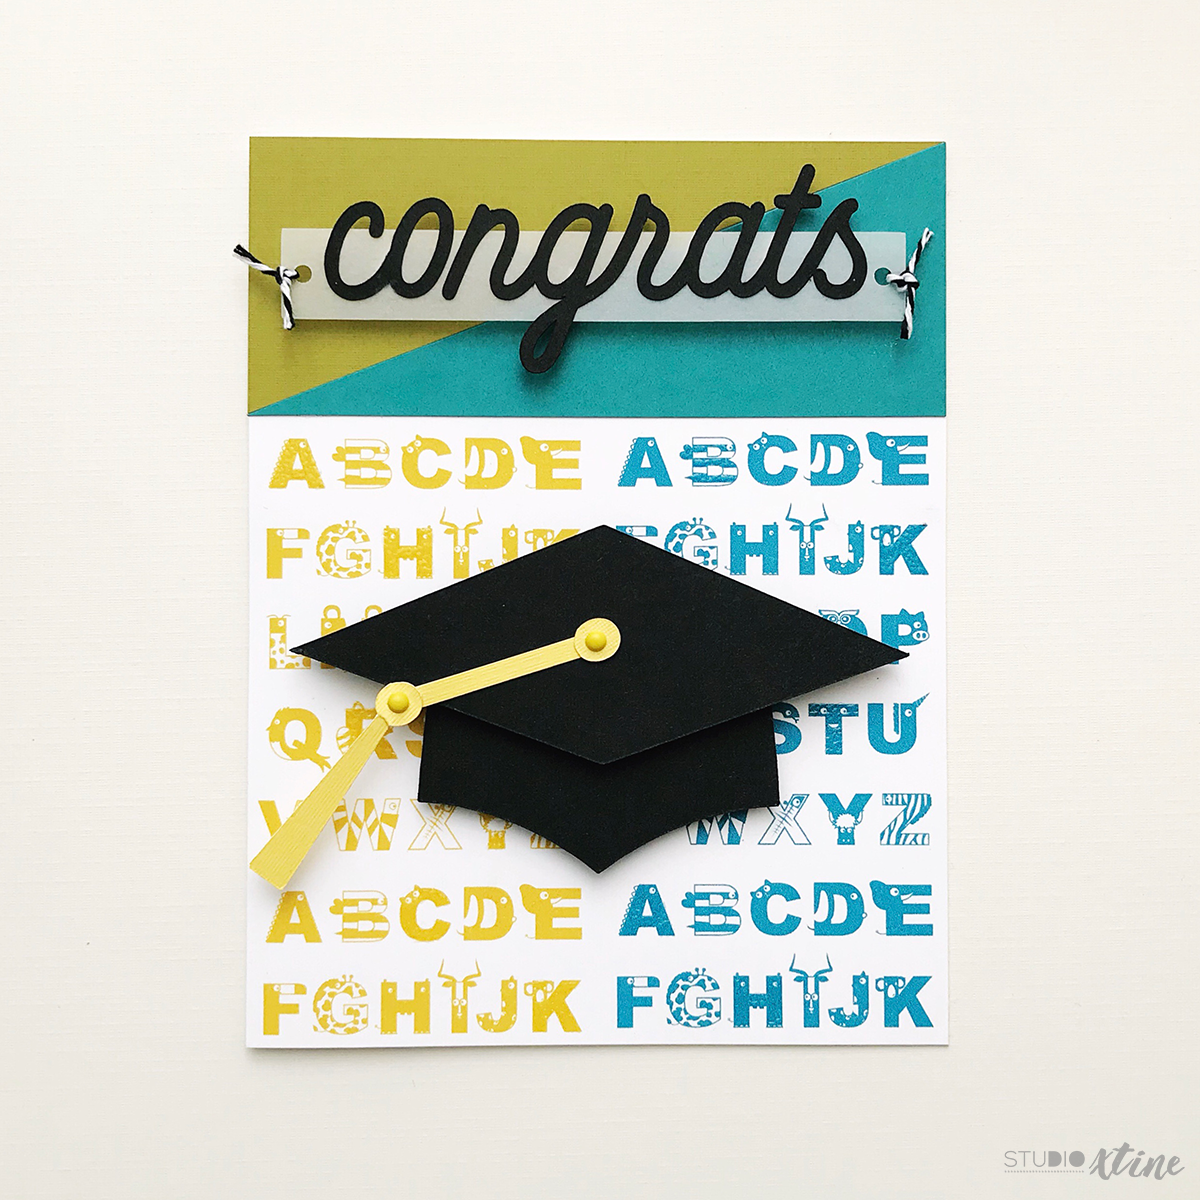
This graduation card features two Silhouette Design Store designs:
- MiniLou Animal Letters Font (Design ID#245707) by MiniLou
- Graduation Cap with Year (Design ID#136103) by Lori Whitlock
In addition to mashing up SDS designs, I also wanted to share some unique card features and/or card-making techniques:
- Turning cut files into graphical elements (or into a printed background in this case) – I love love LOVE the playful Mini Animal Letters and knew I had to incorporate them into my preschool graduation card somehow. My son would totally get a kick of out it, trying to name each letter’s animal. Because I wanted to feature all the letters, I thought the best way would be to create a printed background with the cut lines removed. After some grouping/ungrouping steps, I filled each letter with color. Originally, I had one set of alphabet letters but felt the alphabet design was distracting with the focal piece (the graduation cap). Simply by reducing the font size, it made each SDS design stand out on its own. No more fighting! Hooray! Next, I created two “columns” of alphabet letters, which allowed me to introduce another color.
- Heat embossing – To take the printed background up a notch, I randomly selected letters to be heat embossed with clear embossing powder. It’s a simple way to create subtle visual and textural interest.
- Interactive/motion embellishment – Making the focal piece (graduation cap) interactive is my favorite part of this card! While brainstorming this card, I recalled my high school graduation where we moved the tassel from right to left and I thought with this SDS design, it could easily become interactive. Using the pointed end of a pushpin, I punctured tiny holes on the yellow cardstock and connected the pieces with mini brads.
- Vellum material – Vellum is a great material to use to avoid introducing a new color to the palette. Not only is it visually interesting, but the vellum on this card also kept the diecut words in tact. It would have been tricky (and time-consuming) to put dimensional adhesives behind the letters to make them “pop”…this mama didn’t have time for that this time around!
Supplies used:
- Michaels Recollections scrapbook paper in olive
- Michaels Recollections scrapbook paper in yellow
- Michaels Recollections cardstock paper in black
- Paper Source cardstock in Peacock
- Silhouette vellum paper
- Michaels Recollections multicolor mini brads
- Michaels Recollections foam adhesive squares
- Black/white bakers twine