Papercrafting goes way back for me…all the way back to the Elmers glue and kid safety scissors days! As a little kid, it was a material I always had at home/school and I loved how I could easily manipulate it by folding or cutting it.
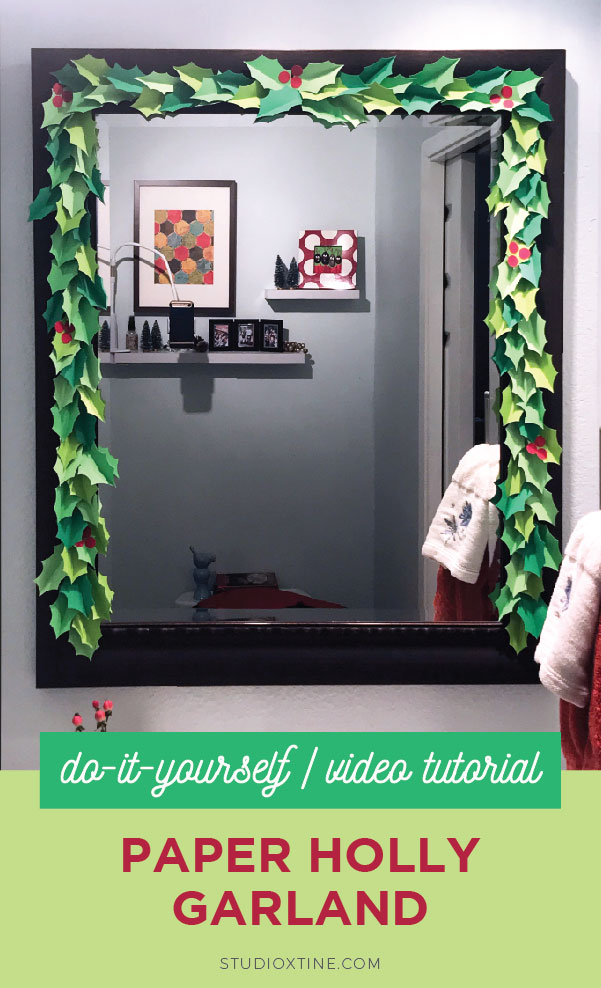
So, in the effort to give our home some more holiday cheer, I channeled my inner 9-year-old and made a paper garland to hang around our powder room mirror. Using my Silhouette, I cut out about 80 holly leaves from Design ID#103717 from four different green-colored cardstock. I resized the leaves to be about 4″ long. Then, I folded a crease along the middle of each leaf except about a third from the stem part. The folding is optional but I love how it creates visual interest by adding dimension!
Next, I glued leaves one by one onto 0.75″ wide x 11″ green strips. My crafting go-to glue is Tombow Mono Multi Liquid Glue (affiliate link). You will LOVE this glue if you haven’t used it before! Here’s a quick timelapse video to show you this super easy process. I did two strips here and placed leaves wherever I felt looked good. There’s no wrong way to do this…it’s that easy!
After making enough leaf strips to fit around my mirror, it was time to attach them to my mirror with Scotch Foam Mounting Squares (affiliate link). They are removable so I don’t have to worry about ruining my mirror.
With all the leaf strips taped around the mirror, the last step was to glue little red circular diecuts (in trios) to resemble holly berries.
In case you’re a visual learner like me, here’s a hyperlapse video to show you the assembly process.
This entire project took me less than 30 minutes and most of the hard work was done by a machine. That’s what I love about my Silhouette CAMEO…I can let it do its thing while I do my own thing! #multitaskingFTW