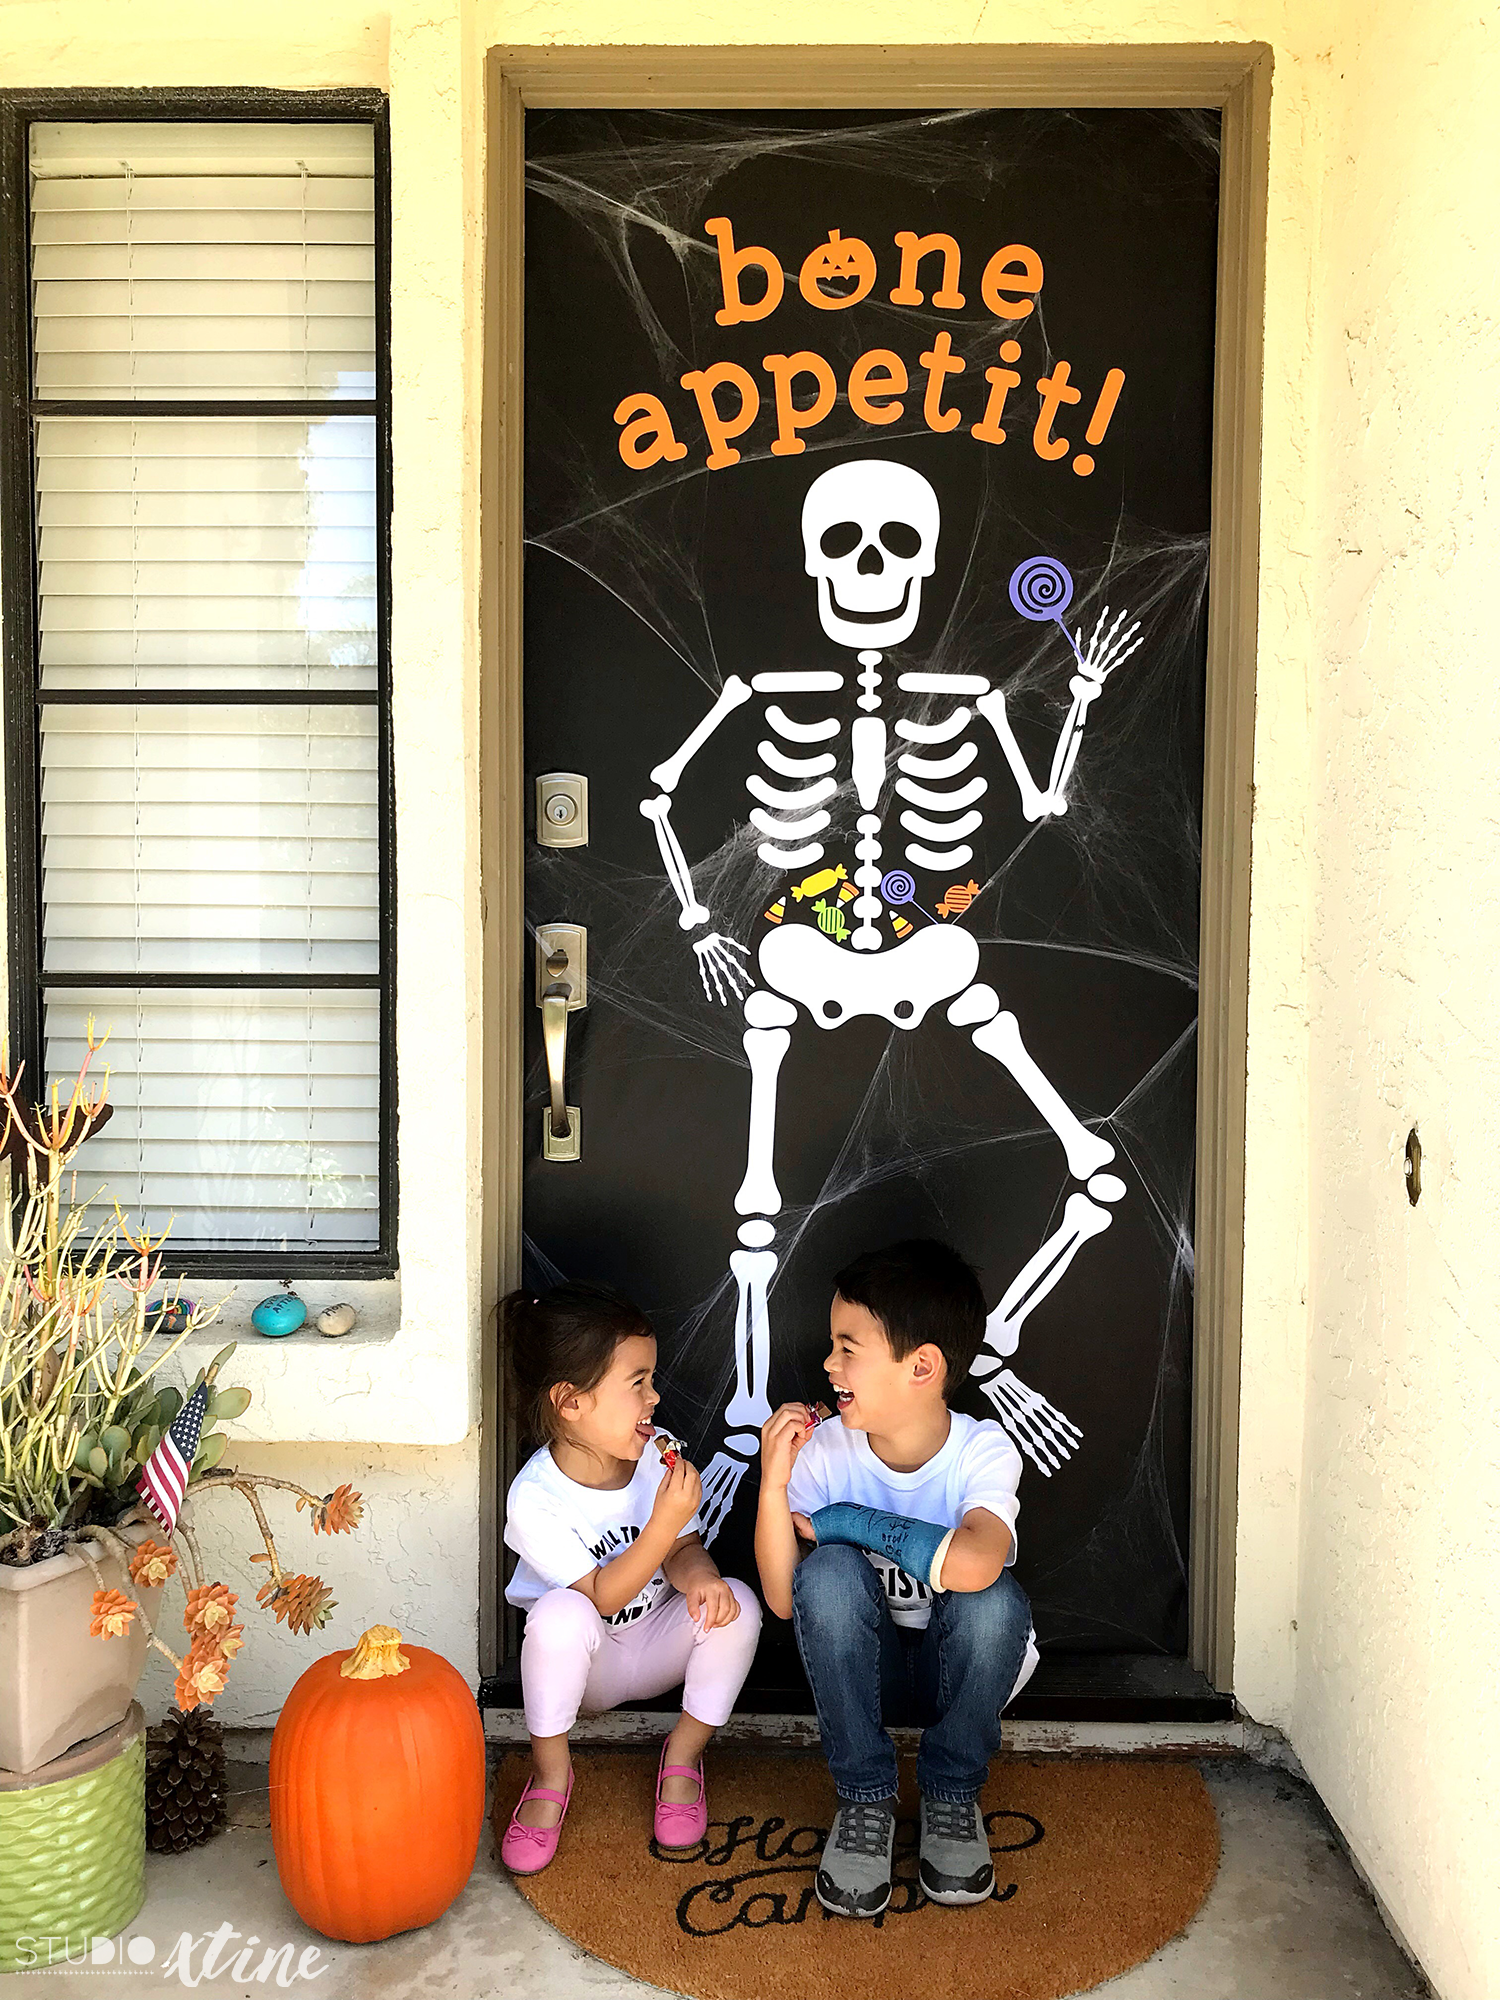
Decorating our front door has become one of my family’s holiday tradition! We’ve had a giant spider and quite possibly the world’s cutest Frankenstein. This year’s design was inspired by my son’s broken arm injury as I’ve seen more x-rays than I would like! The great news is that there’s new bone growth where the radial bone broke! 🙌🙌🙌
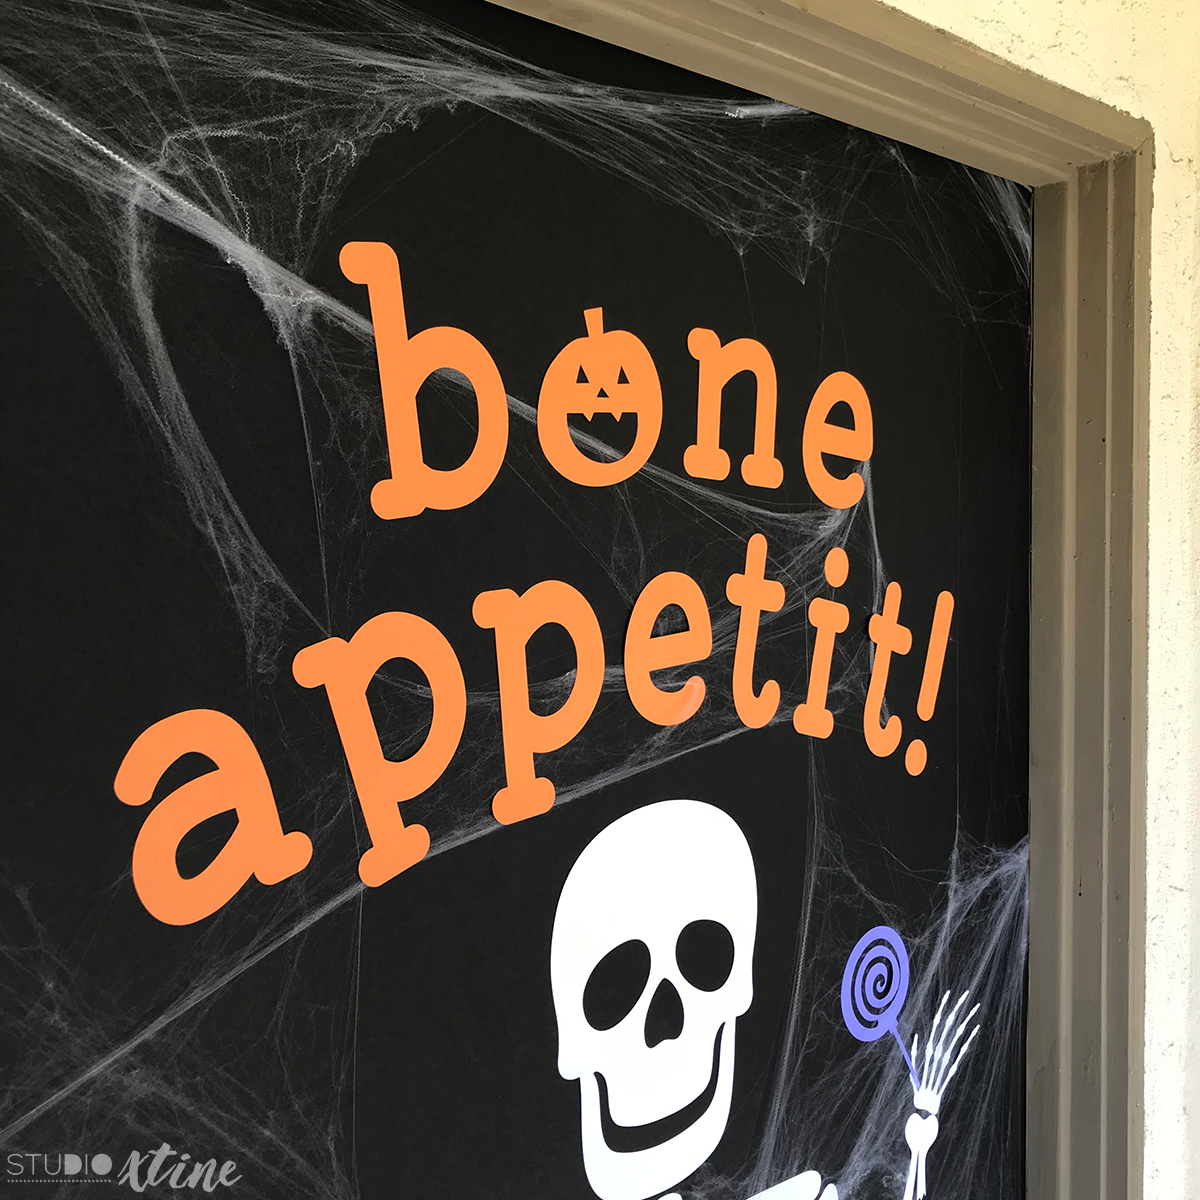
Each year our front door design gets a little more intricate so this time, I used Silhouette’s design software to help me space plan. Essentially, I set up the design file with the same measurements as my door, which was 36″ wide by 81″ tall. Then, I laid out the other pieces making sure they looked proportionally correct. I’m a sucker for puns so I couldn’t help myself with “bone appetit!” with a cute pumpkin substituting for the letter “o”.
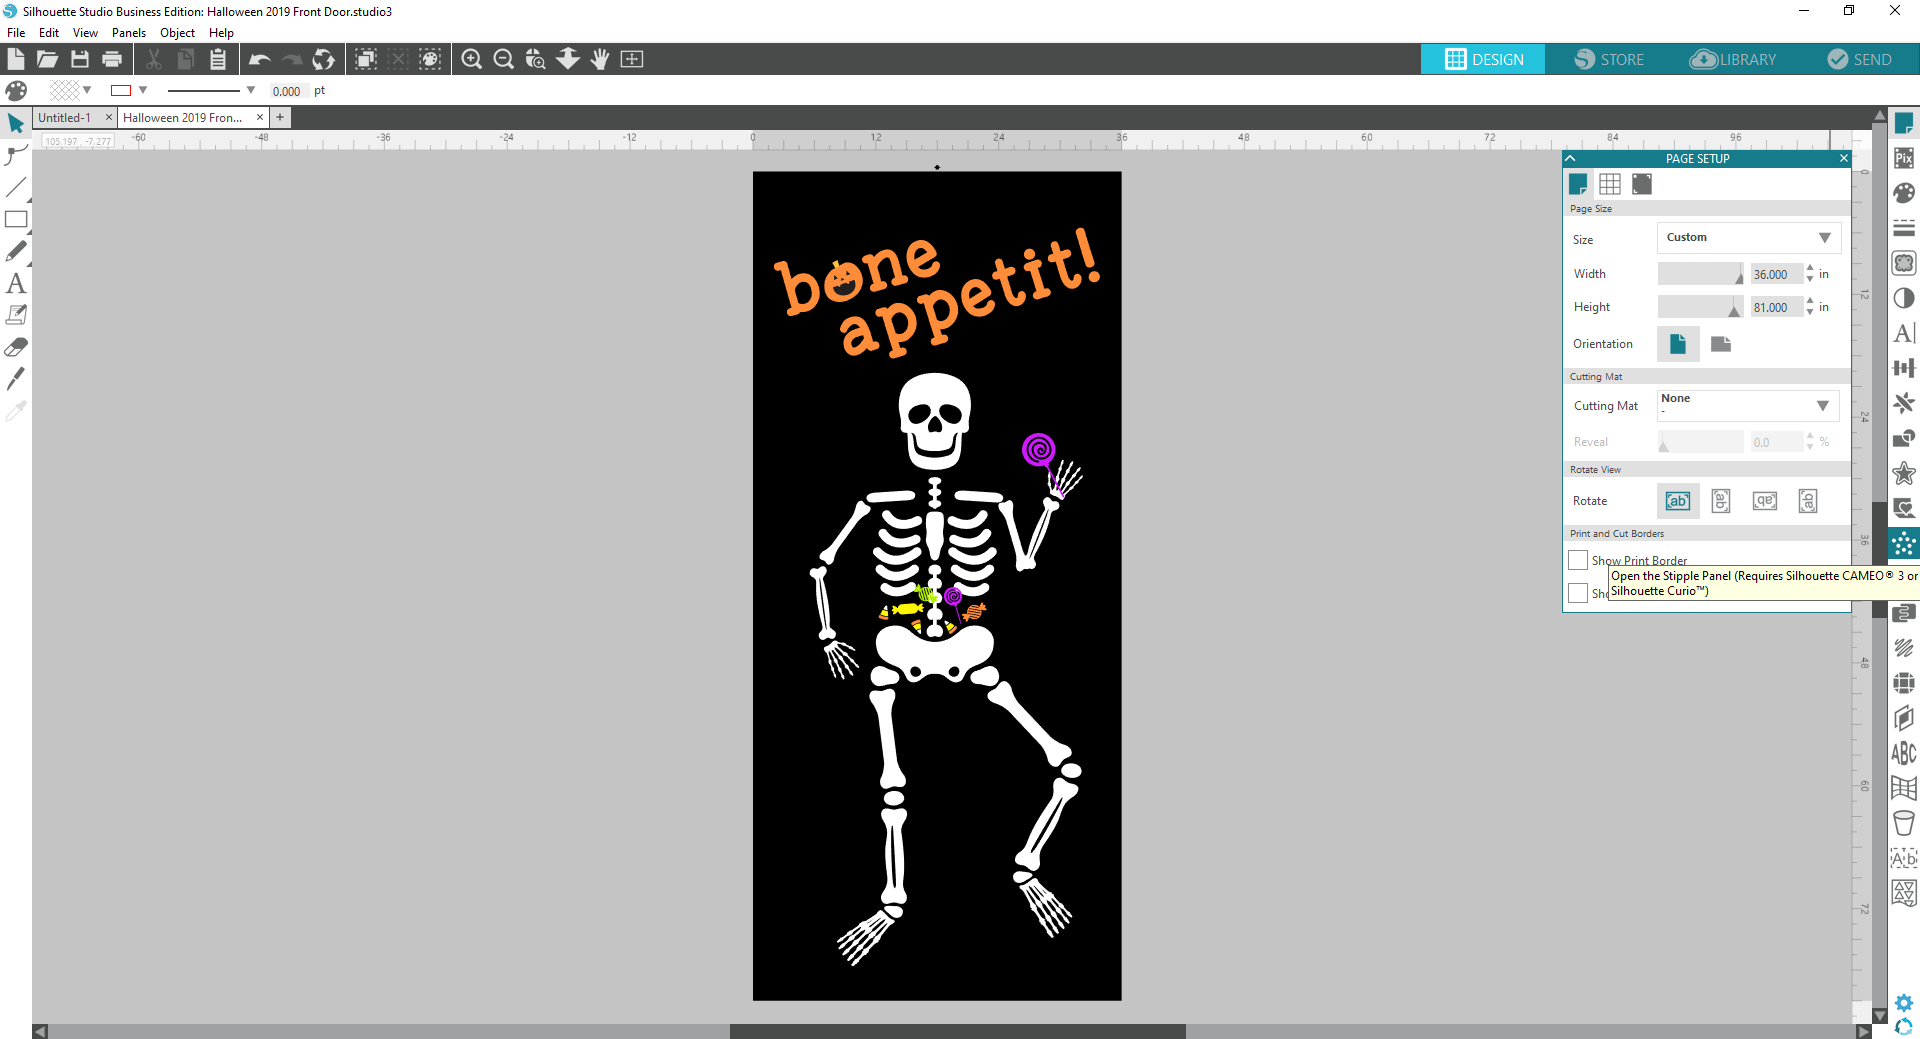
A bonus for creating a draft layout is that all the individual pieces are ready to go and be cut by your die-cutting machine! Yes for efficiency!
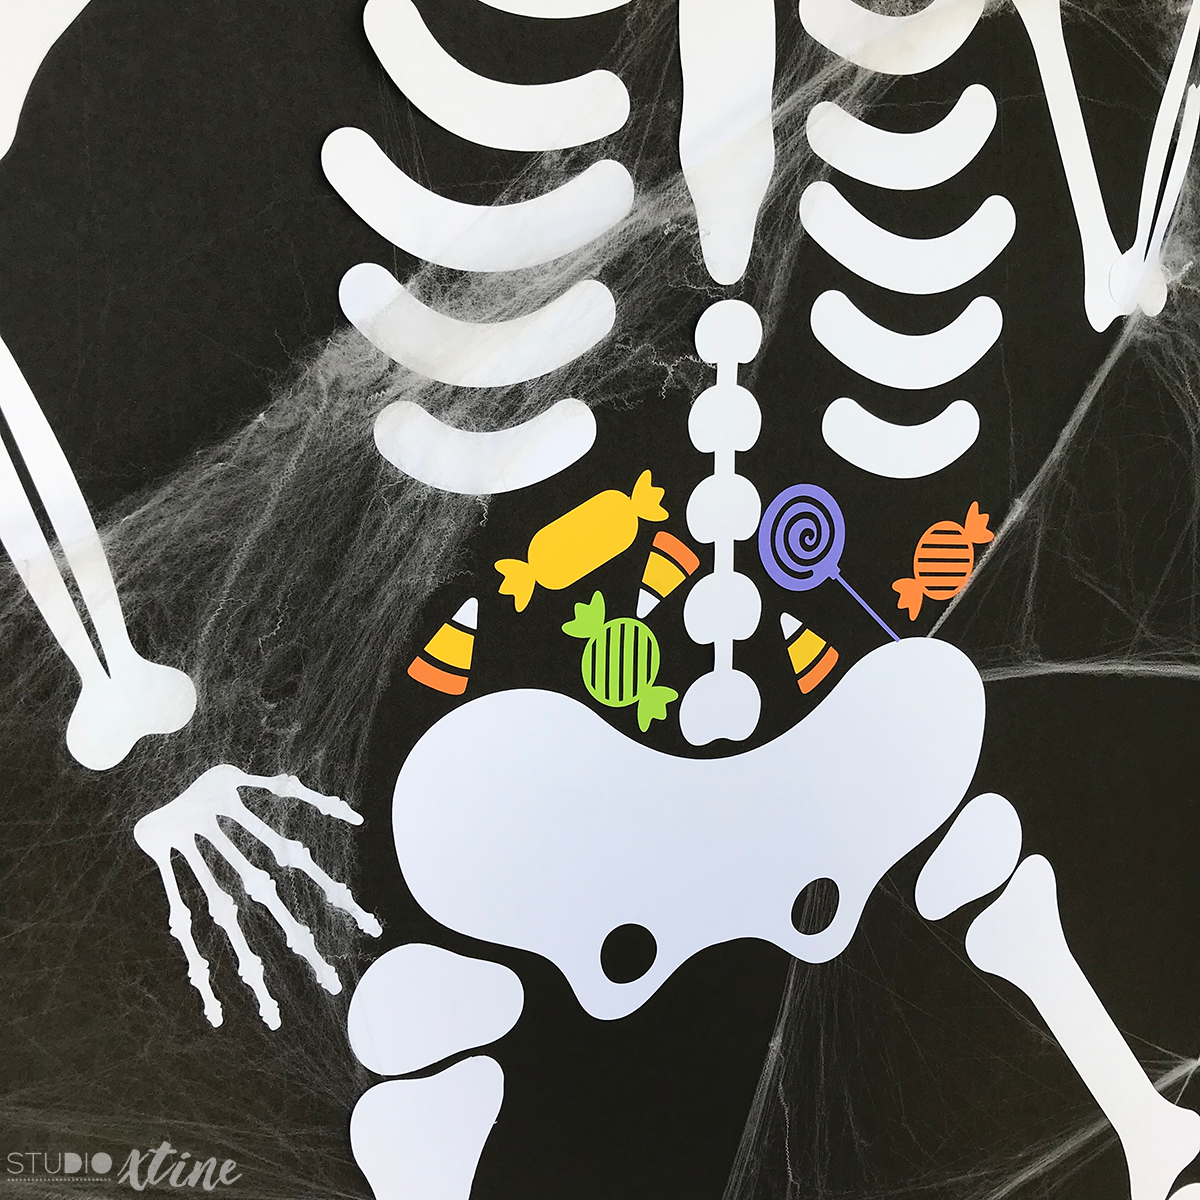
Our front door design this year features the following Silhouette cut files:
- Skeleton by Amy Robison
- Candy by Sophie Gallo
- Cute pumpkin shape by Sweet Afton
Supplies used:
- Black Fadeless Bulletin Board Paper Roll (similar)
- Colored and White Cardstock
- Painter’s Tape (link)
- Craft Adhesive (tape or glue)
- Scissors
- Spiderweb
Now, this project is super easy but I do want to let you know that the first step is the hardest! But I’ve done this more than once and have gathered some tips that’ll hopefully make it easier for you!
Let’s begin! First, unroll your bulletin paper and let six inches or so hang over the top of your door. Move the paper so that one edge is flush with the inside edge of your door (the edge that is closest to the door hinges). Once you got it flush and over the door, secure with painter’s tape on the backside of the door. (Yes, the backside of your door will look a little funky but the frontside of your door will look spooktacular!)
Next, continue to unroll the paper until it wraps under the door. Continue to unroll until you have six inches or so extra and tape it to the backside of the door. Remember to pull as tightly as possible so that the frontside is super smooth.
Now, the hardest part…cutting around the knobs and door handle. Start by punching through at the middle of each component with scissors, whether it’s the key lock or the knob or door handle. Then, work your way outward from the punched hole and try to cut out the shape matching your component. I suggest doing this last step slowly and carefully. It’s better to cut the shape a tad smaller and then slowly snip away until your “cutout” is close to actual size.
At the same time, don’t worry if you overcut…this happens to me all the time (I’m so impatient with this part of the project!). If you overcut, simply cut out pieces of paper and slide behind the overcut portion and secure the small paper to your door. We are essentially “patching” from behind.
Now, with the front of your door wrapped, the fun begins! Decorate as you’d like. I suggest using scrapbooking adhesive if you’re attaching paper onto your paper roll. Both tape and glue I mentioned above are my favorite supplies and work really well. On this year’s project, I added a layer of pull-apart spiderwebs ($1 in Target’s Bullseye Playground) which added dimensional and visual interest!
There’s so much you can do so have fun decorating your front door into something magical! And who knows, maybe it will become an annual tradition in your home! 🎃