

Hubs and I moved into our “starter home” 8.5 years ago. We talked about living in it for 3-5 years. Kid #1 came along at year 3 and kid #2 at year 6. And life just got busy and full of activities. The one thing that remained was the hideous beige walls that WE picked AND painted when we first moved in. Now that our kids are a little older and less messier (*fingers crossed*), we are ready for a big change. We wanted a space that was inviting, had a little spunk, and filled with intentional room and wall decor.
The first thing we did was repaint the walls with Behr’s Seagull Grey. I requested it to be 30% lighter and am so happy with the new wall colors! Grey is a difficult paint color so I definitely recommend getting paint samples. Another trick is searching Google Images and Pinterest using the paint color names as your search terms.
Anyway, we have an entryway wall that we’ve made our accent wall. Previously, it was painted with a different color (terra cotta…bahhhh, what were we thinking?!?!). In order to keep the new light and airy feel, we channeled our inner Chip and Joanna Gaines and built a half-wall shiplap wall, which I will blog about later. Above the shiplap wall, I knew I wanted to put up wallpaper but my goodness, it can get pricey especially removable wallpaper type! Unfortunately, our walls are textured so I also wasn’t sure if wallpaper would work well. What to do…what to do? *Light bulb!*
I remembered when we moved our oldest to his own “big boy” room (read: kicked out to make room for baby sister) and I wanted to decorate his walls but didn’t want to put any framed artwork above his bed because we live in earthquake country. Well, removable adhesive vinyl to the rescue! I cut out cute transportation icons out of Oracal 631 in Dark Grey and put these decals up as wall decor.
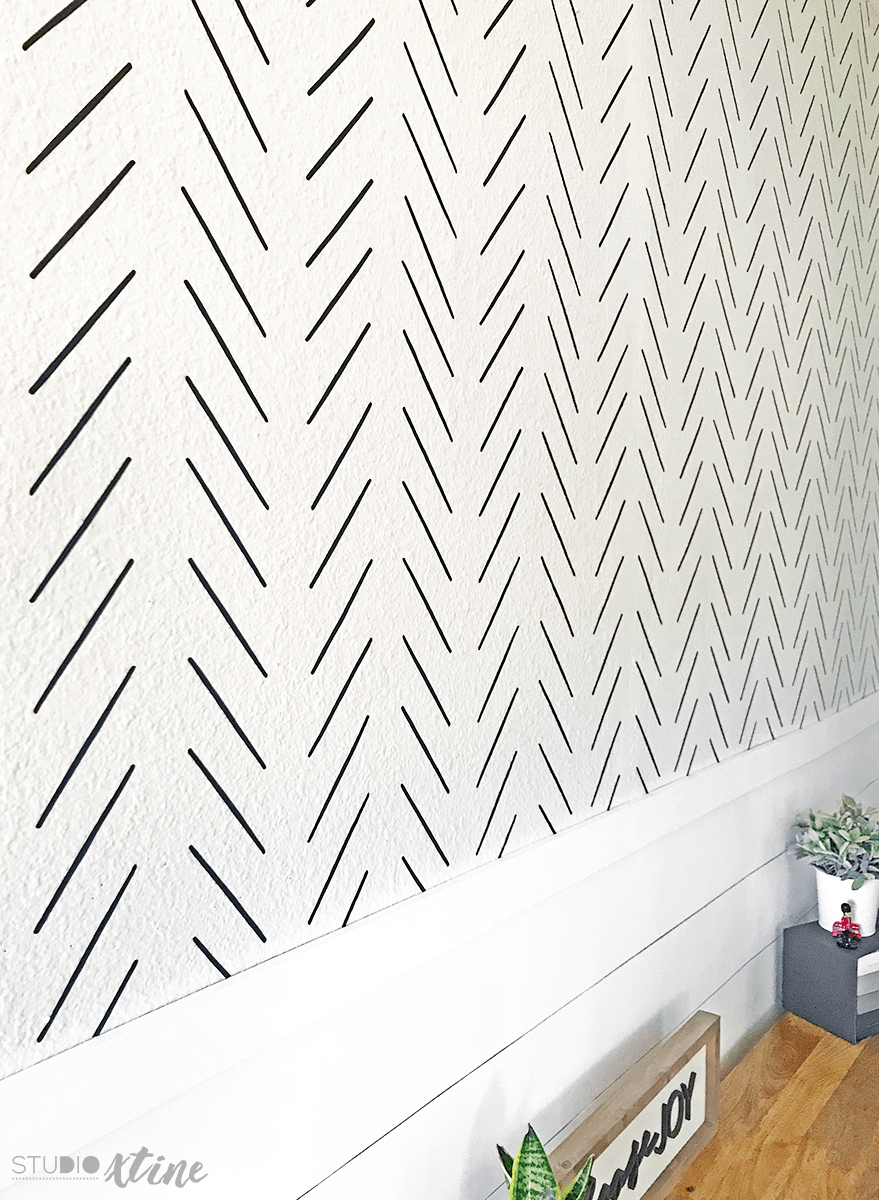
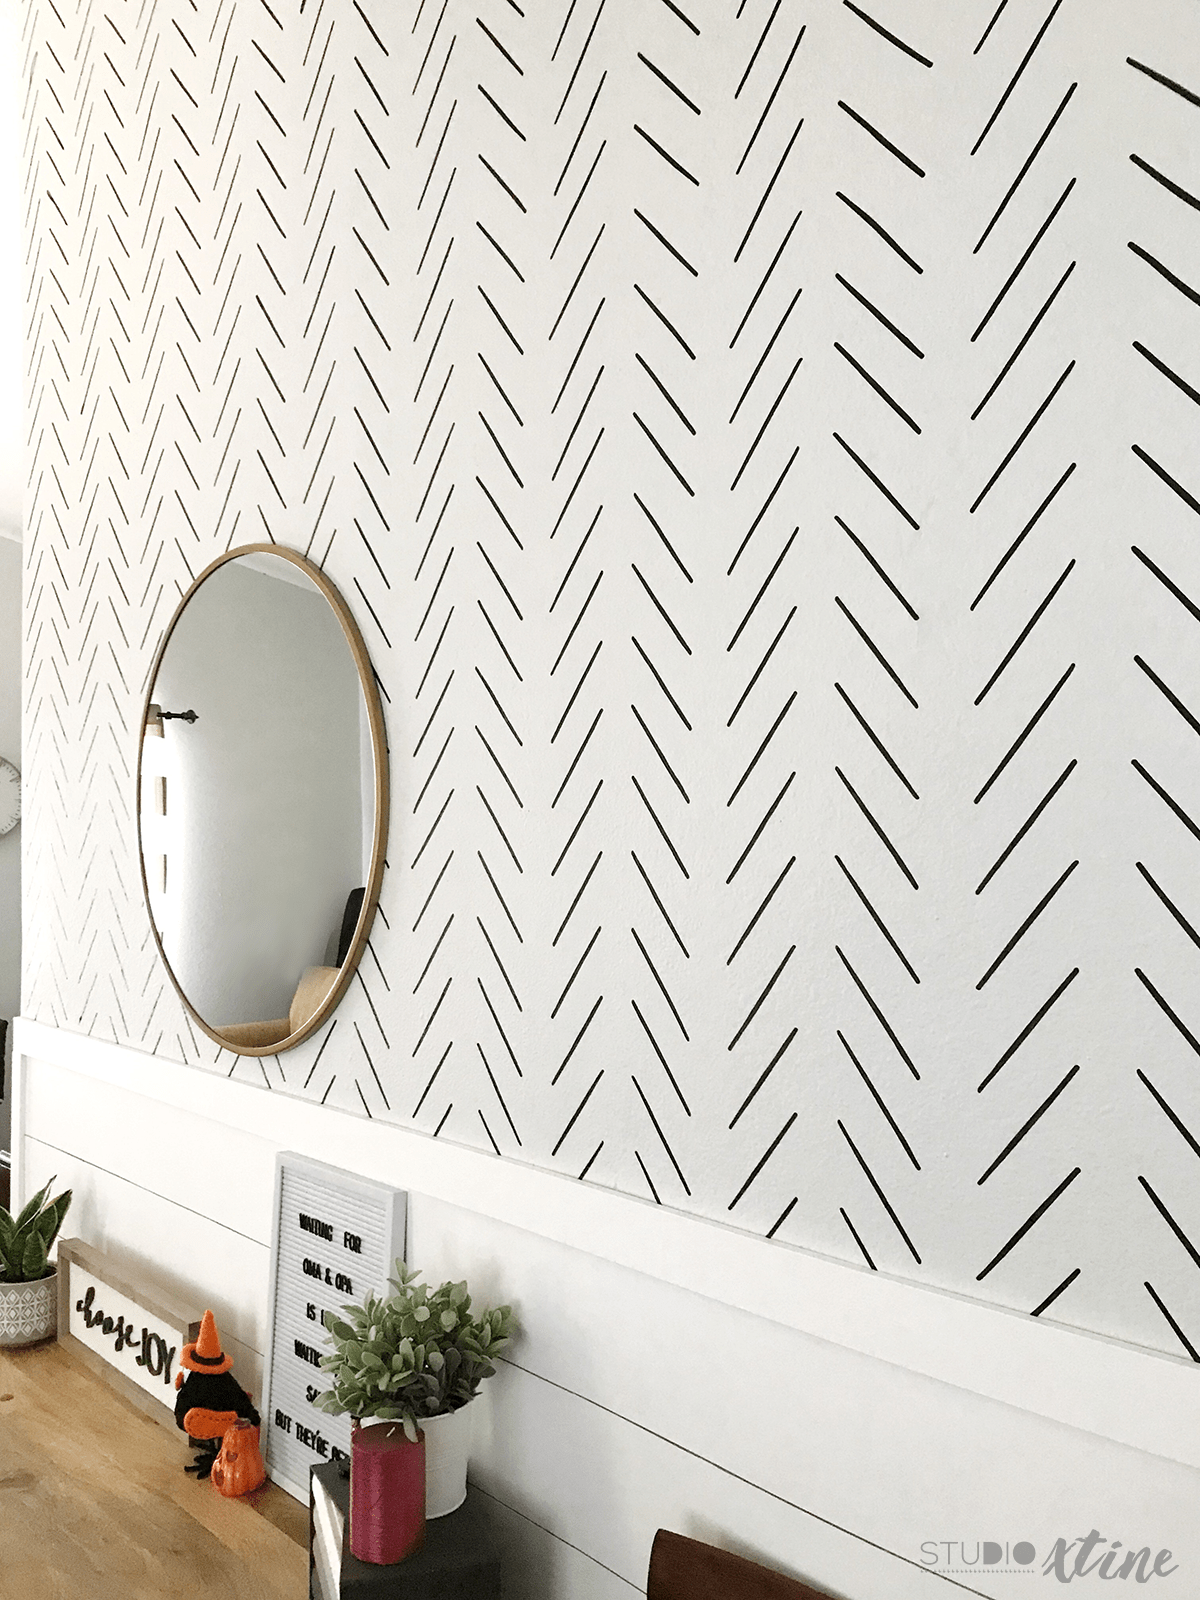
So, because A) I remembered that project being relatively easy and B) I am a stubborn optimist, I took on the craziest project to date. I fell in love with a modern herringbone pattern I saw online and decided to make a “wallpaper” with Black Oracal 631 vinyl for my entryway wall. A WALL THAT IS 9.5 FEET WIDE AND 8 FEET AT ITS HIGHEST POINT. Who is this crazy lady?! I am starting to think I need to run my insane ideas by a sanity accountability buddy. Who wants to be my buddy??? 😀
Let’s just say this project wouldn’t be possible without the following handy tools: my Silhouette CAMEO, a laser level, and insomnia. I woke up at 5am a couple days to make sure I completed this project. I’ve come to realize that when I start losing sleep over projects, it is usually an indication that the project means a lot to me and I’m committed to finishing it.
Here is a brief rundown on how I attacked this project:
- I started by creating the modern herringbone pattern in Illustrator and dropped it into Silhouette Studio.
- Next, I created a mock-up in Silhouette Studio by setting the”page size” to the entryway wall dimensions.
- I resized the pattern until I liked the way it looked and duplicated it across the “page”.
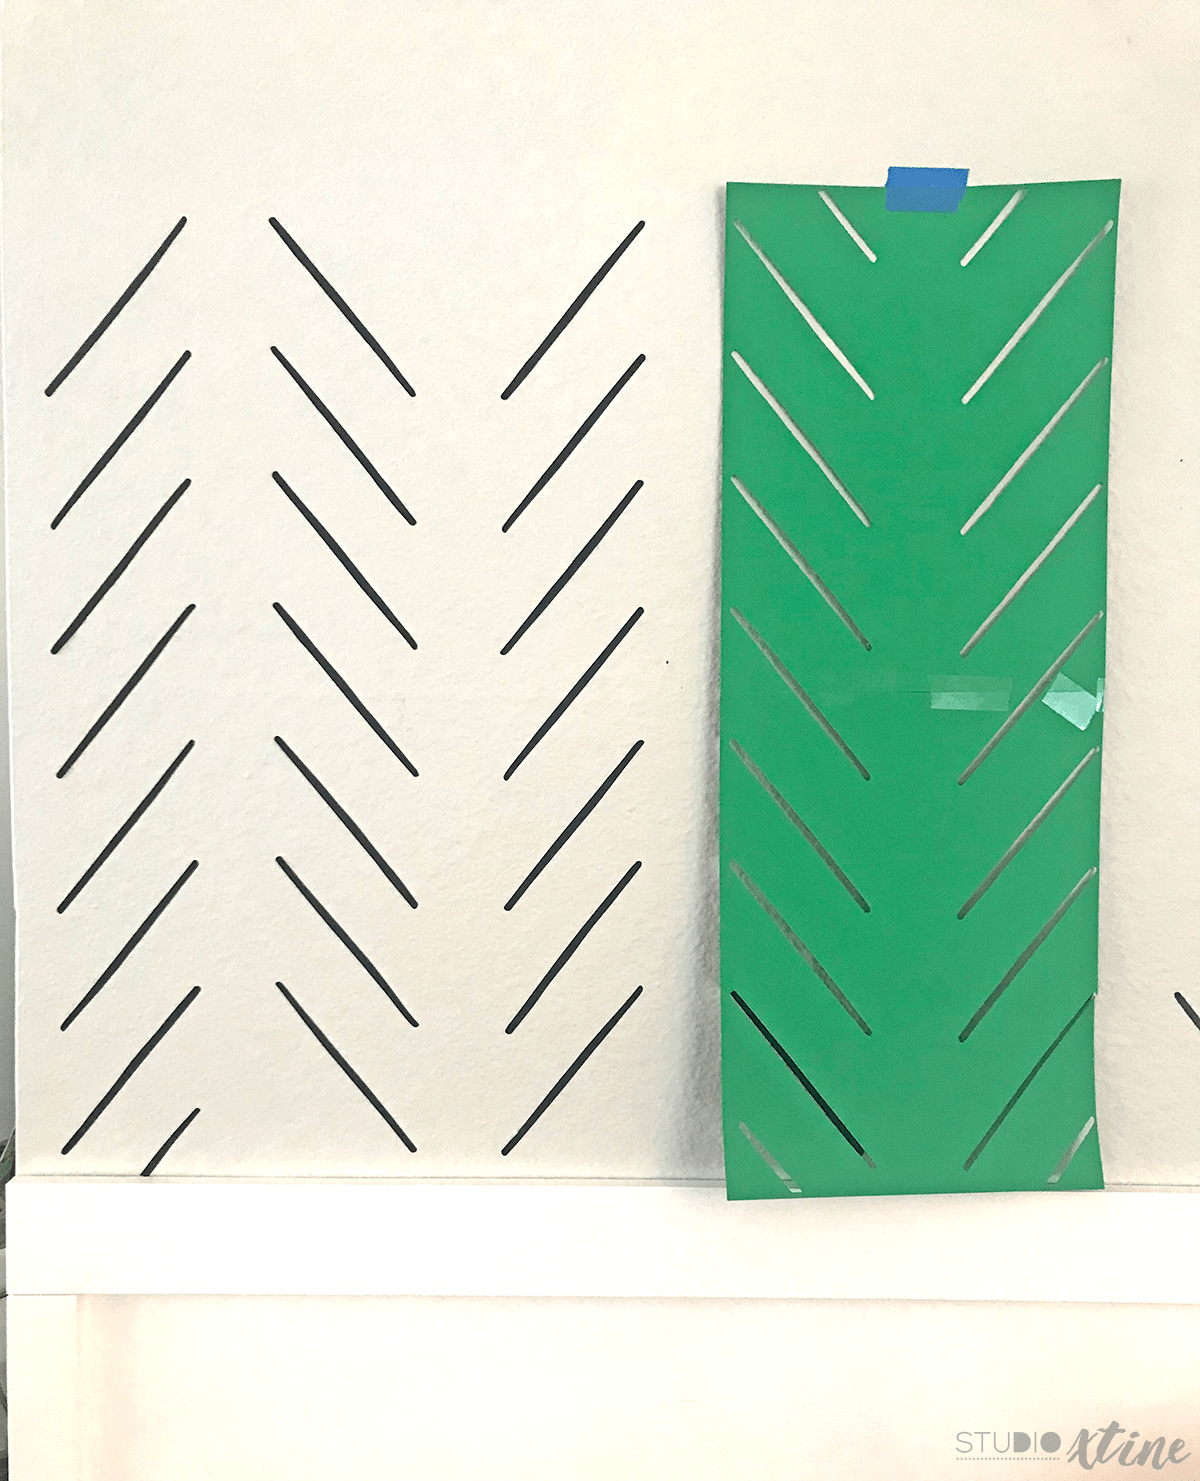
- Then, I created a page in Silhouette Studio that was 8.5in x 22in long (basically two letter-size sheets taped together on one short side). I copied/pasted the pattern and deleted whatever didn’t fit the 8.5in x 22in space. Then, I sent it to Silhouette to create a cutout template.
- On a separate Silhouette project sized at 12in x 24in, I filled it with as many lines of the herringbone pattern. Then, I sent it to Silhouette using my 12in x 24in cutting mat.
- Now to the application part, I set my cutout template on the wall and checked its orientation with my laser level. Then, I peeled off the line decals and stuck them to the wall through the cutouts.
- Now and then, I would use my laser level to make sure lines were straight and matching with the neighboring lines. THANK GOODNESS these were removable vinyl pieces!
- For the end pieces, I used my Xacto knife to trim the vinyl.

At one point during this project, I wasn’t sure if I would like it but now that it’s complete and I am slowly adding decorative pieces around this entryway space, I am LOVING IT! And the best part of this project is that if/when I’m over the herringbone wallpaper, I can simply peel off the vinyl decals and I’m back to having a blank canvas that I can play with!! 🙂