This year’s Mother’s Day card was inspired by a Silhouette Design Store design that I’ve had for several years but did not know how to use it. Do you ever have that trouble? It’s like buying something that catches your eye (I’m guilty when it comes to clothes) and then it just sits there for days, months, years…until you either finally use it or toss it. Thankfully, in this case, I didn’t toss it because I LOVE how this handmade card turned out!
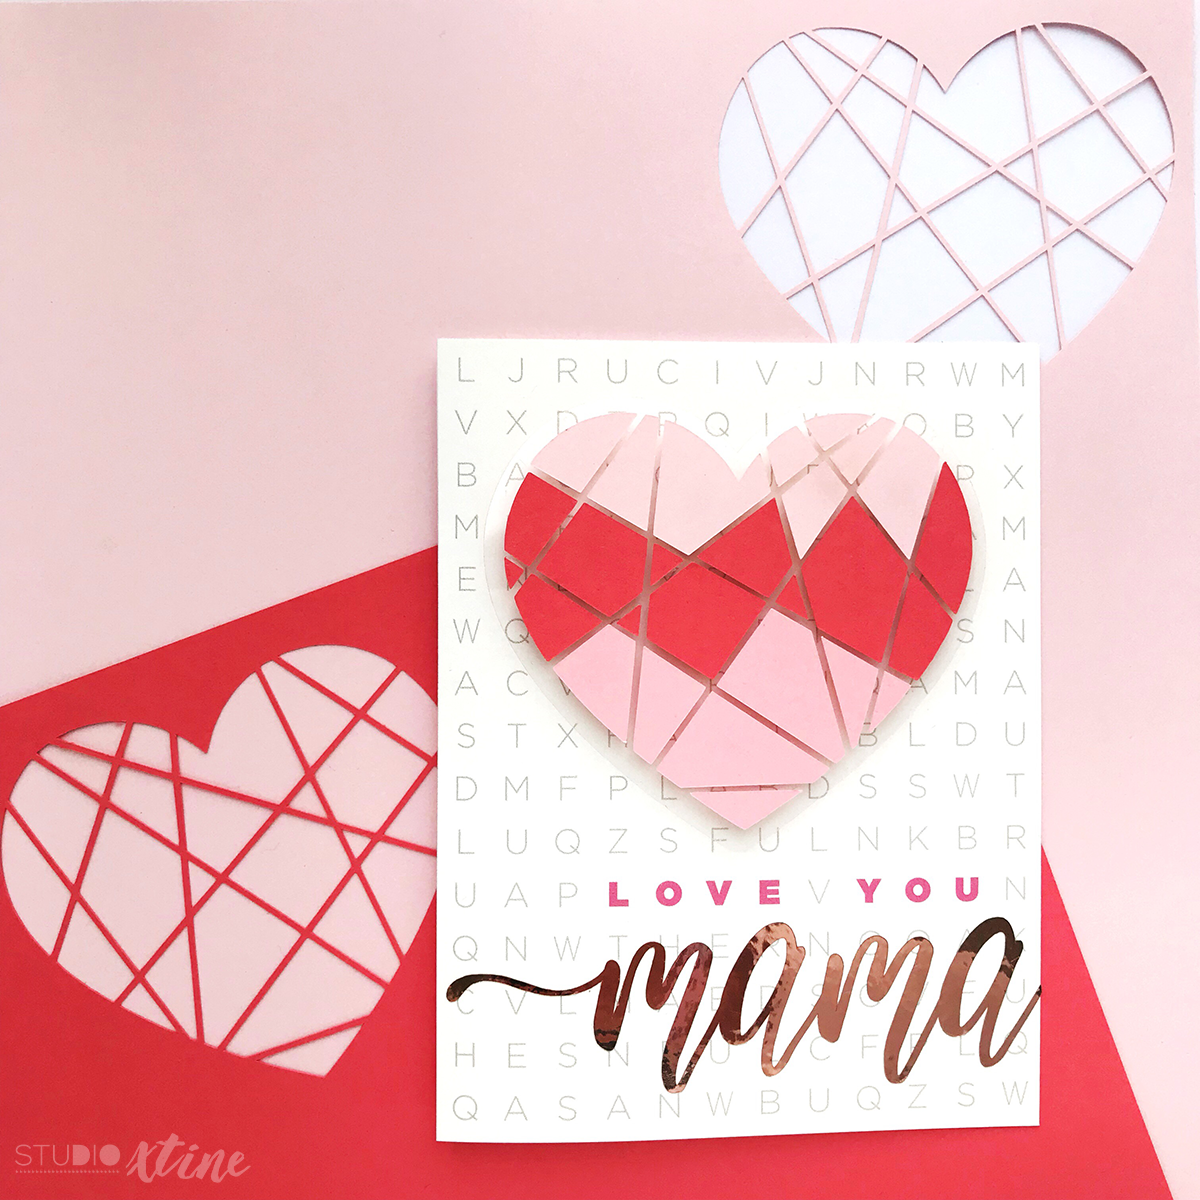
The “stain glass heart” design by Jillibean Soup (Design ID#241285) contains 27 geometric pieces that create a really cool-looking mosaic heart. What worried me is the execution. How do I transfer these 27 pieces onto my card in a way that holds the heart shape? Here’s how I did it and it was incredibly easy.
- In Silhouette Studio, open up the heart design and resize as necessary. My card is 4.25inx5.5in and so I sized my heart’s width to 3.25in.
- Next, click on “Offset” and choose your offset distance and click apply. I chose 0.125in.
- Then with my Silhouette CAMEO, I cut out that heart outline on a clear acetate sheet. This will serve as my backing to the 27 mosaic heart pieces.
- Now onto the mosaic pieces, place the resized mosaic heart design in three corners in Silhouette Studio.
- On your 12xin12in cutting mat, place three different colored cardstock, one in each corner as shown in your Silhouette Studio. NOTE: If you want to do more colors, you can use the fourth corner and add another color. For this project, I just mimicked the sample design.
- Use proper cut settings and send to Silhouette. NOTE: Leave the individual cut pieces on the cutting mat but remove excess paper .
- Starting with one of the cut heart, I put adhesive scrapbooking tape directly on the top seven light pink heart pieces. Again, I am matching the example on the Silhouette Design page.
- Then I laid the acetate heart backing on top and pressed firmly to ensure the cut pieces are adhered to the acetate material. Carefully peel to lift the cut pieces off the cutting mat. These cut pieces should now be transferred onto the acetate heart.
- I repeated Steps 7-8 for the remaining heart pieces. NOTE: For the super small pieces, I dab a very small dot of scrapbooking glue (such as: Tombow Mono Liquid Glue)
- For my card, I wanted the heart mosaic to “pop off” the card so I used dimensional adhesive and strategically placed them behind the larger mosaic pieces to hide them.
The patterned background was created using Adobe InDesign with a text box of the same size of my card (4.25inx5.5in) and setting the paragraph alignment to justified. Next, I typed in a bunch of random capitalized letters and made the words “LOVE YOU” stand out. I was going for the word search look. Not bad, eh?
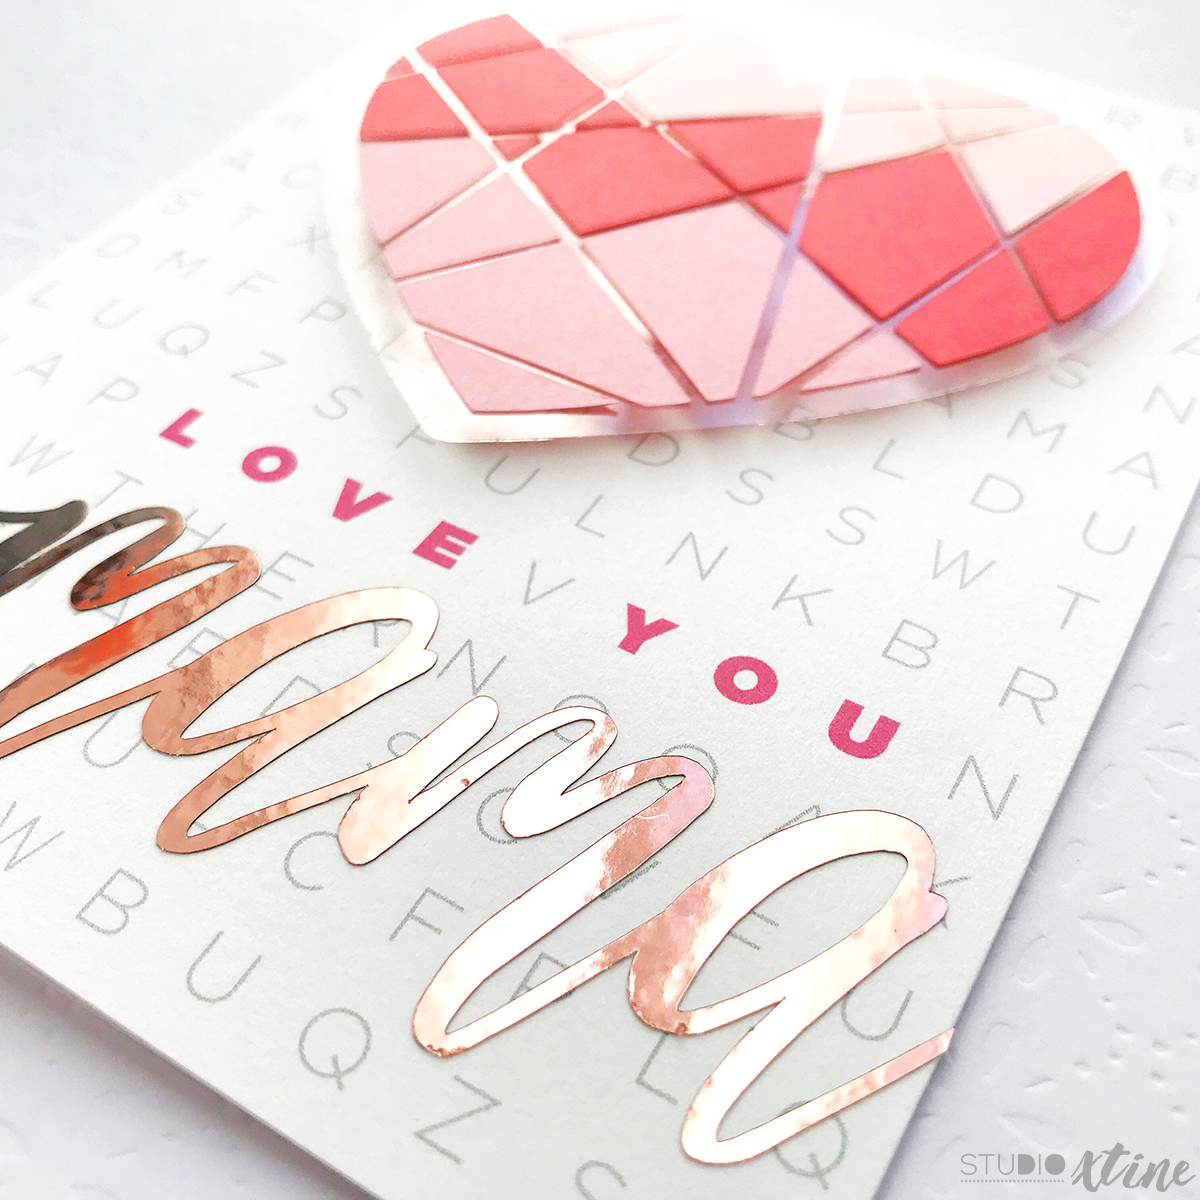
Other than the mosaic heart, my other favorite part of this card is the metallic rose gold vinyl used for the word “mama”…so pretty, right?? The font is from one of my favorite designers, Skyla Design. It’s called Willow Bloom. You can buy this font for your Silhouette here or for graphic design use here.
This is the first time I used vinyl for cardmaking and I think I’m OBSESSED! The rose gold color blends in beautifully with the card’s pink/blush color palette yet its eye-catching glimmer takes the card up a notch! I see a lot of metallic vinyl in my future projects! 🙂