
If you’ve been following me on Instagram, you’ll see I’ve been mad prepping for my daughter’s 3rd birthday party. I was working on these colorful aprons (which I will write about in a post real soon!) and was inspired to make this year’s Christmas decor more vibrant and bright. I mean, that’s what they mean by “merry and bright”…right?
And if you want color, the best person to be inspired by is Kara of Kailo Chic. I followed her tutorial on Consumer Crafts’ Crafts Unleashed blog and am so happy with the results!
In addition to her step-by-step instructions, I want to add a few more helpful tips that will make this project even MORE simple to do and WITH kids!
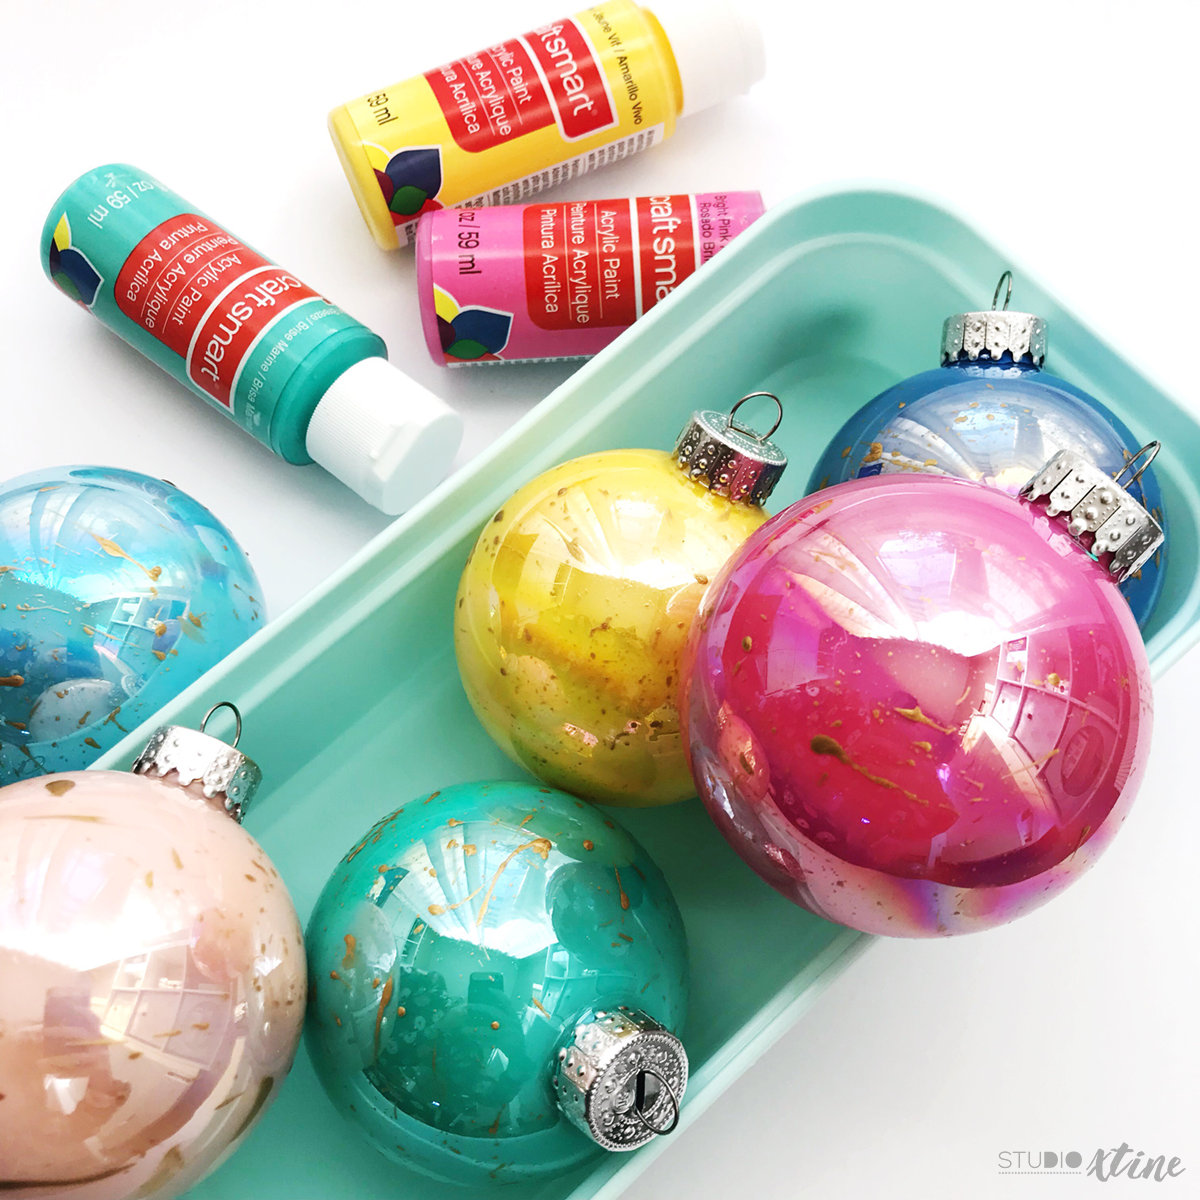
- Her tutorial suggests squirting a bit of paint into the ornament and shaking the paint around to coat the inside of the ornament. Well, I shook and shook and shook and ended with forearm cramping. HA! So, save yourself an injury and just squirt a ton of paint inside. Swirl the paint so that it coats the bottom half of the ornament. Then, with the paint bottle uncapped, turn your ornament upside down and stick it into the paint bottle. Let the paint drip back into your paint bottle.
- For adding the gold flecks/splatter, I suggest doing in an open space (outside or in a garage would be perfect) where you can lay down newspaper and fleck/splatter away!
All my supplies were purchased at Michaels. I’m linking them below as well as where else you can find them if your local craft store is out of stock.