I’m 150% sure I’m perpetuating my little girl’s Peppa Pig fandom and this sweatshirt is a perfect example of it. You think I’d tone it down a bit given that we just celebrated Zoe’s 3rd birthday with a Peppa Pig themed party!
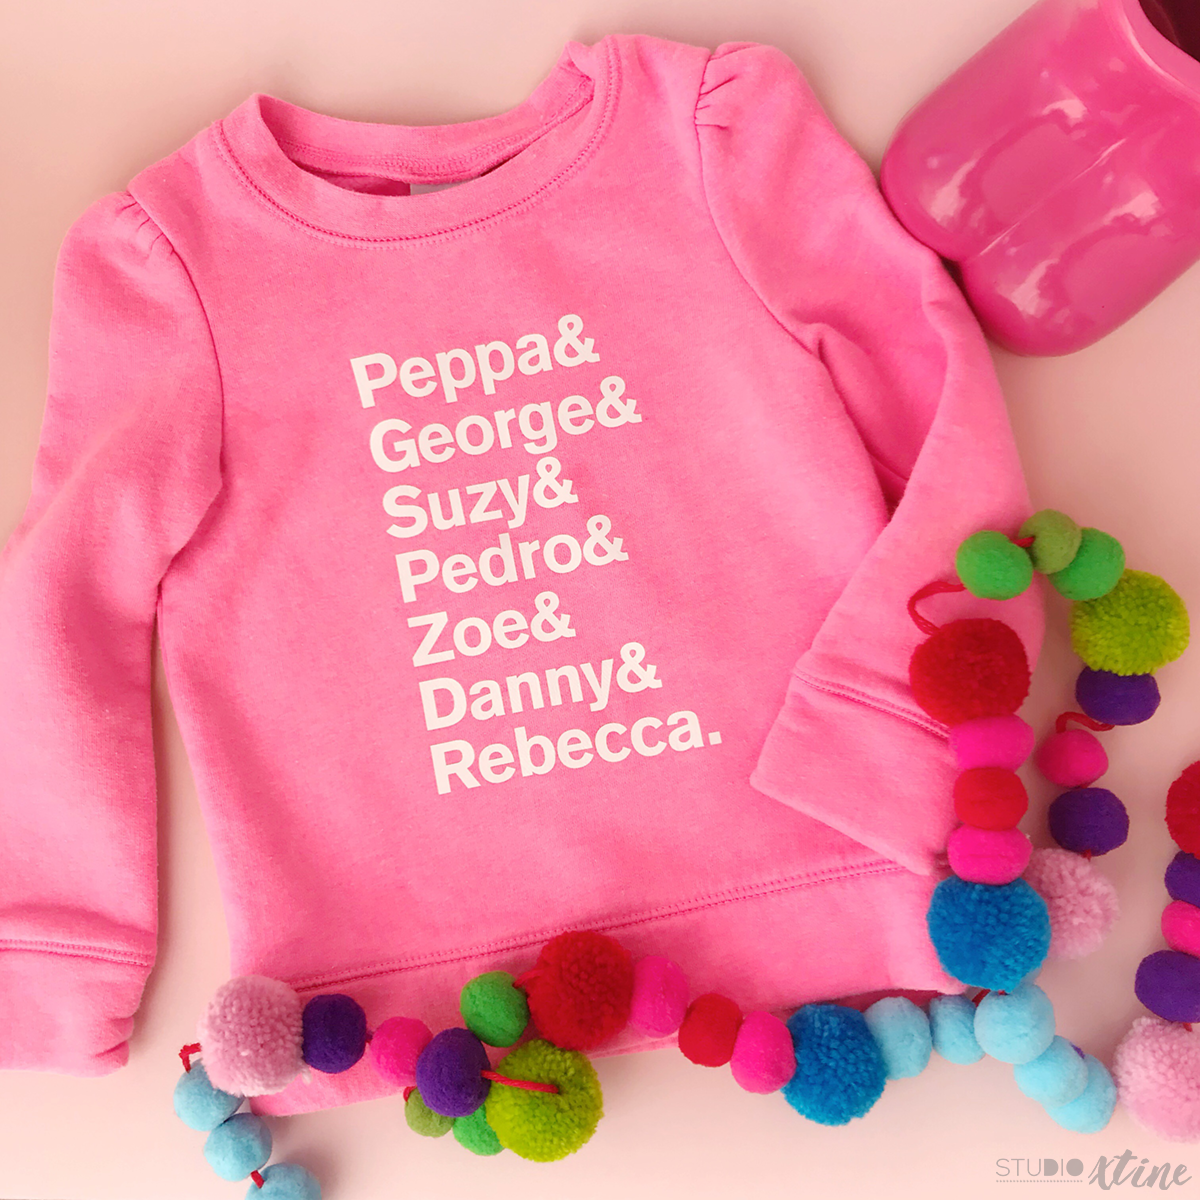
On my crafting projects bucket list this year was to make a “name list” shirt because they’re super trendy and fun once you know who the names refer to. Well, I kid you not, the first group of names I thought of was the characters of Peppa Pig show. #peppapigmuch?
My favorite part of this design is that my daughter’s name (Zoe) is actually IN the design! Thank you Zoe Zebra!
For this project, I repurposed a blank bright pink sweatshirt that I picked up from a mommy group clothing swap. It was in super clean condition and its blank front was asking for some HTV love!
Supplies Needed:
- Silhouette CAMEO or Portrait
- Cutting Mat
- Sweatshirt (or whatever apparel you are using)
- White Heat Transfer Vinyl (smooth) (link)
- Xacto Knife (link)
- Iron
- Ironing Board
- Thin towel
Below are the basic steps to creating custom apparel with Heat Transfer Vinyl (HTV).
Step One: Create Design
- Add text listing names of the show’s main characters using a block-style sans serif font (in this case, I used Akzidenz Grotesk Font).
- Resize accordingly to fit your apparel
- Under the Replicate Pannel, mirror image your text.
- NOTE: This step is a must when using Heat Transfer Vinyl.
Step Two: Send to Silhouette
- Feed your HTV with shiny side on the bottom.
- NOTE: I prefer to place my HTV on a cutting mat so it is more secure, especially when I’m using scraps.
- Send design to Silhouette with the appropriate cut settings.
Step Three: Finalize
- Weed the negative HTV material (aka not part of your design).
- Lightly iron your apparel to “warm up” the fabric.
- Set your weeded HTV sheet over your apparel where you would like it.
- Place a thin towel over the HTV sheet and firmly press down with your hot iron for 10-15 seconds.
- TIP: If using an iron, be sure NOT to slide the iron. Use an up/down motion.
- NOTE: Ironing time depends on HTV type and brands. Some materials require a little longer ironing time. I recommend searching online proper ironing time if you are unsure.
- Slowly peel back the clear carrier sheet and make sure the HTV has transferred onto the shirt. If not, place carrier sheet back and iron again over the thin towel.
- If HTV has transferred over, continue to peel back the carrier sheet until it is completely lifted off the apparel.
- Place thin towel over transferred HTV and iron one last time to “set” it.
Using HTV is one of my favorite ways to customize clothing, especially for my kids! I’ve made onesies for a baby shower and even holiday apparel with glow-in-the-dark HTV! Have you tried using Heat Transfer Vinyl?